How to Create Elementor Blog Posts Grid & Carousel?
Table of Contents
What’s the best way to add the Elementor blog posts grid to your website? One of the best options is to use ready-made widgets that can make the #1 WordPress builder more varied in terms of functionality. That’s why in today’s post, we’ll take a look at Elementor posts widget offered by Stratum – a free yet reliable solution by MotoPress designed to make your website more customizable with this and other widgets.
Stratum Elementor Add-on: Best Choice for Affordable Customization
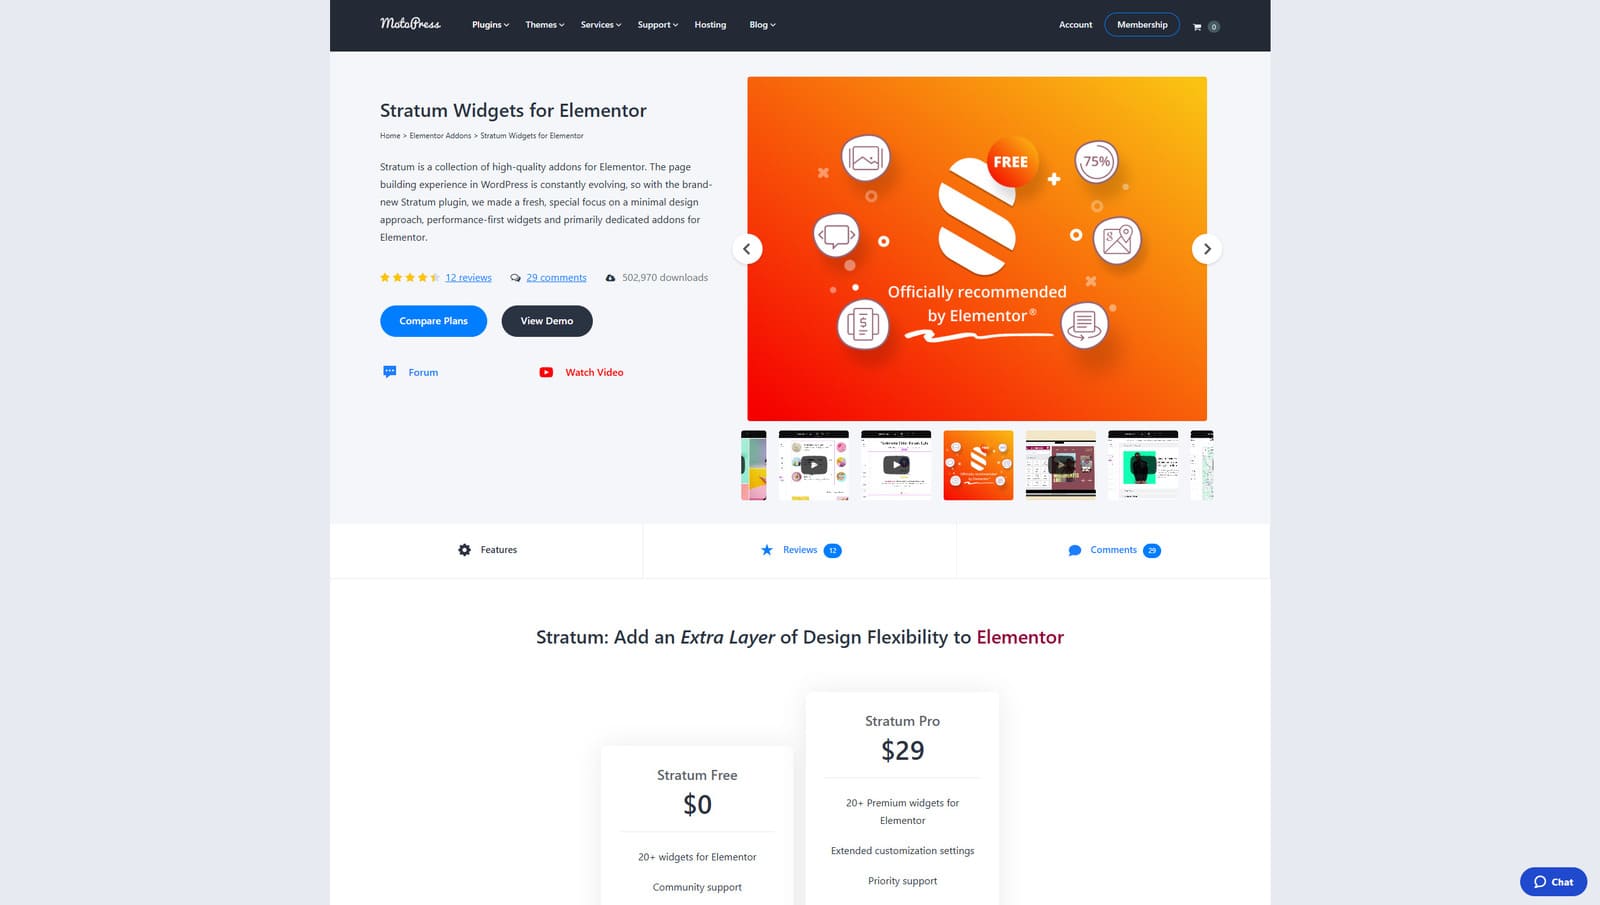 Stratum is a free collection of top-notch addons for Elementor, one of the most popular website building solutions for WordPress. Providing over 20 customizable widgets, this add-on gives you tools to create a unique online presence for your blog or website that stands out and commands attention. As a result, you get multiple tools that can not just add new sections and elements to your site but also make it more varied and visually appealing.
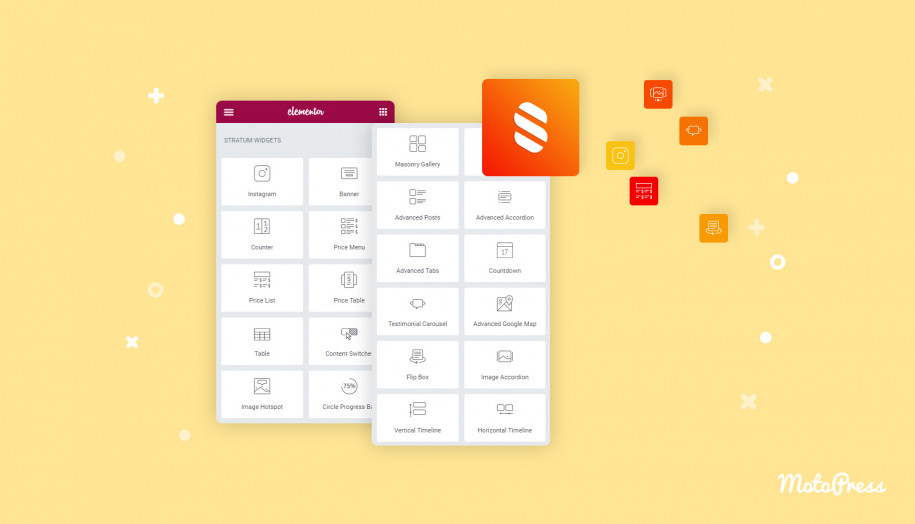
From a wide selection of provided widgets, Stratum also provides diverse solutions for blogs. For example, it includes 4 Elementor blog posts grid widgets designed to display your posts using diverse design options, such as a list, grid, masonry layout, or using pagination. In addition to these widgets, you can add other UI elements, such as counters, tables, sliders, and other tools to any page of your website using Elementor to provide useful content, while keeping your site responsive.
Key features:
- Over 20 customizable widgets;
- Varied progress bars, counters, countdowns, and tables;
- API integrations for Instagram and Google Maps;
- Lottie animation support;
- Extended customization with the premium version.
| Name | Developer | Price | Downloads |
|---|---|---|---|
| Stratum | MotoPress | Free or from $29/year | 499k+ |
Hands-on Tutorial with the Edme WordPress Theme
Elementor and its widgets provide a variety of customization options, even if you build a website from scratch. But in order to show what you can do with a ready-made website and WordPress’s most popular builder, we’ll use a well-designed and customizable theme – Edme.
 Edme is one of the well-designed themes designed for education. It is built with Elementor builder in mind, offering wide customization possibilities. It is equipped with the Stratum addon from the start, offering diverse Elementor blog posts grid widgets. Moreover, the theme uses the Appointment Booking plugin to help students schedule classes and teachers plan their work. It also includes a pre-designed grid blog page that you can edit using any of the widget functionality, including Elementor filter posts.
Aside from this, the theme offers multiple pre-designed pages, a responsive homepage, multiple course categories, and easy navigation. Using Edme, you can develop an educational site in a few steps or completely overhaul it with Elementor to match your idea of an online presence. Stratum and its recent posts widget Elementor solution will easily help you with it.
Key features:
- Easy-to-edit theme powered by Elementor;
- Appointment Booking plugin included;
- Flexible tutor schedules;
- Multiple Elementor widgets;
- Class scheduling for groups.
| Name | Developer | Price | Rating |
|---|---|---|---|
| Edme | MotoPress | From $49/year | 4.5 |
Using Stratum Advanced Posts Widget
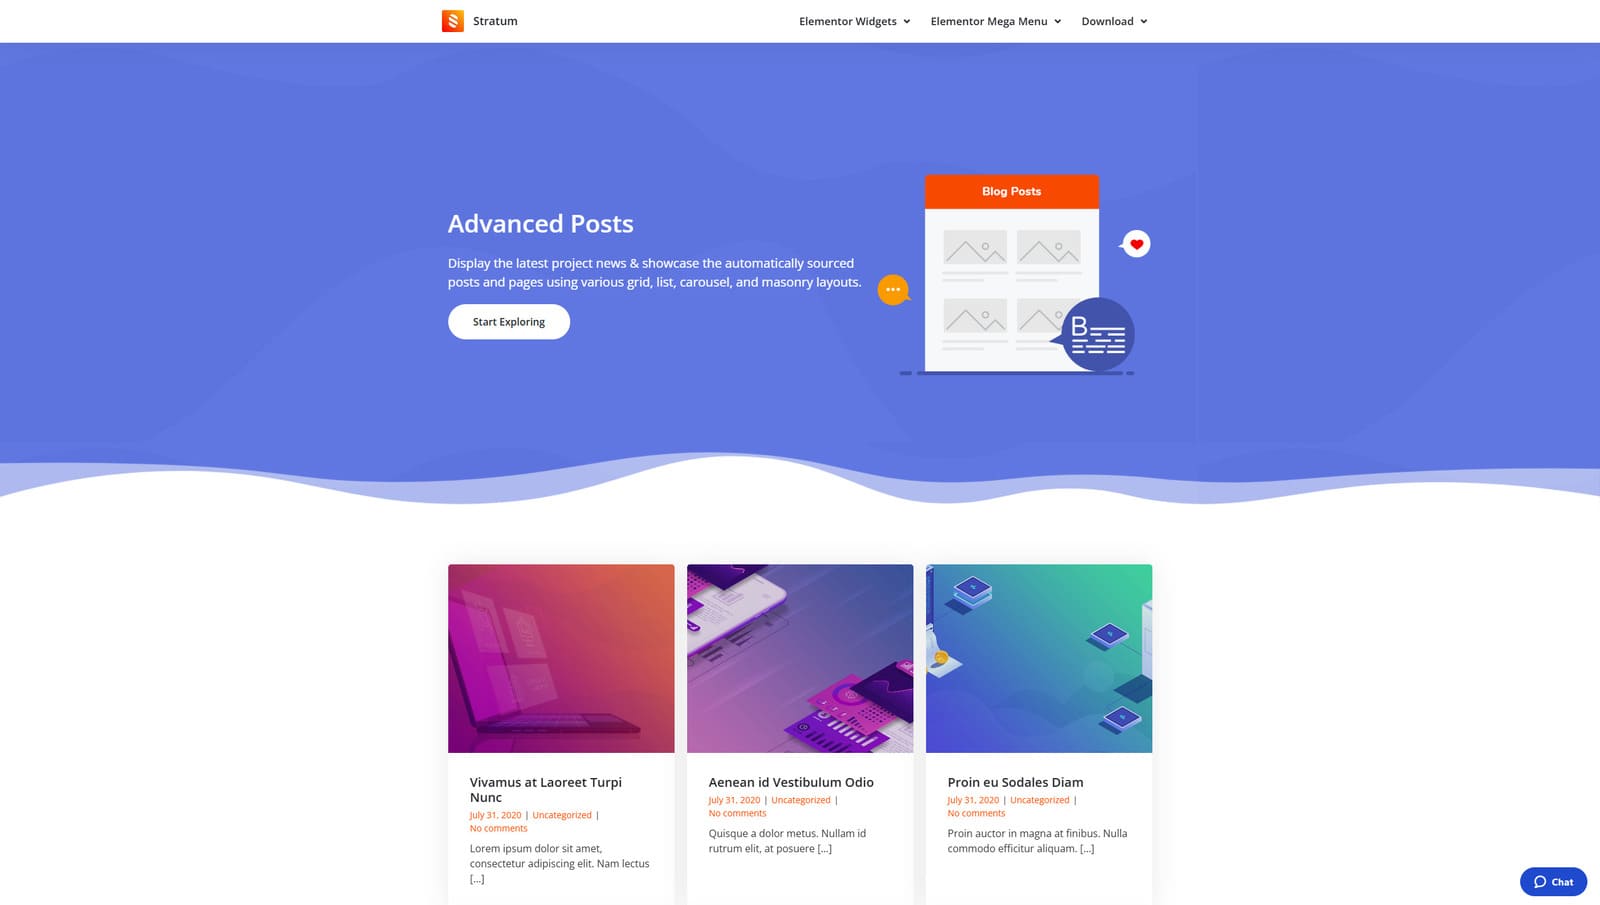 Let’s begin our overview of Stratum’s tools for blogs with one of the most widely used elements on any WordPress website – an Advanced Posts widget. By offering one solution for all that your blog may need to present posts properly, this Elementor blog posts grid widget attracts your readers’ attention easily without you having to build anything from scratch. Below, we’ll explore how to add such a widget to your Elementor website and how it can transform the blog page of Edme, giving you full control over content.
Step 1. Adding the Elementor Posts Widget

 Navigate to the Pages tab in your WordPress dashboard
- Press Add New page at the top.

 In a newly opened editor layout, press “Edit with Elementor”.
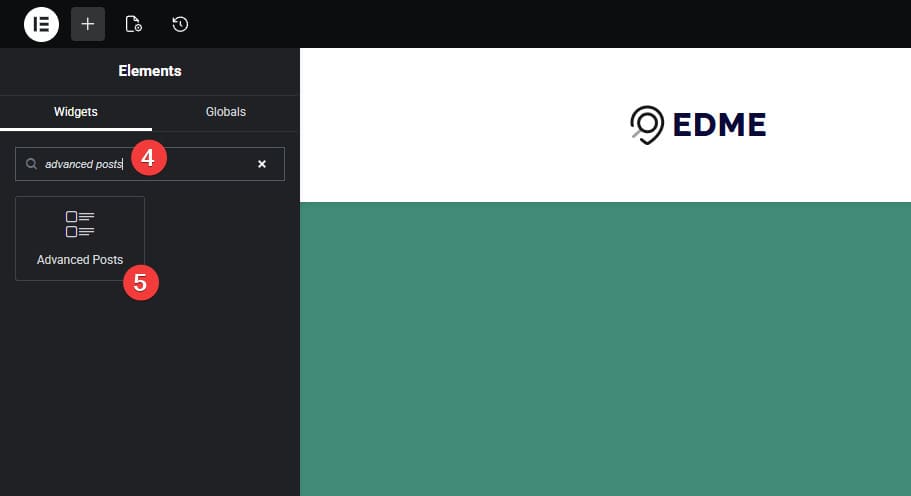
 After the Elementor builder is loaded, type “Advanced Posts” in the widget search bar in the top left.
- Click on the widget name to add it to your page.
Step 2. Configuring the General Widget Settings
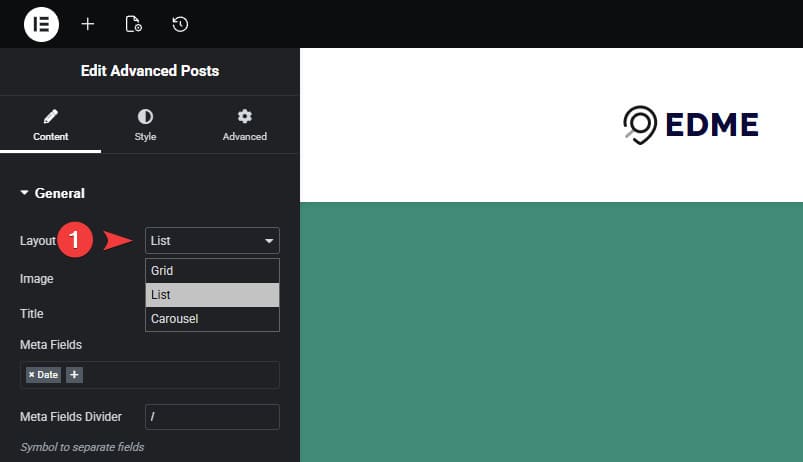
 You’ll see the latest blog posts displayed using the widget in accordance with its settings. You can easily edit them to make the blog page look different. By default, blog posts will be displayed as a list. However, this Stratum widget has three modes you can use:
- List;
- Grid;
- Carousel.
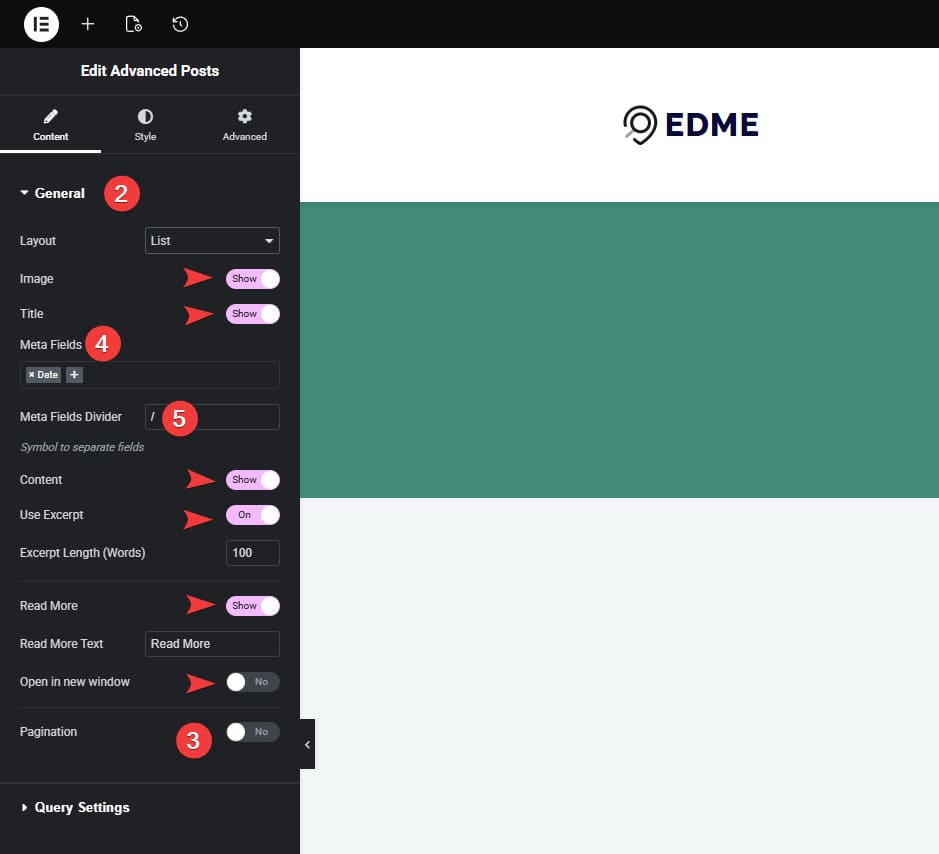
 Additionally, Stratum offers other customization options for this blog widget, such as:
- Enabling/disabling blog featured images and titles;
- Displaying content and post excerpts with custom length
- Add the “Read more” button;
- Open posts in a new window.
- When customizing the Elementor blog posts grid, you can also add pagination. This is especially useful when you have many blog posts that don’t fit into a single blog page.
- The widget also supports meta fields customization, allowing you to display or hide certain parts of the blog preview, including:
- Blog author;
- Date;
- Number of comments;
- Categories.
- You can customize the meta fields divider to make it more suitable for your website’s design.
Available Elementor Posts Widget Design Options
As we mentioned above, the Advanced Posts widget offers 3 types of blog page designs. Let’s look at them more closely.
List
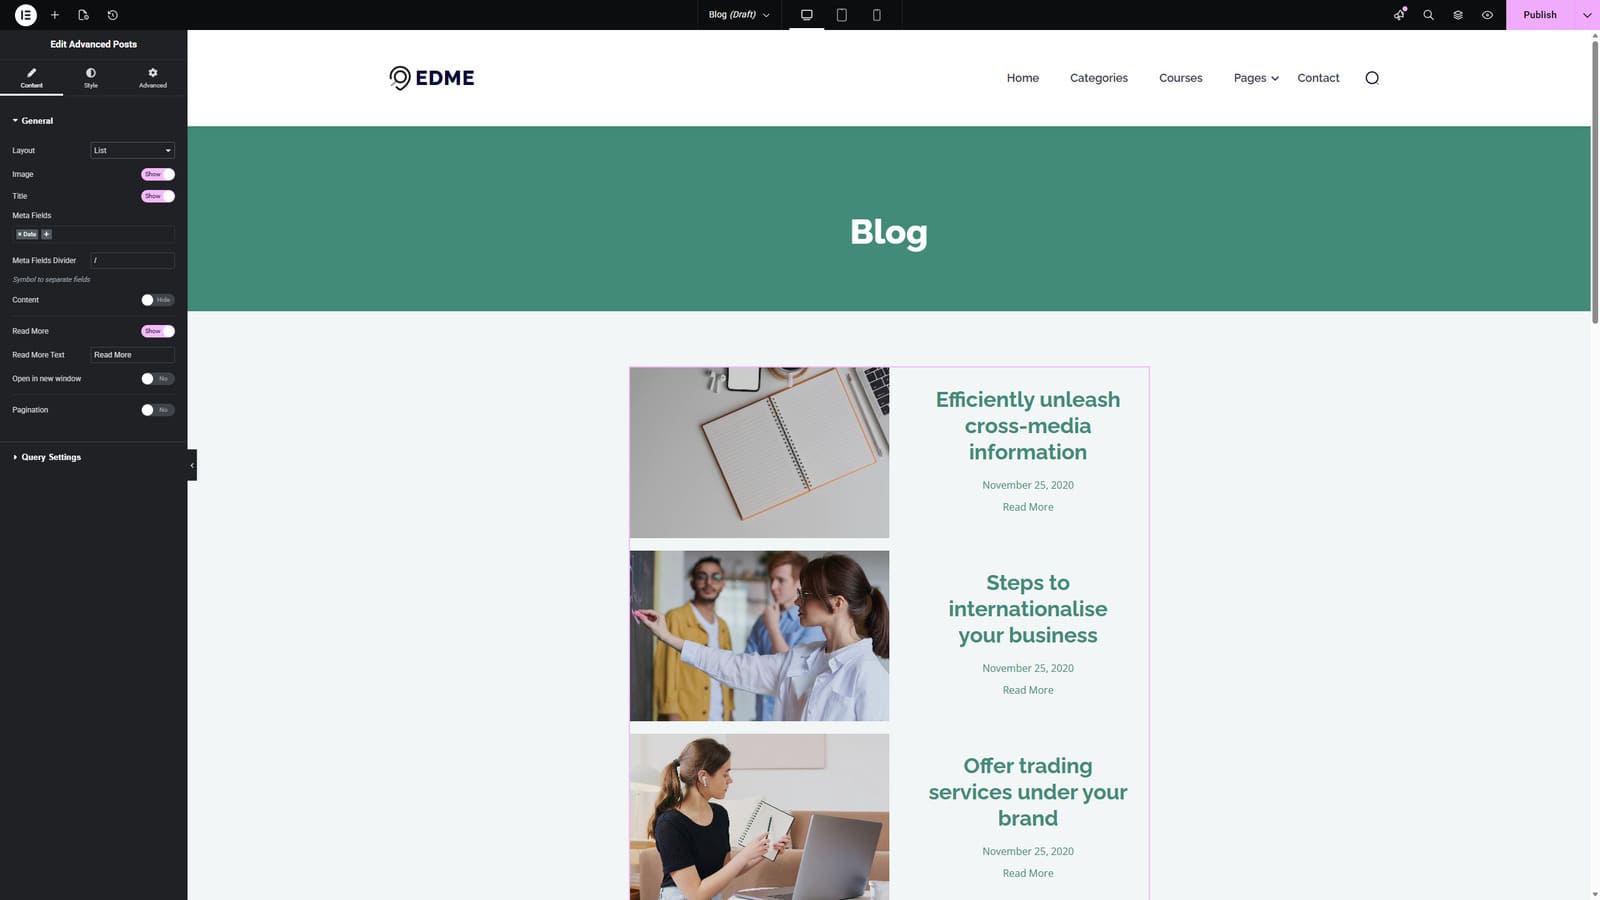 The default option available right after you add the Advanced Posts widget to your page is List. This layout displays posts one after another in a vertical sequence. With Stratum, you can display each blog entry on the same page with several others as well as their featured images, titles, excerpts, and metadata. This works well for readability and is suitable for longer posts that have extensive previews.
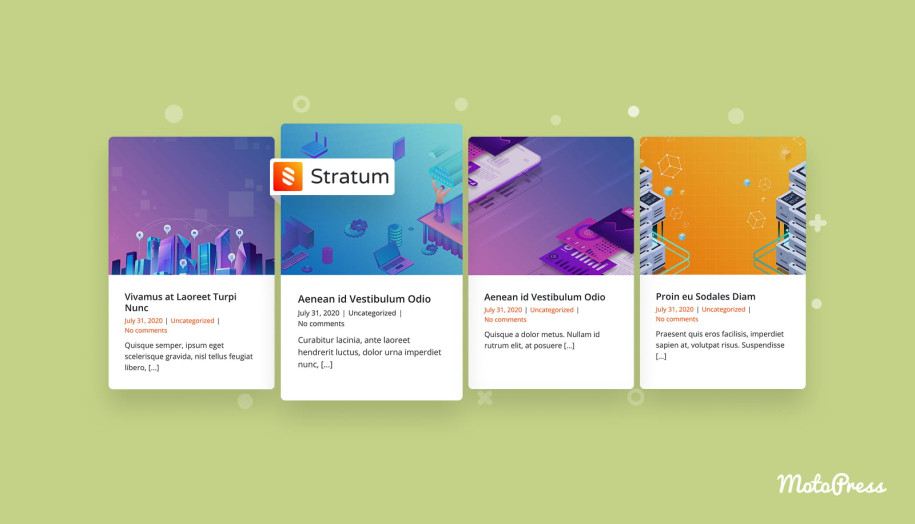
Grid
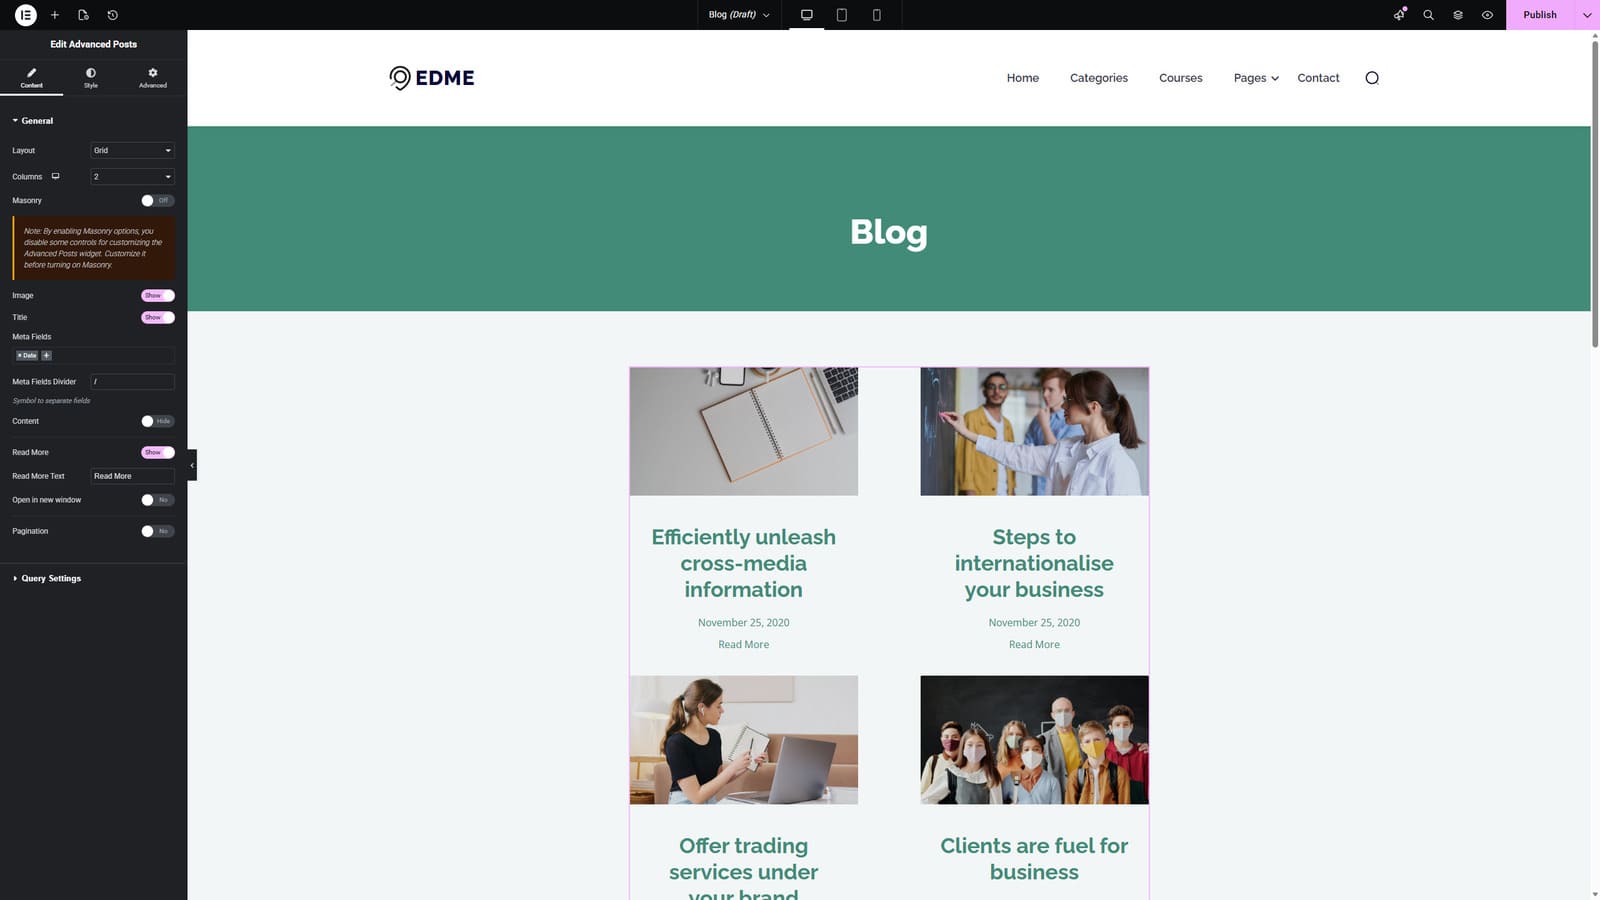 If you are looking for a blog design that saves page space, we recommend using Elementor blog posts Grid layout. This widget setting organizes posts into multiple customizable columns, making a structured and SEO-ready visual grid out of your publications. While the aforementioned Edme theme offers its own take on the grid blog widget, you can easily change it by inserting Stratum’s Elementor posts widget to create a unique blog experience for your site visitors. With it, your posts will be presented as cards that typically contain an image, title, and short excerpt. Such a design is perfect for visually rich blogs (such as fashion or lifestyle publications), especially if you want to show multiple posts at once.
Carousel
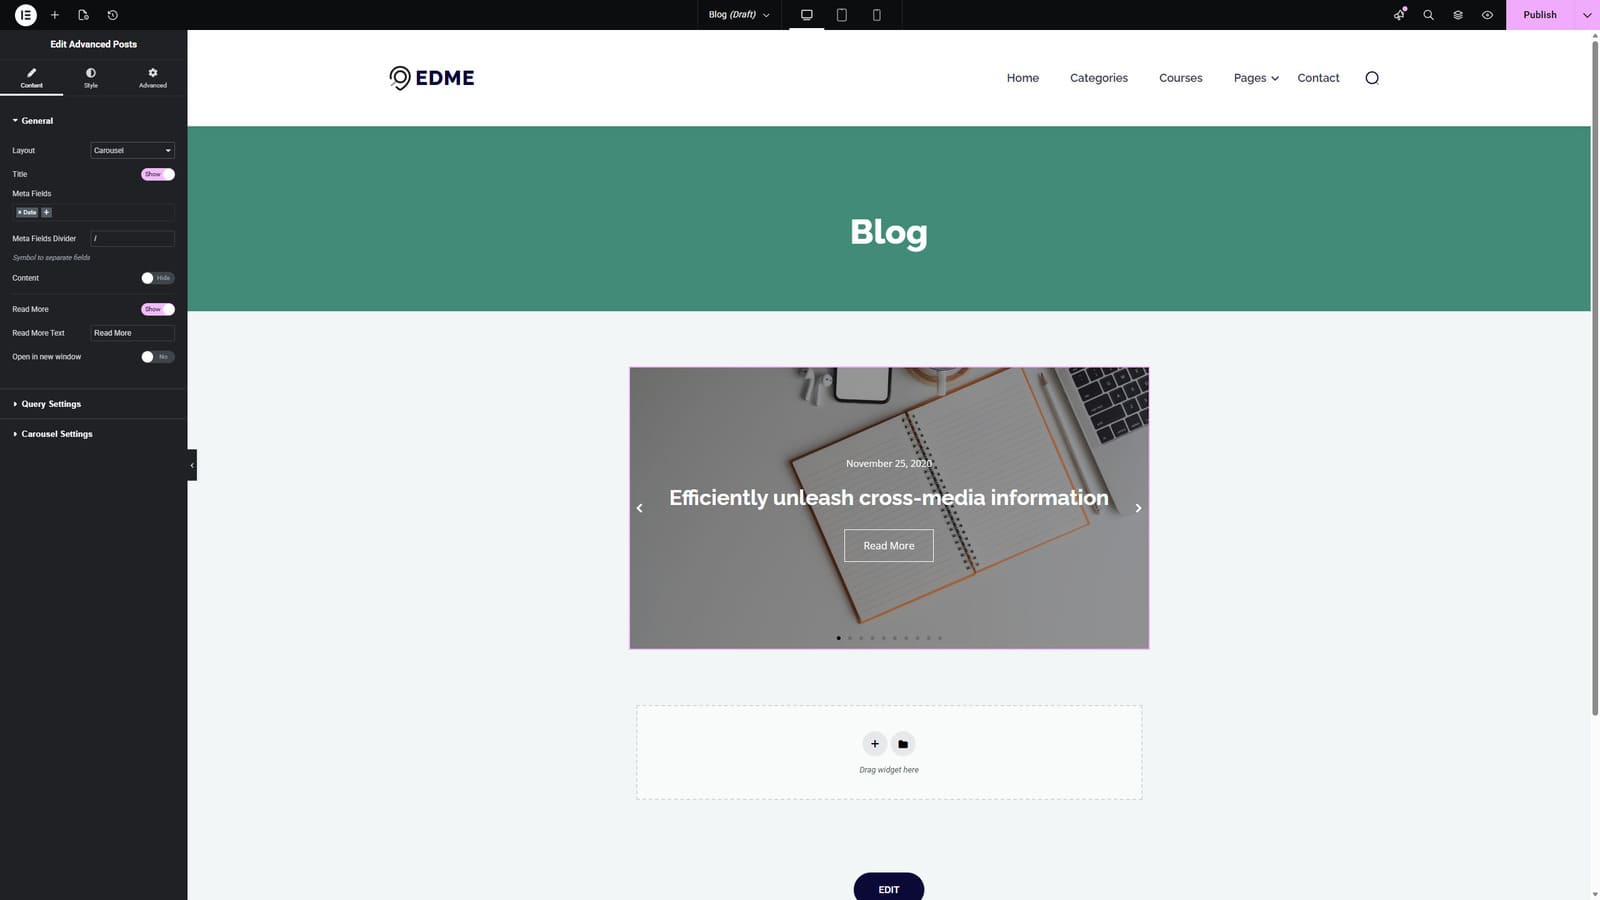 Elementor posts carousel blog layout presents posts as a horizontal slider that your readers can navigate easily using arrows or swiping. It is useful if you value interactivity similar to that of social networks. With this option provided by the Advanced Posts widget, only a few posts are visible at a time. To view other posts, users interact with the Elementor posts slider. This layout is best used for featured content to highlight it on the homepage or elsewhere on your website, providing a compact design and interactivity.

Customizing the Look of Your Blog with Query Settings
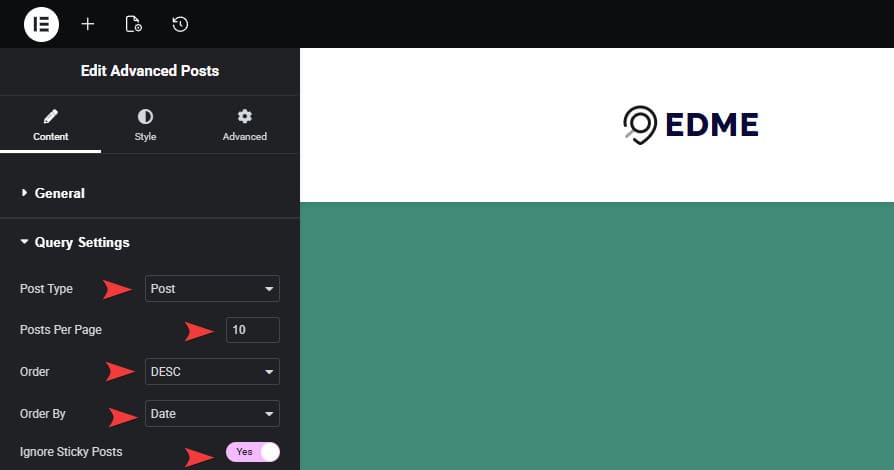 The Advanced Posts widget by Stratum allows you to further customize the look of your blog page based on your query settings, especially if you want to learn how to use query ID in the Elementor posts widget. The settings include:
- Post type: Defines what kind of content will be displayed using the Elementor blog posts grid widget. Available options vary from blog posts to pages and custom post types.
- Posts per page: Allows you to choose how many posts will be displayed at once. We recommend keeping this number balanced so that your blog looks content-rich without being overloaded or underdeveloped.
- Order: This part of the widget query settings supports two options – ASC (ascending) and DESC (descending). It defines in what order your posts will be displayed. For example, to show newer publications first, select DESC.
- Order by: You can use this dropdown list to define what will be used for additional post ordering – date, menu order, or post title when Elementor blog posts grid displays content.
- Ignoring sticky posts: If your blog has sticky posts and you want to avoid displaying them first, you can enable this option in query settings.
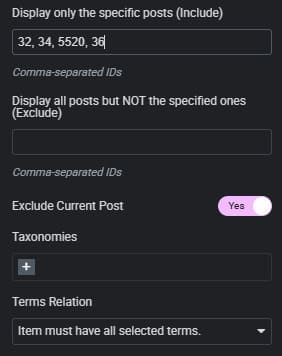 These are only some of the options provided by Stratum with its Advanced Posts widget. As you see, they help with post order management a lot, allowing you to avoid moving or hiding posts manually. This also works if you plan to use other themes such as Astra or Hello Elementor. Still, this widget has some extra options you can use to fully control the content you display, such as:
- Display only specific posts: Using this Elementor filter posts feature, you can display only defined posts after adding the specific post Elementor posts widget query ID in settings.
- Exclude posts: A total opposite to the previous feature, this one allows you to hide certain posts when you add their IDs in the corresponding field of Elementor widget settings.
- Exclude current post: A toggle allowing you to hide the page you’re currently working with from being displayed.
- Define taxonomies (tags and categories) to display: Helps you to display posts based on certain categories, tags, and other requirements defined in the settings of Elementor blog posts grid.
- Terms relation: This setting specifies that displayed posts need to have either all selected terms or at least one of them.
Additional Settings to Use with Elementor Posts Widget
The offered widget also has other settings that you may find useful when configuring your blog page with Stratum. They are native to Elementor and won’t be new to you if you have worked with this page builder. These settings are multiple, and they are grouped into two main sections:

- Style: Settings that define how the widget looks on the frontend after customization. They allow customization of where the blog title is placed, how the widget acts when Grid or List layouts are active, etc. This section also helps to change the looks of the Read More button, content spacing, meta fields, and add animation effects to images where necessary for your Elementor blog posts grid experience.
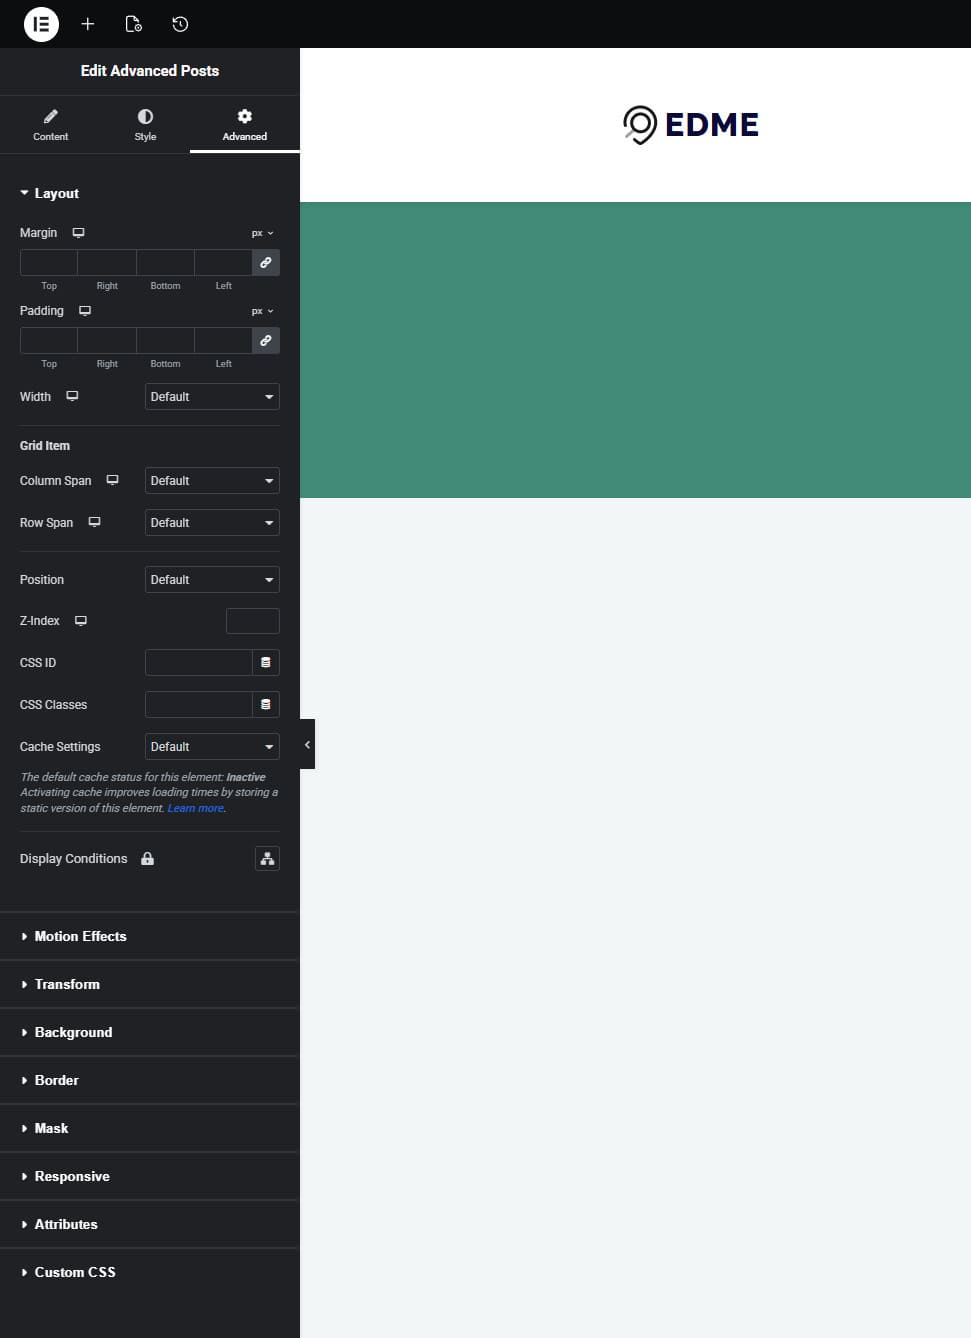
- Advanced: If you want to take the customization even further, the Stratum Elementor addon offers various advanced settings, too. They allow you to change motion effects, layout, background, border settings, and perform other actions to make your blog page unique outside of what the Advanced Posts widget offers by default. Other options include:
- Transform (Rotate, offset, scale, etc.);
- Mask;
- Responsive settings;
- Attributes;
- Custom CSS.
Conclusion
 We hope this short guide for using the Elementor blog posts grid widget by Stratum has helped you figure out how to make your blog posts more varied and easier to edit. From adding stunning images to using Elementor posts widget custom fields options, this solution and the whole collection of them provided with this add-on can drastically improve how your website looks and functions. Moreover, Elementor addons like Stratum have other benefits you may want to add to your site:
- More design widgets: Thanks to Elementor add-ons, you can expand your default widget collection with features like advanced Elementor posts slider sections, testimonials, tables, timelines, and galleries. This way, you can add more creativity and build unique pages in no time.
- Advanced customization options: Many add-ons add extra styling controls for better customization. These include animations, hover effects, and responsive settings, resulting in unique page layouts, new elements, and varied sections.
- Faster web development: Using ready-made widgets and content blocks, you can reduce the need to build components from scratch. Such an approach speeds up page creation while also helping developers ensure better performance.
- Lesser need for custom coding: Instead of manually writing CSS, JS, or PHP to add custom functionality, you can simply drag and drop widgets for Elementor posts that are provided by add-ons like Stratum. Thus, you’ll be able to introduce advanced features that are accessible even if you don’t have any coding experience.