WordPress Weekly Schedule Plugin – How to Create a Beautiful Timetable
Table of Contents
Looking for a way to integrate a WordPress weekly schedule plugin into your school website? Look no further as in this post, we’ve prepared a short guide that will help you add a responsive timetable for your school or online courses in a few easy steps. From picking the proper plugin to configuring and integrating it on a desired page, this article will provide you with any necessary information about creating a modern timetable.
How to Build an Online Timetable
 Creating a WordPress website for school with a functional timetable may seem a complex task at first but it requires just a few steps and essentials for your website to function properly.
Whether you need a simple landing page to promote your upcoming online classes or a multipage website to engage with your students, using WordPress is recommended. This platform provides the required responsiveness, flexibility, and high customization potential for your online presence making it the best choice for educational websites.
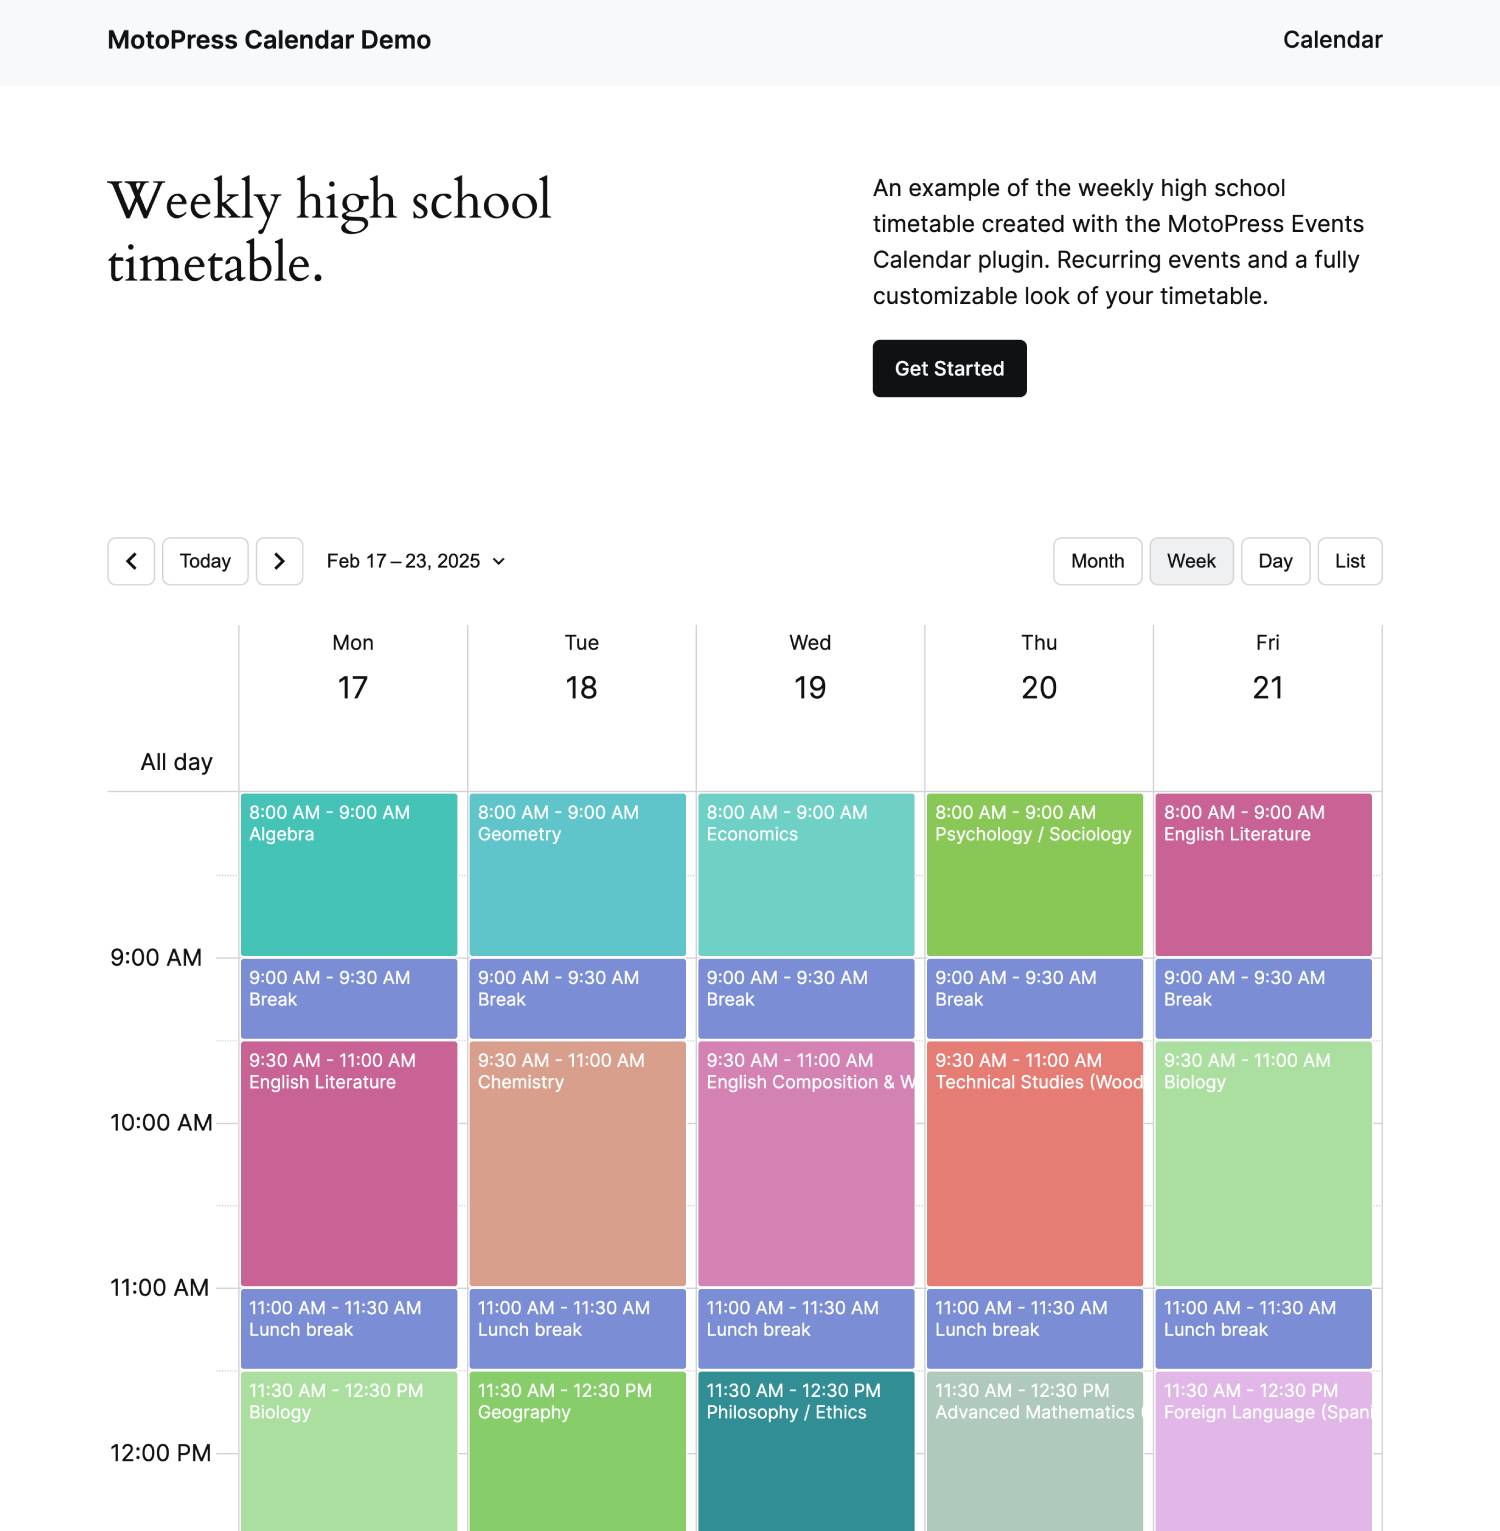
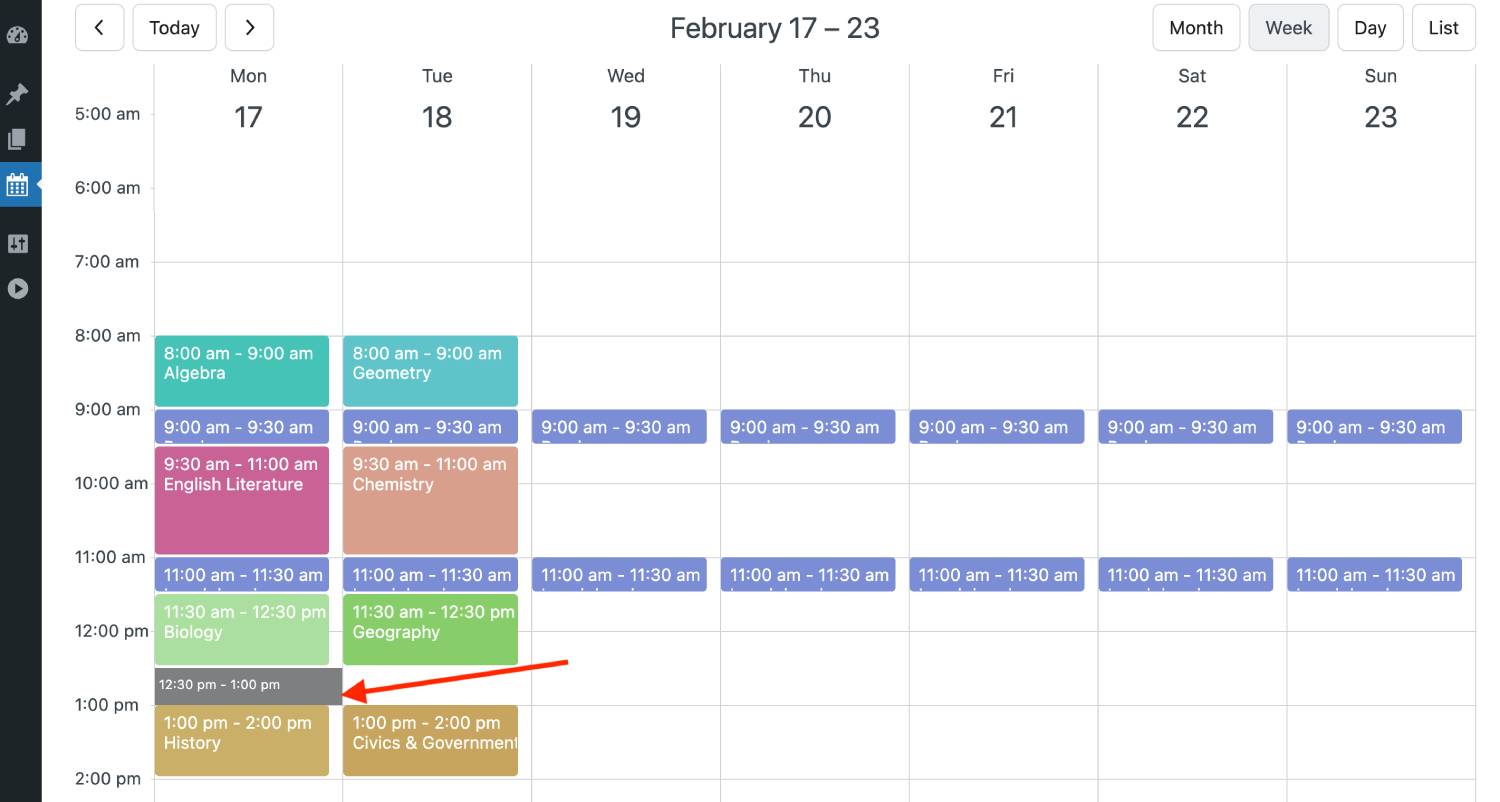
Using our tutorial, you’ll be quick to build a weekly schedule, here is an example of one created in this post with the Events Calendar plugin:
– create numerous timetables with different events/subjects for unlimited classes or grades.
– speed up the process by creating a lesson/subject just once and make it repeat automatically in your calendar.
– display several lessons at the same time.
If you already have a website, jump to the ‘Install the Plugin and Activate It’ step below.
1. Choose a Domain
 Building any website requires a proper domain. This is especially true for educational websites built with the WordPress weekly schedule plugin. A properly chosen domain can make your website discoverable and contribute to developing your brand online. Go for short yet memorable names that reflect the essence of your online courses or school and consider long-term use when picking a domain name. Additionally, don’t forget to:
- Use keywords;
- Check name availability on social media;
- Choose a fitting domain extension;
- Use a name generator if necessary.
2. Select a Hosting
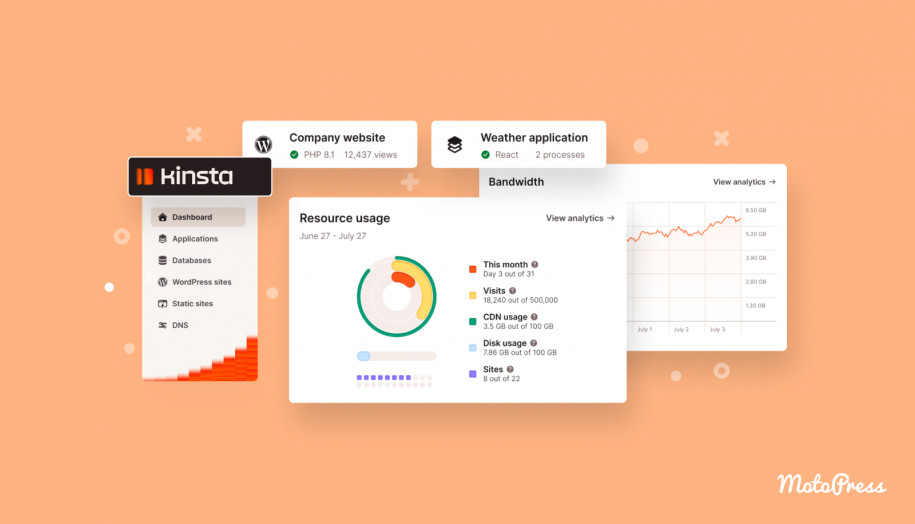
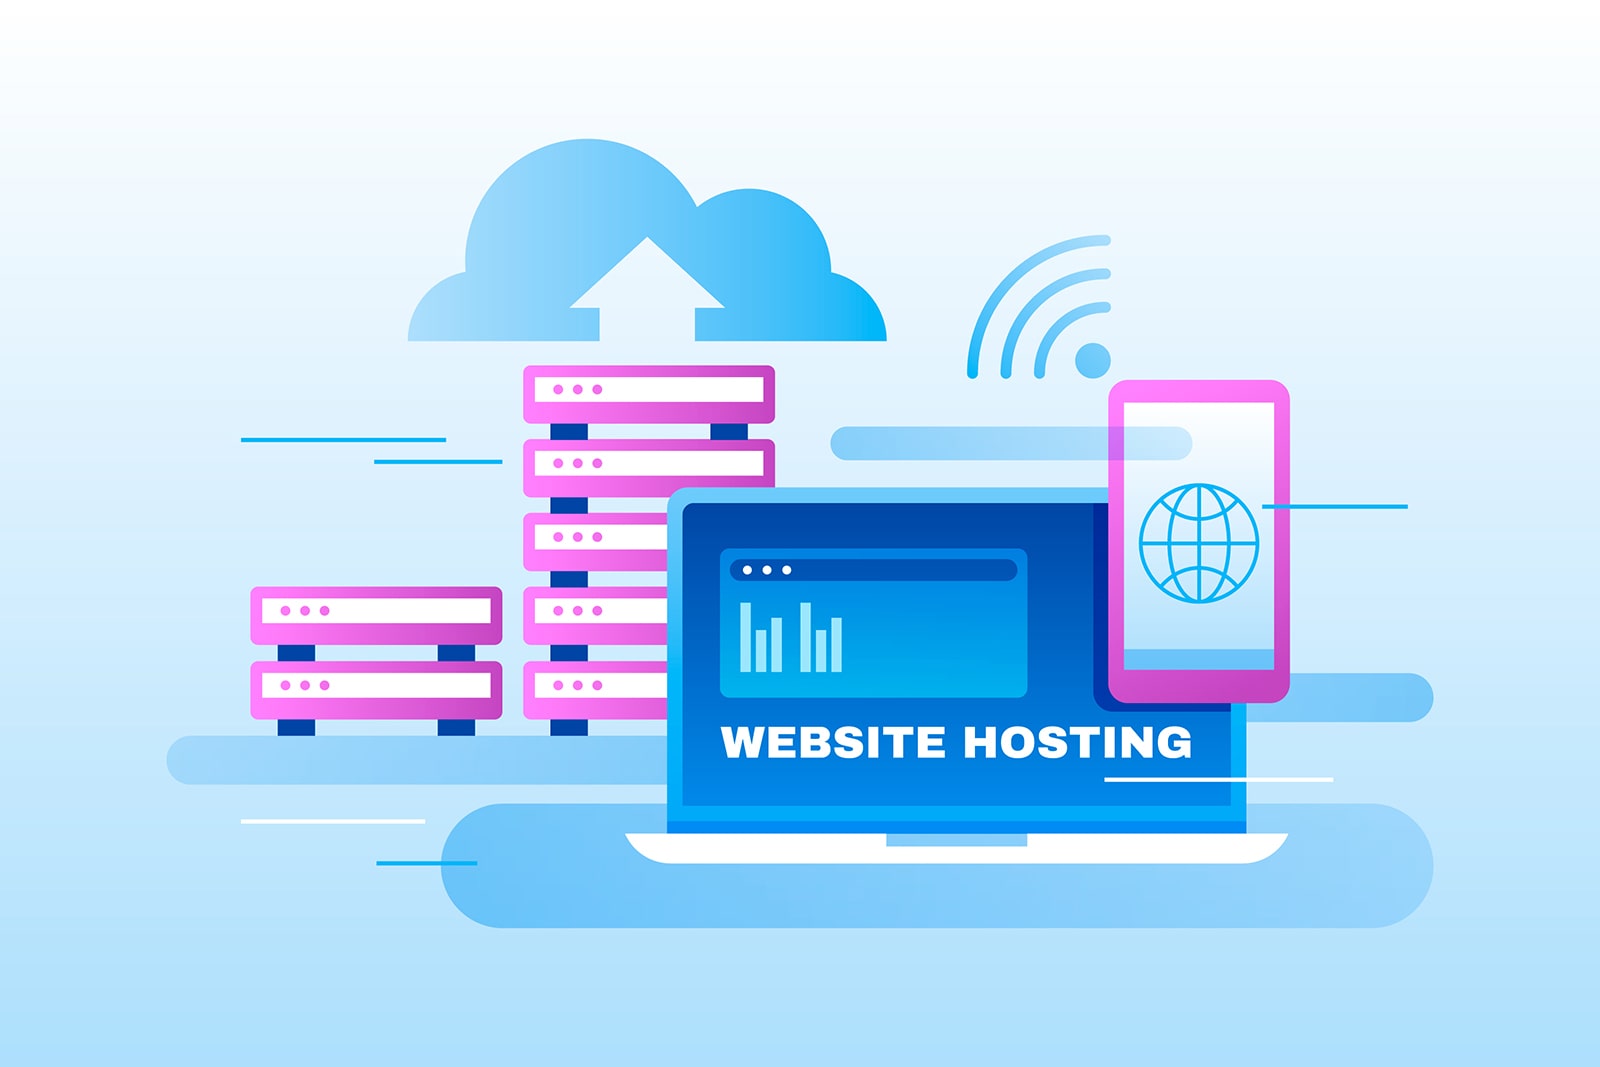 Aside from domain, a WordPress website also requires a hosting account that allows you to upload your website files online and make them public. With a majority of modern hosting providers offering services optimized for WordPress, choosing a fitting solution won’t be a problem. From Bluehost to Kinsta, there are multiple recommended hosting providers. You can learn more about them using our blog or visiting the WordPress website for more informative resources.
3. Install WordPress
 Once you’ve got the hosting and domain all configured and ready to use, it’s time to install WordPress alongside the theme you’ve chosen for your website. Thanks to a straightforward installation procedure of this CMS, you only have to provide some basic data after the installation package of WordPress is uploaded to your website. After that, upload your theme via an FTP connection or find a fitting one in the free WordPress theme directory. When the theme is downloaded and activated, you can get to customize it, which also includes adding a timetable schedule to your website.
4. Install the Plugin and Activate It
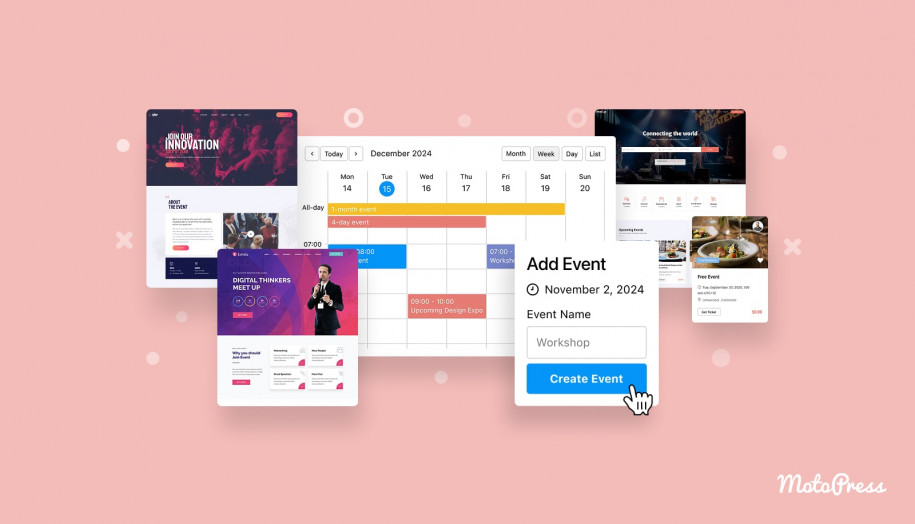
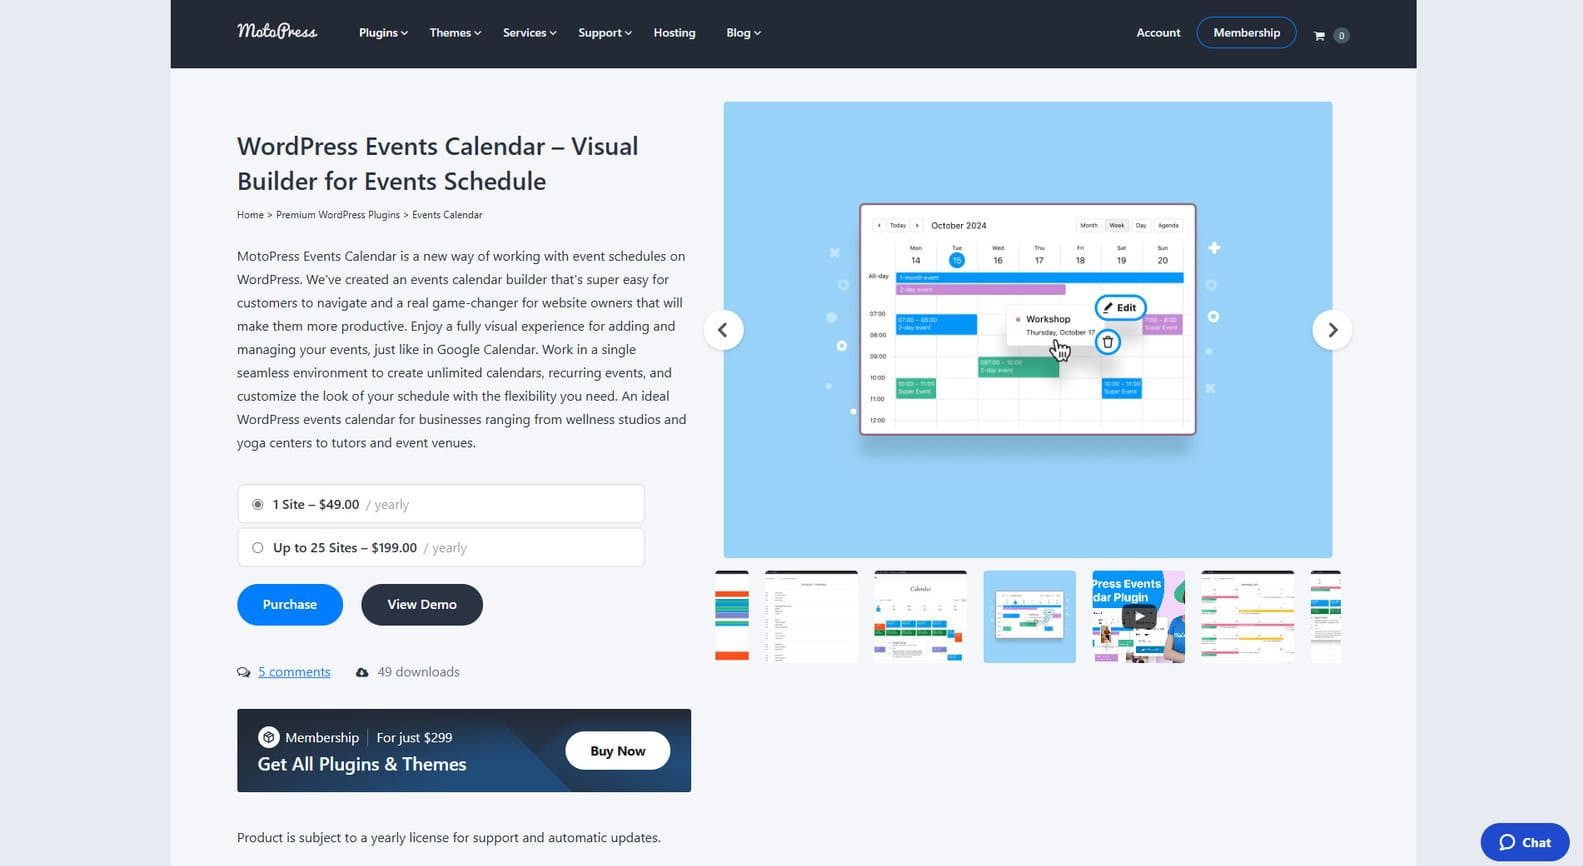 Before an actual timetable can be added you need to install a WordPress weekly schedule plugin with such functionality. This is preferable to developing a class schedule on your own or hiring a web developer. It’s not only cheaper but also faster as it takes just a few minutes to get acquainted with the basic functionality of WordPress schedule plugin solutions. While there is a variety of free plugins you can use, their functionality is often quite limited. That’s why we’ve used a fairly balanced solution in terms of functionality and price. It is a WordPress Events Calendar plugin developed by MotoPress. It provides:
- Integrated calendar builder with a visual interface;
- Support of unlimited calendars;
- 4 integrated calendar layouts;
- Color-coded events;
- Optimization for recurring events.
| Name | Developer | Price | Installations |
|---|---|---|---|
| Events Calendar | MotoPress | from $49/year | 200+ |
5. Configure the Plugin
After you’ve purchased the WordPress calendar schedule plugin and downloaded the contents with its files from the MotoPress website, you’ll need to install it. By uploading its files and activating it via the CMS dashboard, you are basically all set. After that, navigate to the Calendar tab on the left to get started.
Add Events/Classes and Descriptions
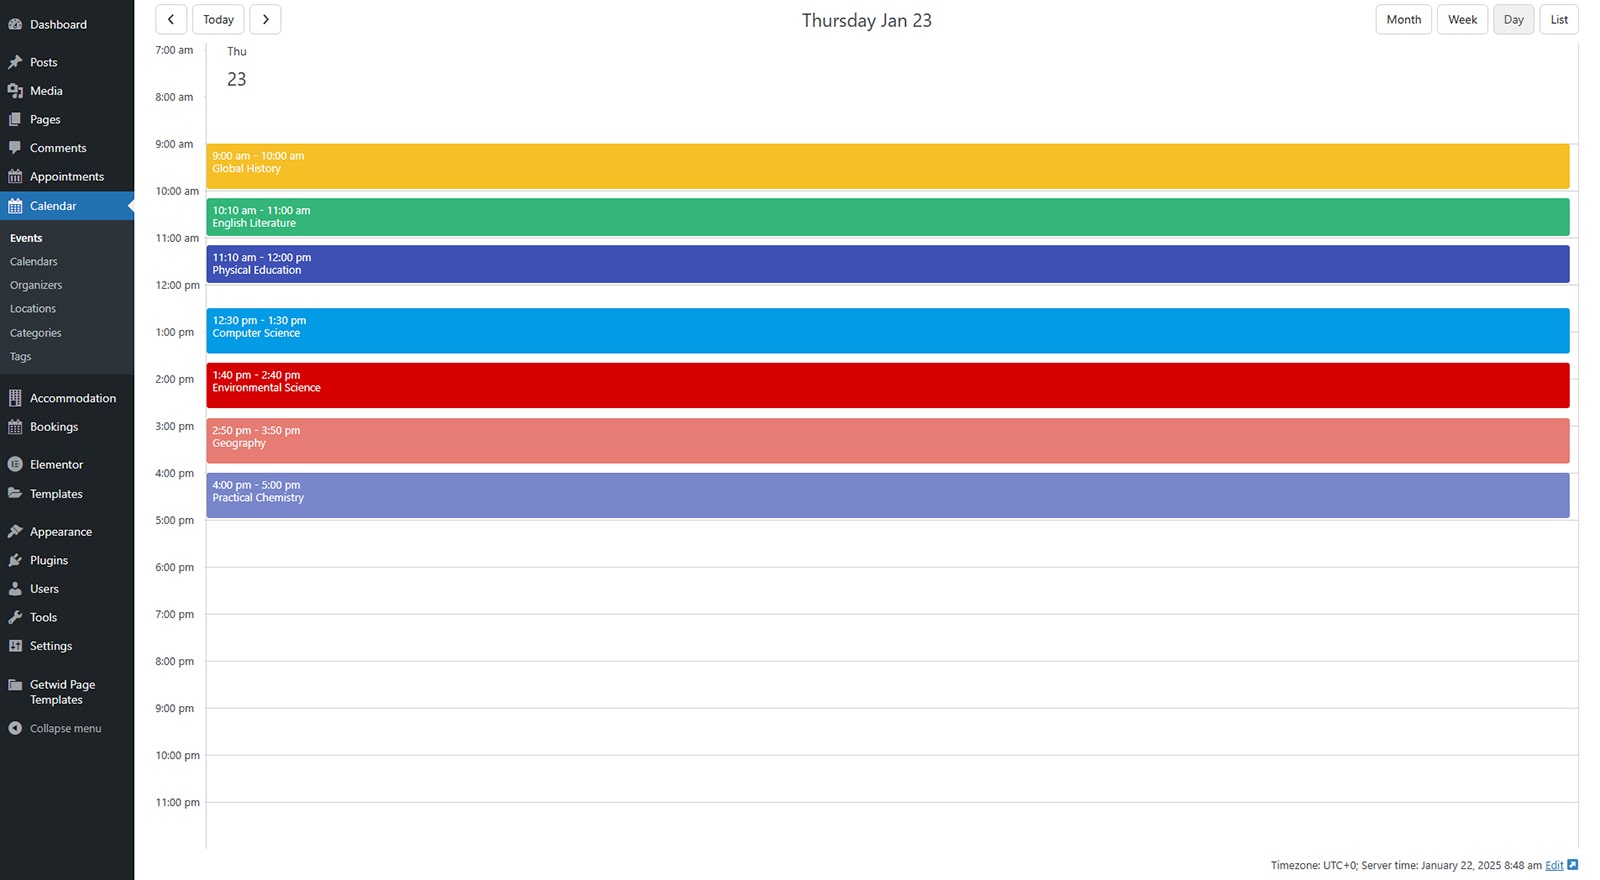 When you open the WordPress weekly schedule plugin in your site’s dashboard, you’ll land on the Events page. It features a calendar with 4 display options:
- Monthly timetable view;
- Weekly timetable view;
- Daily view;
- List view.
The site visitors can easily switch between these views.
Choose the one that you feel more comfortable with when adding events. Then you’ll need to add an event. It can be done in a few simple steps:
- Select a preferable date & time on the calendar layout to add an event. Press on a calendar cell.
- A window will open where you will be asked to add time to an existing event or create a new one. Choose the latter to add a new event.
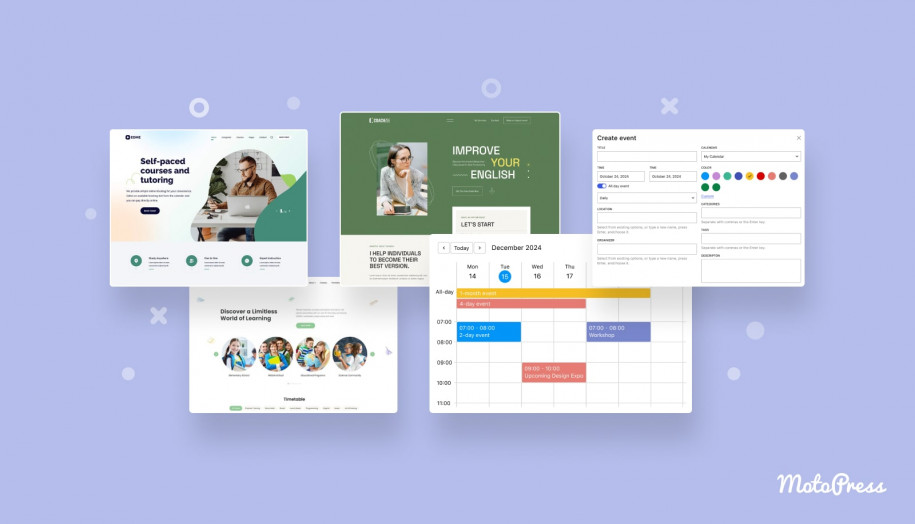
6. Adding Event Information: Single & Recurring events
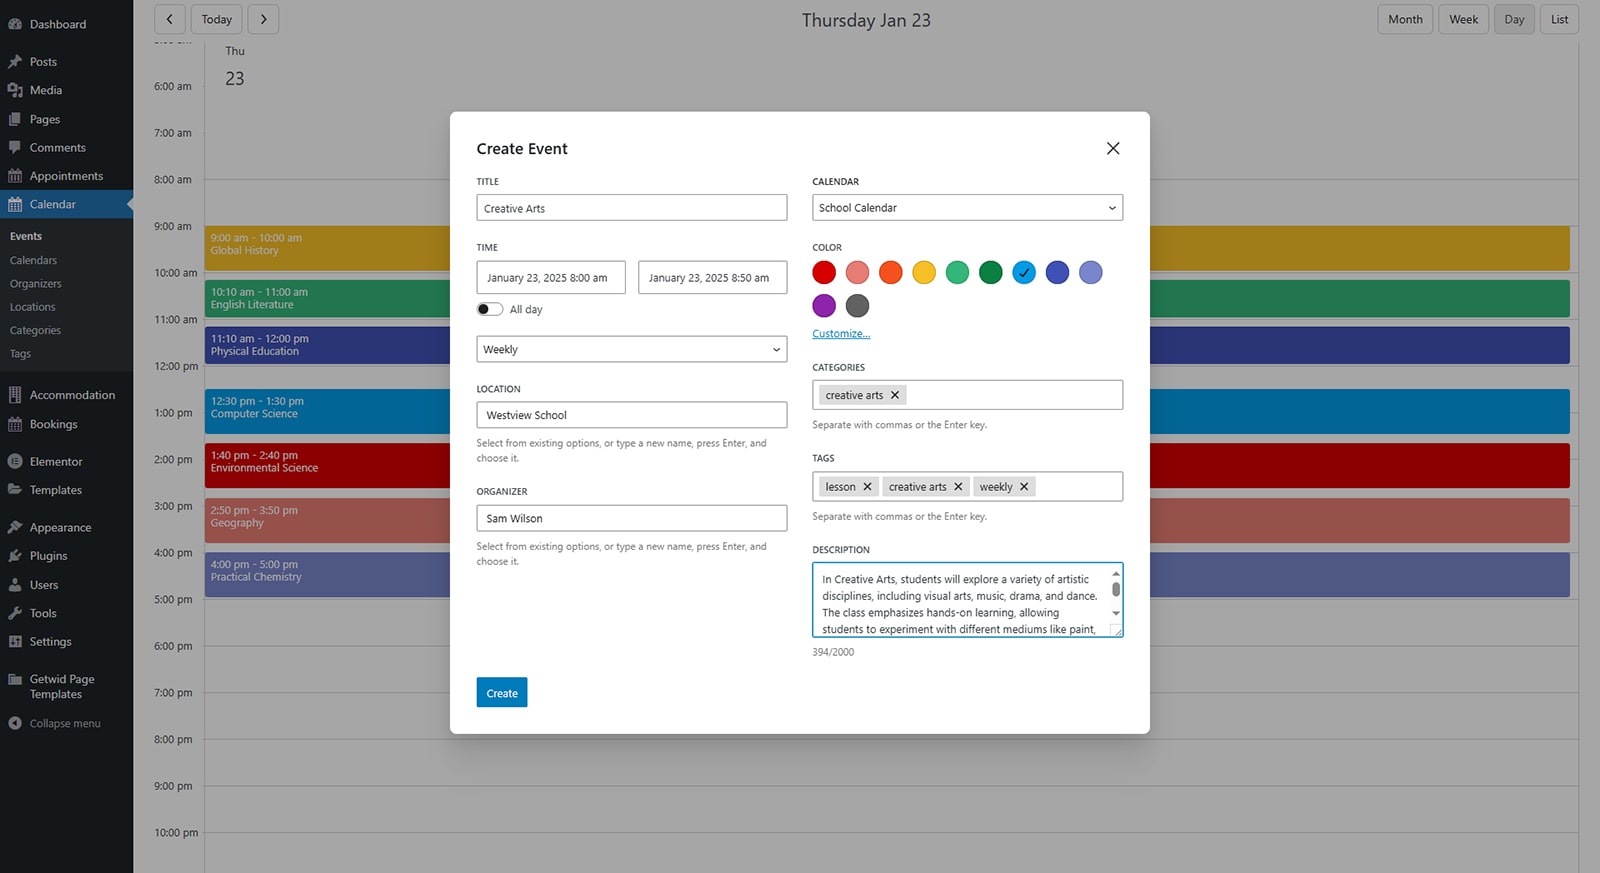 In the next popup window, you’ll be able to specify information about the event. Here you can provide:
- Event or class title;
- Class time, including:
- Event time frames;
- All-day event toggle for classes or workshops that last the whole day;
- Recurring event dropdown list for specifying whether the event will be repeated or not. There are 7 options to choose from:
- Does not repeat;
- Daily;
- Weekdays;
- Weekly;
- Monthly;
- Yearly;
- Customize… (for defining a custom recurring event pattern);
This means you can easily add a subject just once and then make it repeatable only on chosen days.
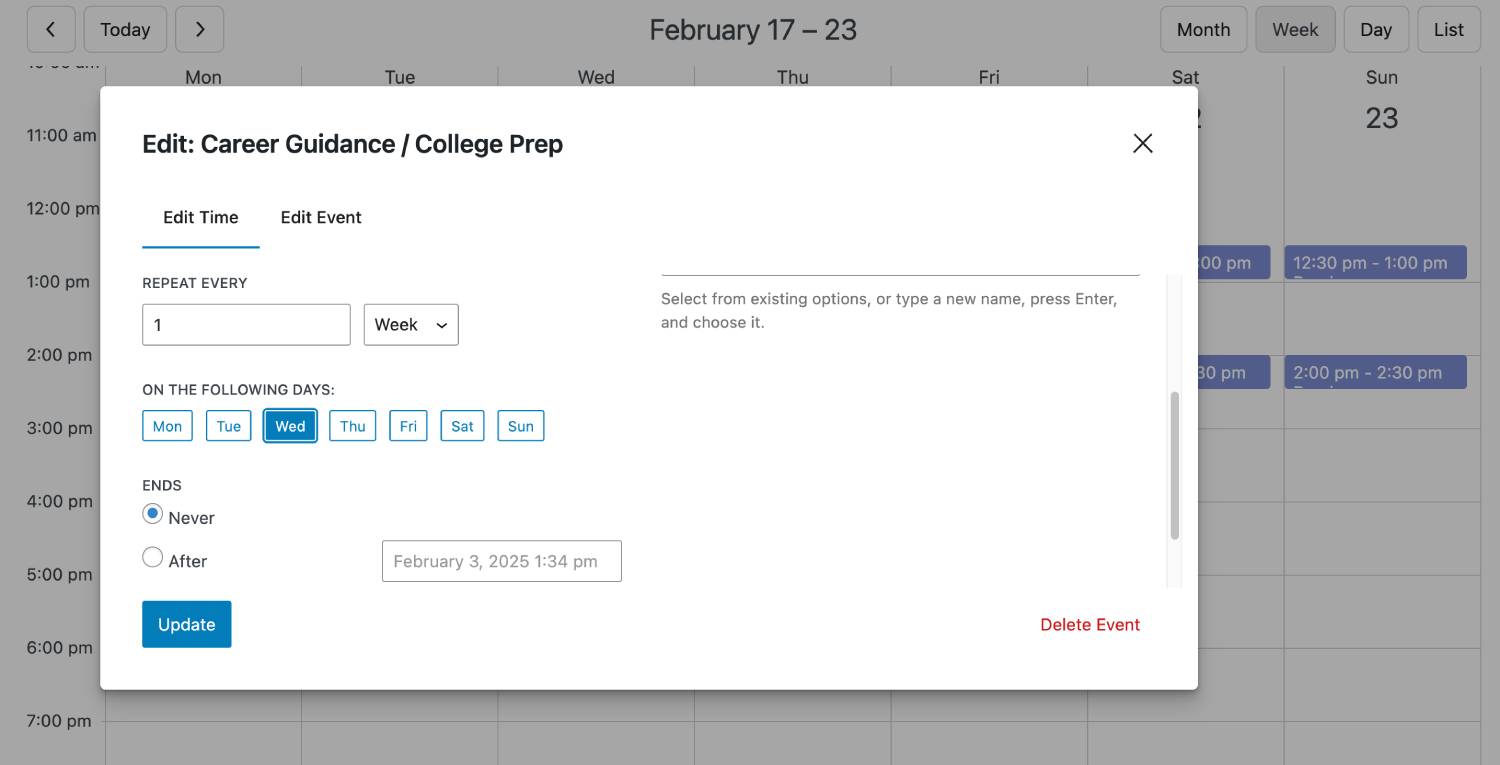

Set up on which day a class must repeat. For example, if you need to add a break between lessons that will repeat every day, the whole year – you add it just once, and then simply set this needed repetition.

Adding a break to the school weekly timetable in MotoPress Events Calendar. Moreover, you can make all your classes in the calendar more informative with extra details:
- Class location & teacher/organizer details;
- Categories and tags for easier search;
- Color codes for visual differentiation;
- A preferable calendar if you have several of them created;
- The event description that will be displayed once your event calendar is published.
When a student clicks on the chosen subject, they instantly see more details:
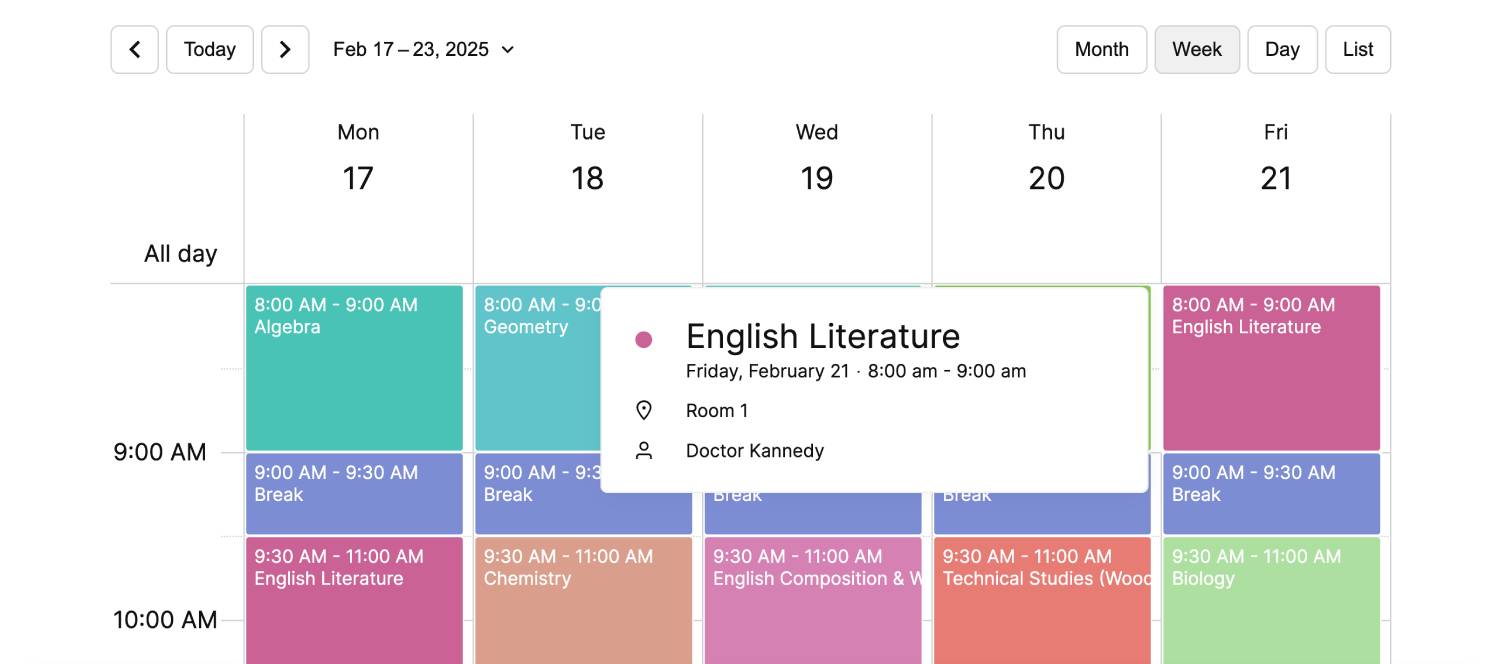

To save all event settings you’ve changed with the WordPress class schedule plugin, press the “Create” button.
If you want to drive event bookings, you may add the booking calendar WordPress solution from MotoPress to event pages.
7. Display Your Timetable on the Website

 After adding all events you need to create a functional timetable of school classes, it is time to display it on the chosen page of your website. This can be easily done with the help of the WordPress block editor (aka Gutenberg), which the WordPress weekly schedule plugin fully supports.
To display the timetable of school classes on your website, do the following:
- Navigate to the Pages tab in the WordPress dashboard. Choose an existing page or press the “Add new page”.
- The Gutenberg editor will open. Press the blue Plus button in the left corner of the editor window.
- Find the Events Calendar block in the widgets section or simply type “Events Calendar” in the search bar. Click on the block to add it to the created page.
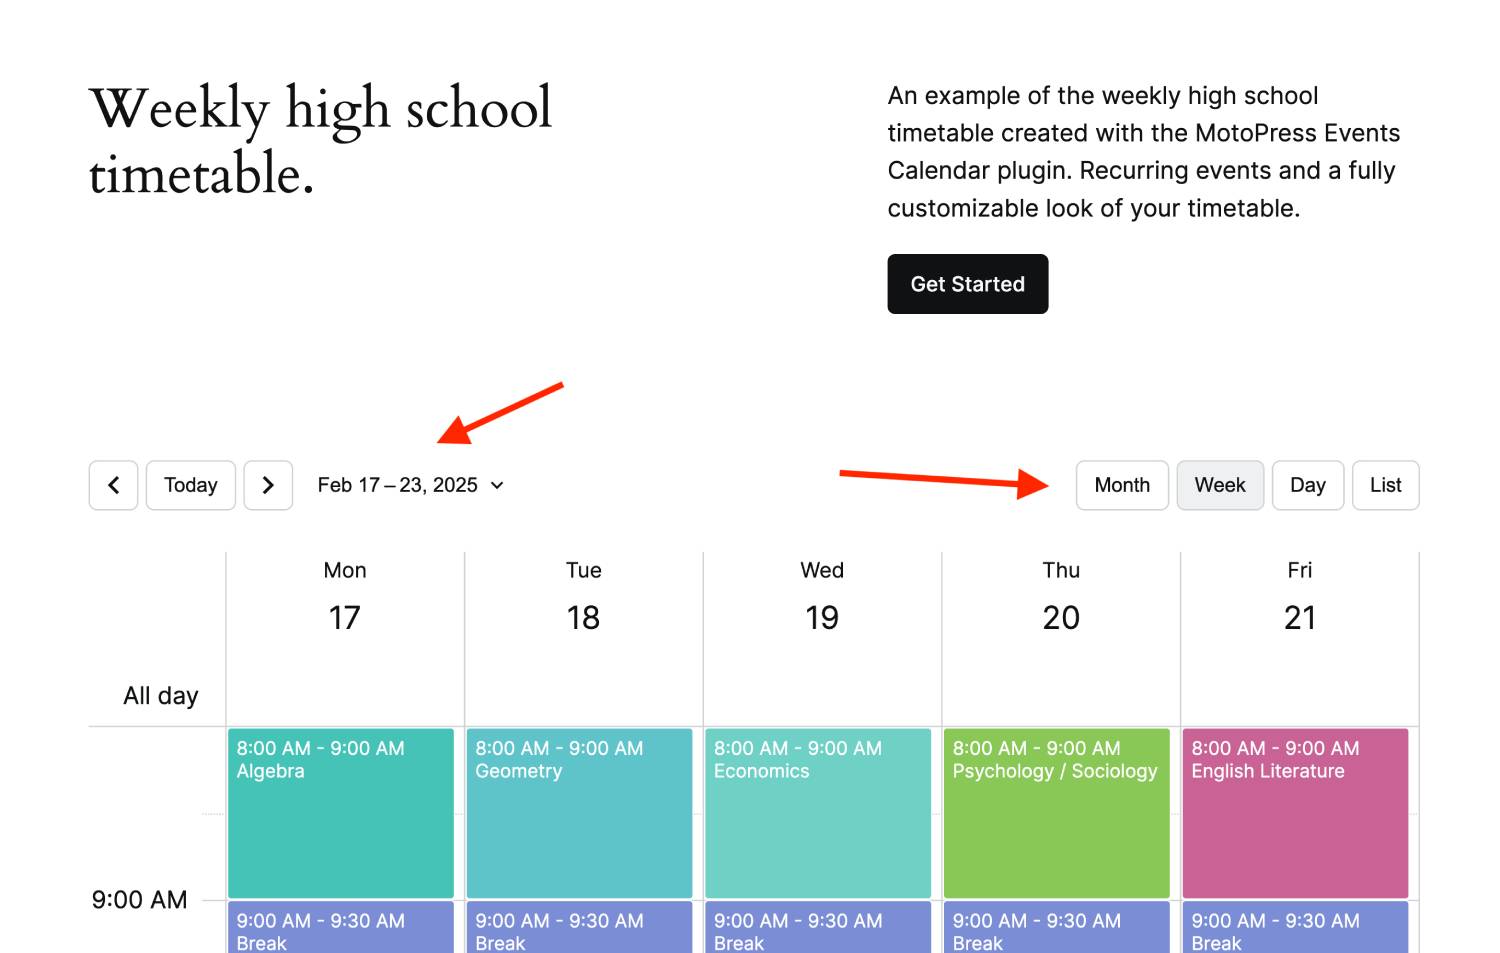
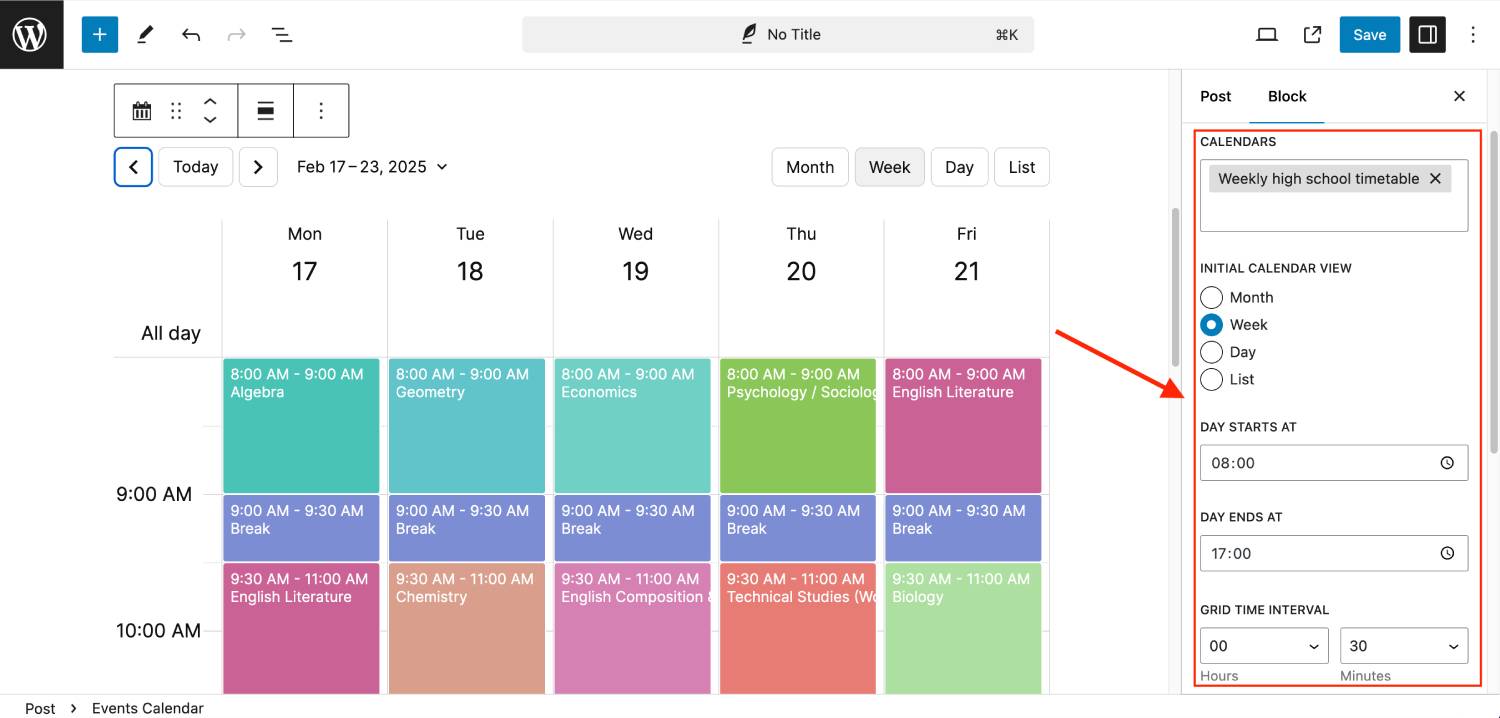
On the right, you’ll see diverse options for displaying your school’s timetable. To show weekly classes, do the following:
- Choose a calendar you want to display;
- In the initial calendar view section, pick the “Week” option to display the weekly timetable.
Then, configure any necessary WordPress event schedule plugin options, if necessary. The calendar block provides the following ones:
- Day start & end time – for example, display only those timeframes when you have lessons;
- Grid time interval – to make your timetable longer or shorter;
- Hidden days for blocking out specific days of the week.
After making the necessary changes, press the “Save” button in the top right corner to finish editing.
For example, for a normal high school timetable, I chose a weekly view, removed the Saturday and Sunday days, and chose ’30’ minutes for a grid time interval to give more space to the subject description in the timetable.

Recommended WordPress Themes to Use with Timetable Plugins

 If you’ve already dealt with WordPress or have a well-developed website, you may find it easy to install and configure a plugin. But for those users who don’t want to manually configure every part of the plugin, it is recommended to choose a ready-made WordPress theme with a fitting WordPress weekly schedule plugin. There are several themes for schools and online classes you can pair with a flexible timetable scheduling solution:
These WordPress themes are perfectly suited for showcasing your school schedule, and upcoming online and offline classes alongside related updates and content. This is possible thanks to the modern responsive design and feature-rich scheduling plugins supplied with each of these themes. From automated timetable planning to advertising your skills as a tutor, any of these solutions will help you establish a recognizable online presence for your school. Let’s look at them closer.
Edme

 Edme is a responsive and clean WordPress theme for online courses and tutoring. Offering a set of ready-made pages that are well-designed and responsive to present your educational services on any modern device, this theme delivers a well-designed online space for e-schools and tutors. Furthermore, it has a step-based booking form with payment gateway support for ordering educational courses. Being optimized for Elementor, this solution is also easy to customize when you need to create something unique.
Key features:
- Appointment Booking plugin included;
- Powerful & easy management of booked online courses;
- Pre-designed pages for courses and tutors;
- Includes Stratum Elementor add-on for improved customization;
- Area for students to track their courses.
Name Developer Price Installations Edme MotoPress From $79/year 302+ School
 For those teachers or schools that need a free WordPress design to fit their educational website, we can recommend the School theme. It is a part of the Gutenix multipurpose theme that offers a great range of functionality and design for a variety of topics. Concerning education, the School theme includes the Timetable & Event Schedule plugin to display classes anywhere you need. This theme supports the Gutenberg editor and is additionally improved with the Getwid plugin that offers over 35 ready-made blocks for customization.
Key features:
- Responsive theme layout for schools and learning centers;
- Masonry & Grid blog layouts;
- Optimized for performance;
- Multiple header styles;
- Easy installation with Gutenix Wizard.
Name Developer Price Installations School Gutenix Free 800+ CoachZee
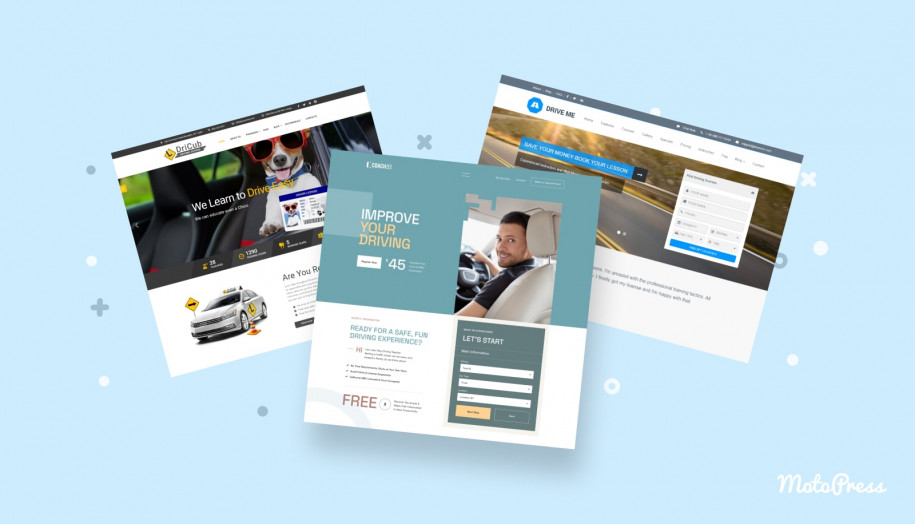
 The third theme on our list of educational solutions for WordPress is CoachZee. It is mostly designed for those who provide teaching services on an individual basis, including language teachers. Similarly to Edme, it uses the Appointment Booking plugin by MotoPress to implement the schedule functionality. It comes equipped with a blog and galleries to make your site not just informative but also content-rich.
Key features:
- 3 homepage layouts;
- Mobile-friendly online course booking;
- Built for Gutenberg;
- Multiple course bookings and locations supported;
- Customizable email notifications.
Name Developer Price Installations CoachZee MotoPress From $79/year 176+ Why do Schools Need an Online Timetable?
 Before learning how to create a timetable with the WordPress calendar schedule plugin, it’s necessary to understand the benefits of such solutions. Whether you own an online school or just want to display the schedule of upcoming classes, having a working WordPress schedule plugin can save you a lot of time. Instead of preparing & publishing a schedule manually each time, you can easily update it in a few clicks. In addition to these benefits, here are some other reasons for you to integrate a flexible WordPress class schedule plugin:
- Time management: As with any scheduling solution, the weekly class schedule WordPress plugin allows you to manage your time. It introduces automation into routine planning processes meeting the needs of teachers and students.
- Optimized interaction with students: Any conference schedule plugin WordPress provides also helps teachers optimize their communication with students. Not only will students receive updates about their schedules instantly, but they will also avoid overcrowded classrooms.
- Attendance tracking: Another useful feature that you get with a modern WordPress weekly schedule plugin allows you to track the attendance of students. This helps a lot if you need to collect accurate and regularly updated attendance records.
- Parental engagement: With a feature-rich WordPress class schedule plugin, your site will also provide a means for engaging parents, such as a child’s schedule, upcoming events, and extra activities their kid may attend.
Conclusion
 We hope this short guide on integrating a WordPress weekly schedule plugin has helped you make your school website more informative and easy to manage. Whether you need a simple schedule to update automatically or a ready-made theme with an integrated timetable, our tips will be of use. With a flexible solution such as MotoPress Events Calendar, showcasing updates for upcoming classes won’t be a problem. When choosing an appropriate weekly class schedule WordPress plugin for your school’s website, here’s what you should take into account:
- Platform compatibility: when choosing a fitting event schedule plugin WordPress plugin for your school, first of all, ensure that it is compatible with your version of CMS. If you’re using a free plugin, you can check its compatibility with WordPress on the plugin page in the WordPress directory.
- Budget: For a premium timetable wordpress plugin – weekly class schedule, budget often defines how fitting it is for your website. Luckily, most plugin developers offer diverse pricing options depending on the needs of different user groups, ranging from personal use to corporate plans for educational & business purposes.
- Features: Aside from the previous two requirements, features also play an important role in choosing the right WordPress weekly schedule plugin for your website. Before making a decision, assess what multiple solutions offer and how they meet your needs & budget. From visual calendar customization to third-party integrations, there’s a lot each developer can provide.
- Ease of use: A user-friendly plugin design and UI often defines how comfortable your user experience will be. This is also true for your students who will prefer an accessible and responsive calendar over a badly designed one.