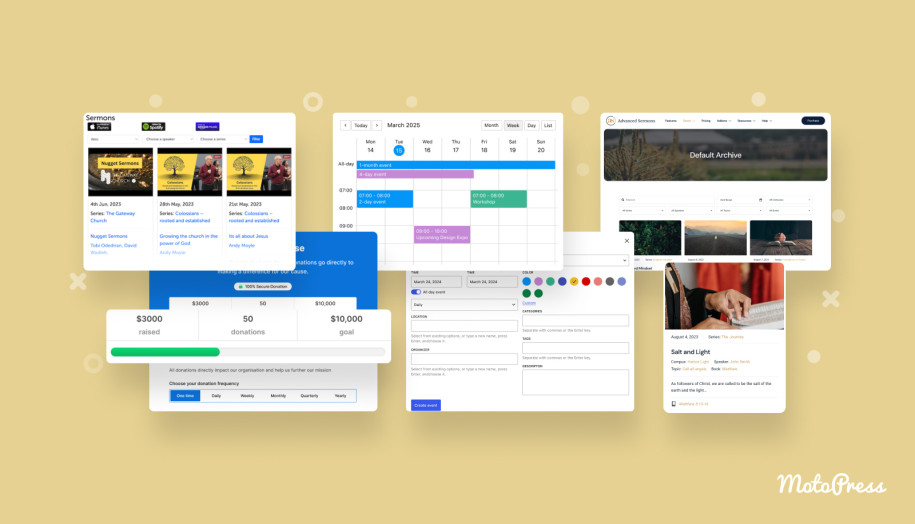
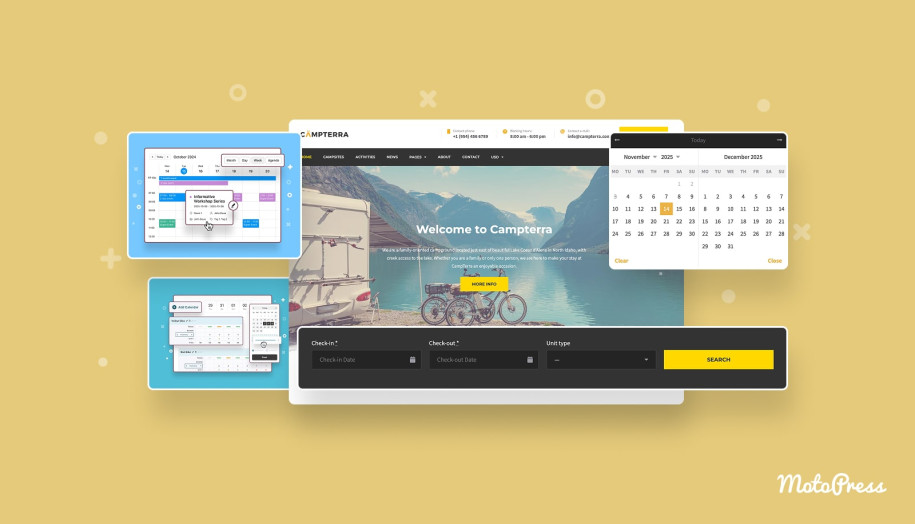
How to Use WordPress Class Schedule Plugin to Organize Your Lessons?
Table of Contents
Are you struggling to keep your lesson schedule organized and easily accessible for your students? A WordPress class schedule plugin makes displaying and handling schedules on your website easier. In this article, we’ll show you how to add your events to a responsive calendar with all the details! Whether you manage multiple classes, private classes, or diverse groups, you can streamline your workflow.
You’ll be able to showcase different types of events:
- One-time or recurring events.
- Hourly, full-day, or multi-day events.
- Multiple events in the same time slot.
Let’s get down to business!
Why Use a WordPress Class Schedule Plugin?
What benefits do you get while displaying your classes as a calendar on your site?
- A schedule helps you centralize all the information in one place.
- Clear and visual presentation of your services.
- Customers are provided with real-time information.
- Automated recurring events for simplified management.
- Enhanced engagement thanks to a well-structured calendar.
Choosing the Right Class Schedule Plugin: 5 Points to Consider
How to choose the most suitable option for your business needs? Here are some features essential for class schedule plugins:
- Easy setup process and user-friendly interface.
- Customizable calendar appearance.
- Support for recurring lessons or events.
- Mobile-friendly calendar layout.
- Smooth integration with your WordPress theme.
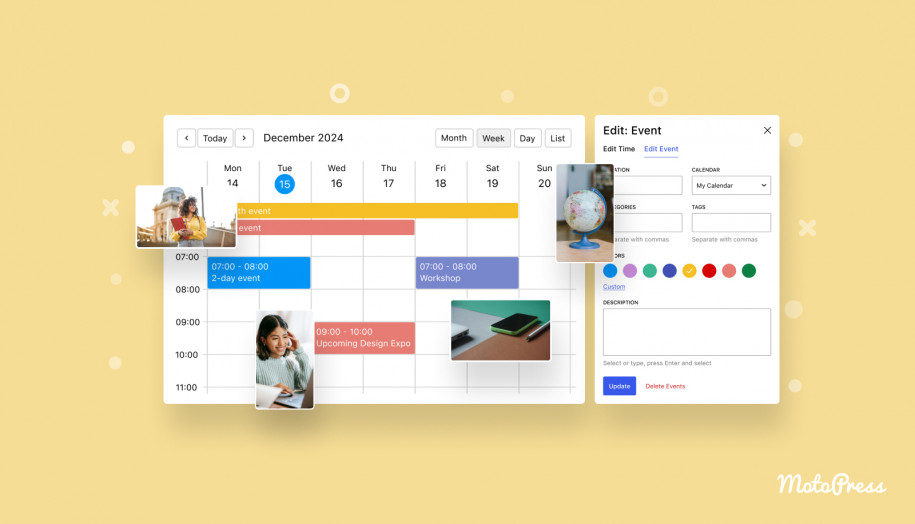
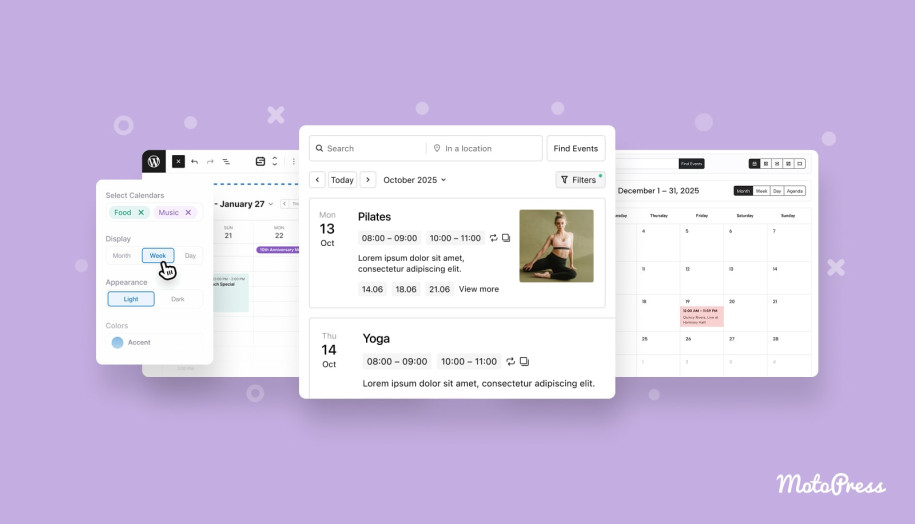
MotoPress Events Calendar is a brand-new WordPress class schedule plugin in the MotoPress lineup. And it’s an effective solution for various businesses: teachers, coaches, wellness studios, tutoring centers, etc. You can create any number of calendars with color-coded events. On top of that, it enables recurring events for different cases.
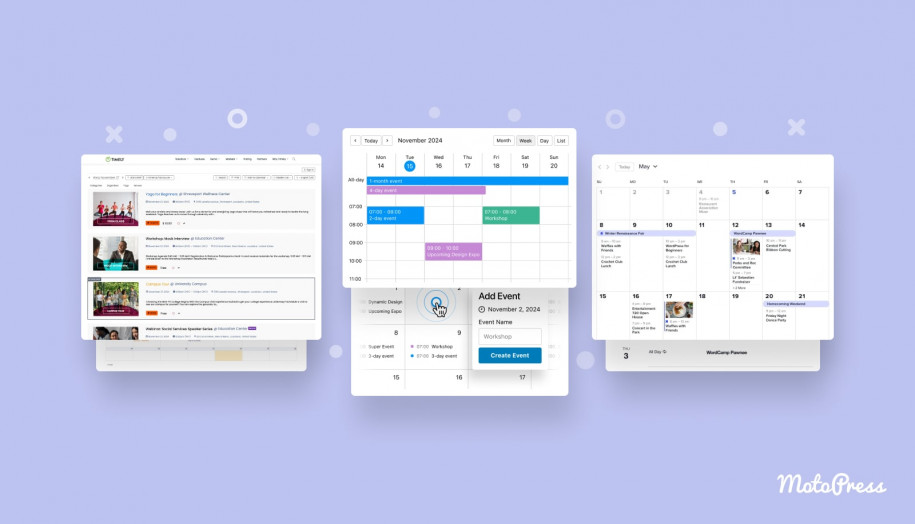
The events plugin lets you showcase hourly or multi-day events in month, week, day, and list views. It takes a few clicks to add it to your website and manage it from the dashboard.
How to Set Up a Class Schedule Plugin: Step-by-Step Guide
Let’s have a bird’s eye view of the MotoPress Events Calendar settings!
Step 1: Install and Activate the Plugin
Once you purchase the plugin, you should upload its file on your WordPress dashboard. Go to Plugins > Add New. Then, choose the file and find it on your computer. Click Install Now and Activate.

The plugin adds a Calendar menu to your dashboard. That’s it, you are ready to go!
Step 2: Add a New Calendar
This WordPress class schedule plugin lets you create any number of calendars.
1. You should navigate to Calendar > Events.
2. Click the ‘+’ icon.
3. In the pop-up window, type a Calendar Title (visible only on the admin dashboard).
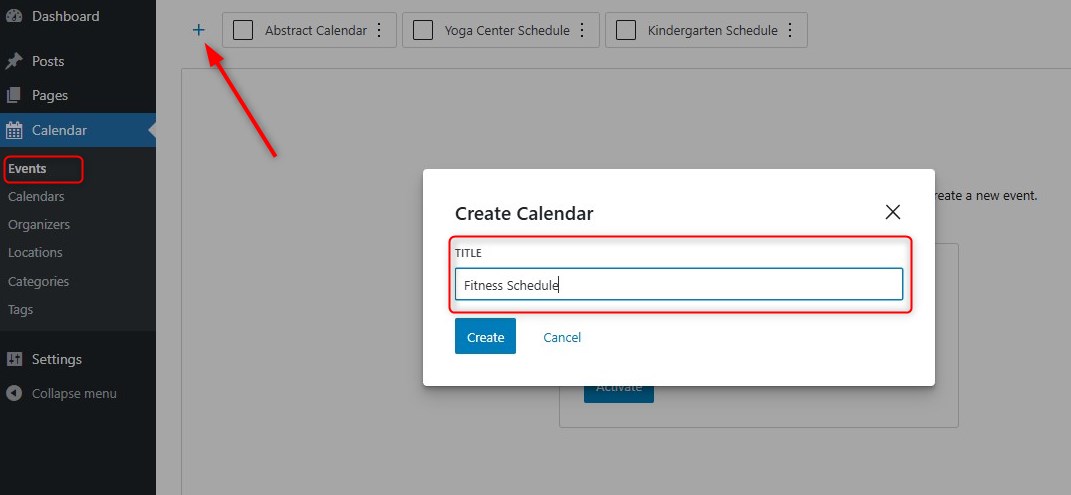
4. Click the ‘Create’ button.
Step 3: Create Events
First, you should switch to the preferred calendar view. Let’s discover each view in more detail.
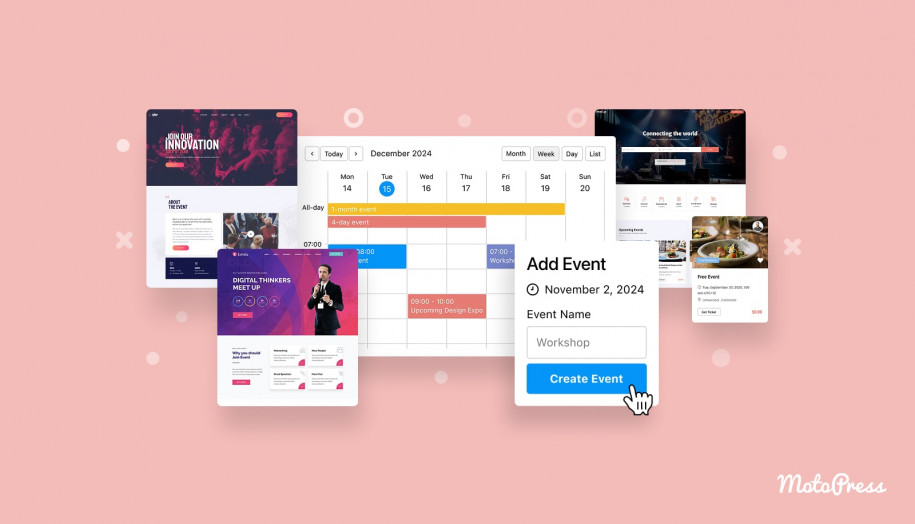
1. Month View: Click on a date or drag horizontally to add a multi-day event.
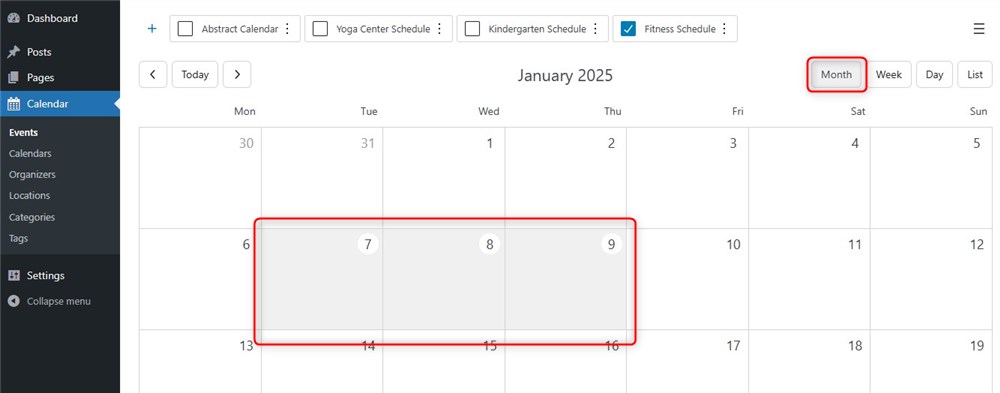
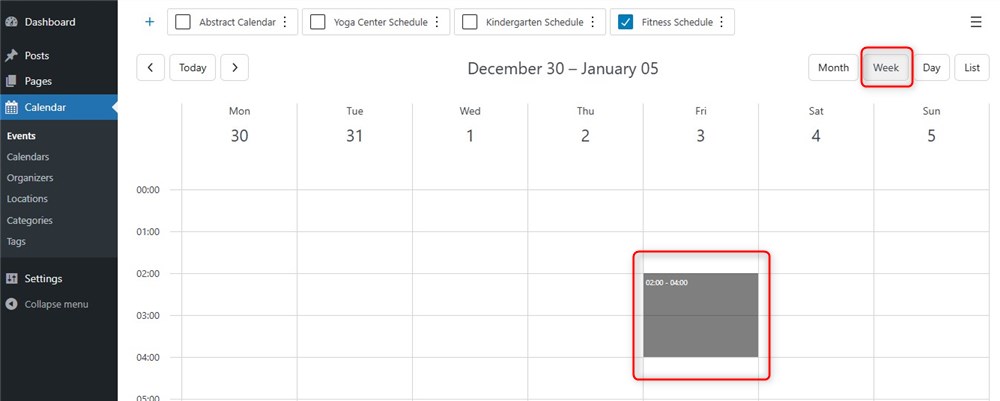
2. Week View: Select time and drag vertically.
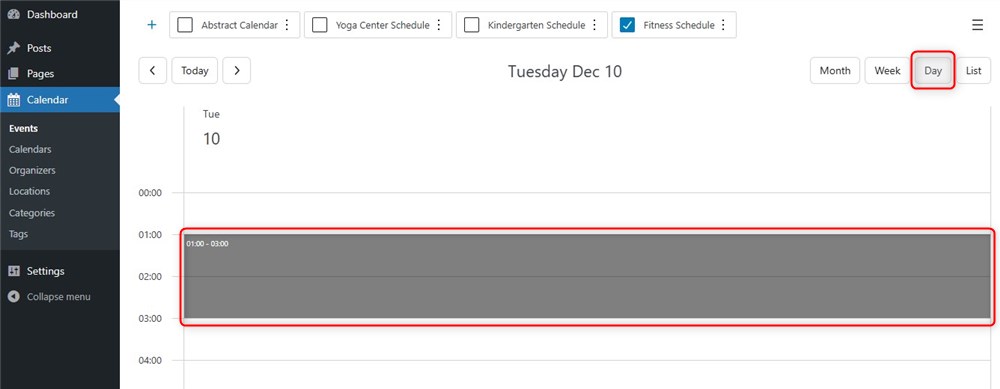
3. Day View: Choose time and drag vertically.
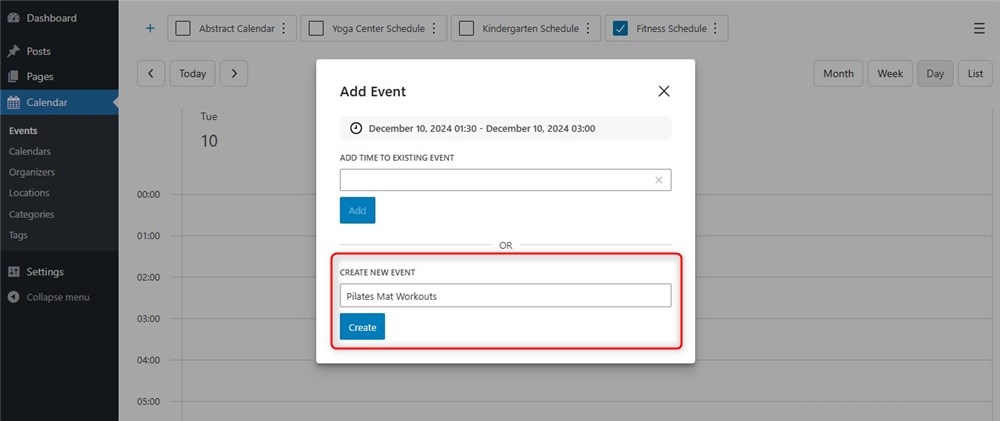
Now, you can type the event title and click ‘Create’ in a popup window. It can be a lesson, class, etc.
Step 4: Customize Event
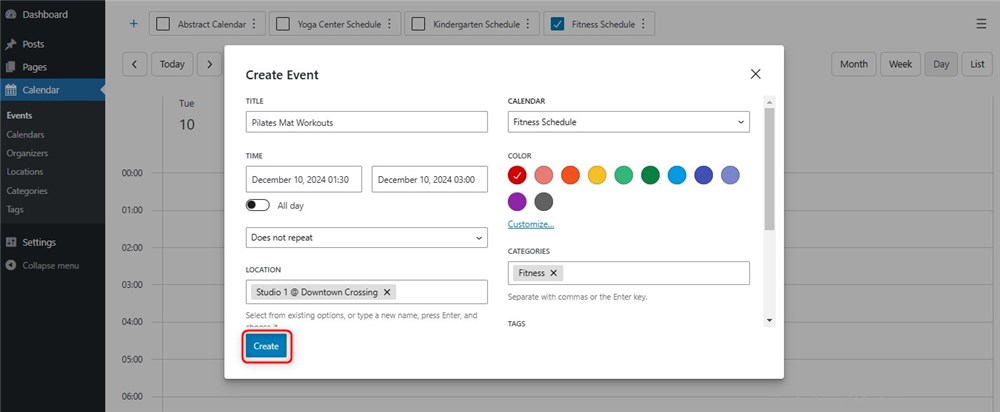
1. You should add details about your event, including:
- Time (repeating/one-time).
- Event color.
- Text description.
- Location, organizer, tag, category.
2. Next, click ‘Create’ to save the event.
Also, you can display an event without any specific time frame by turning on the ‘All-day’ toggle.
When it comes to locations, organizers, tags, and categories, the plugin allows you to opt for existing ones or create new ones.
If you click the event, you’ll be able to view its details right on the calendar.
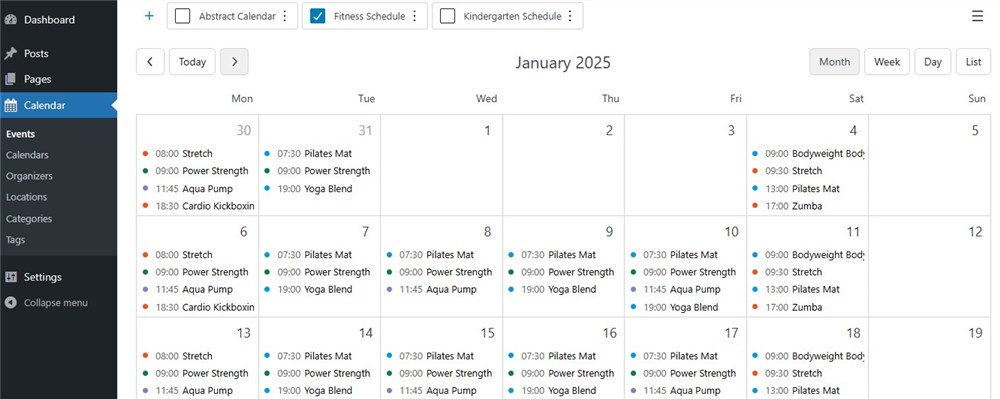
Here is an example of a fitness schedule:
Step 4: Set Up Recurring Events (If Required)
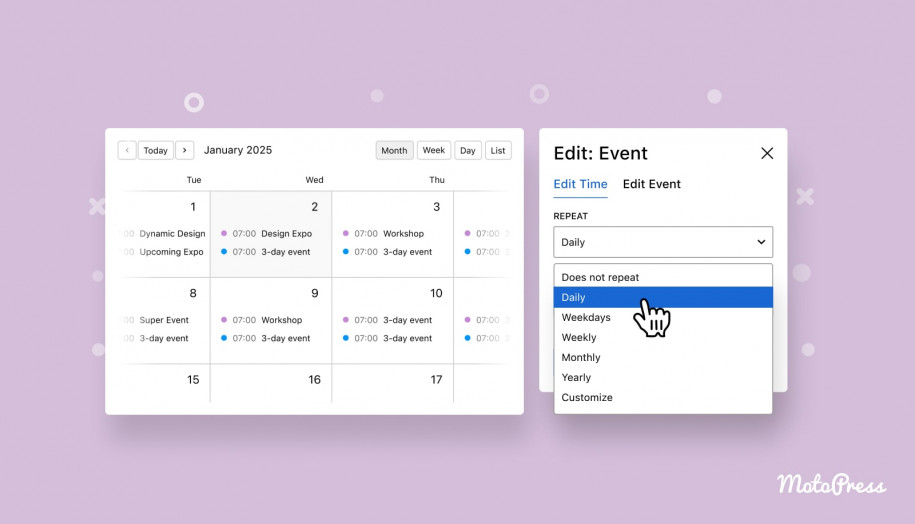
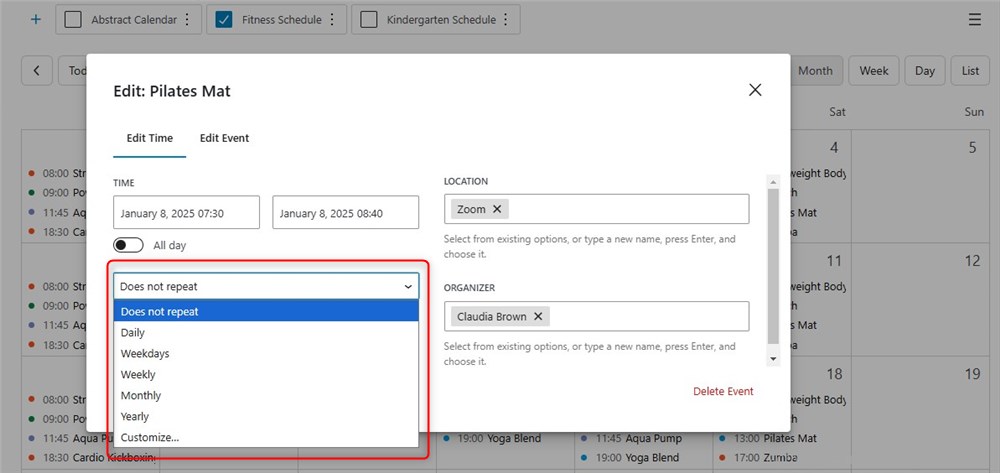
MotoPress Events Calendar is a WordPress class schedule registration plugin that enables you to configure repeating events.
1. Choose repetition frequency:
- Daily;
- Weekdays;
- Weekly;
- Monthly;
- Early;
- Custom.
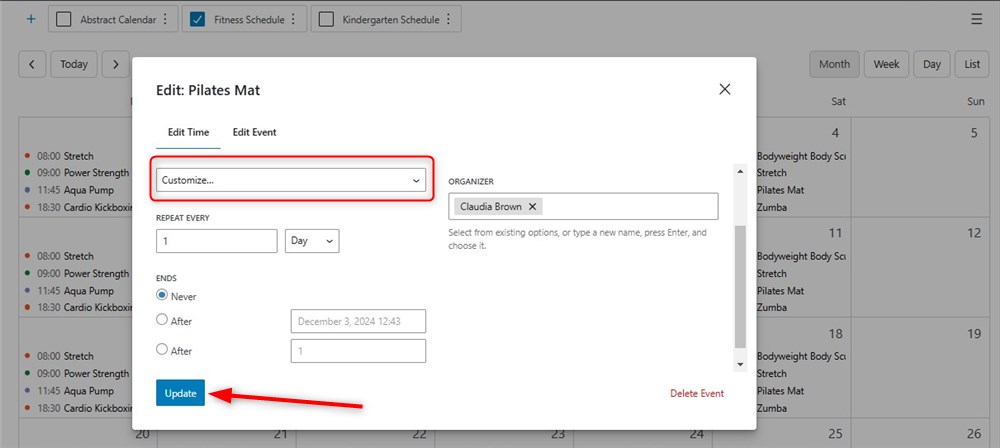
2. Go to the ‘Customize…’ menu to:
- add different repetition rules;
- set rules to end the repetition at the exact time.
Step 5: Display a Schedule on Your Website
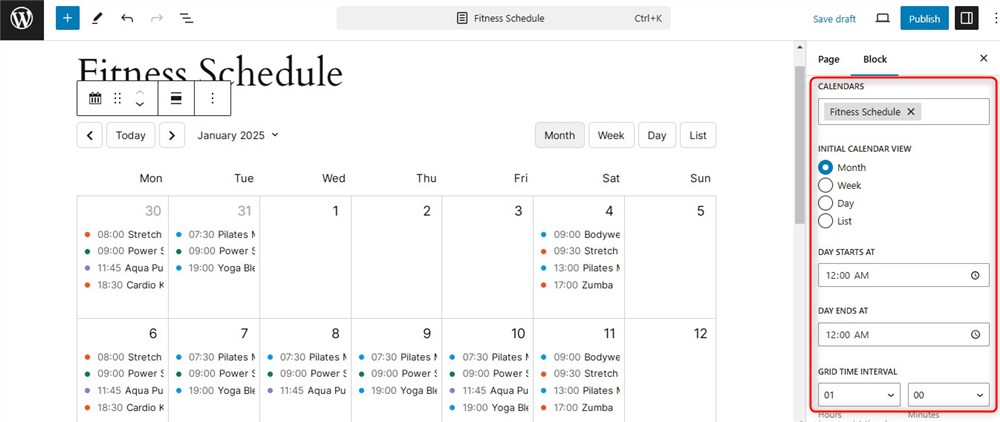
The MotoPress Events Calendar plugin adds a dedicated block to the WordPress block editor. So, you should:
1. Open the needed page or post in the block editor.
2. Add the Events Calendar block.
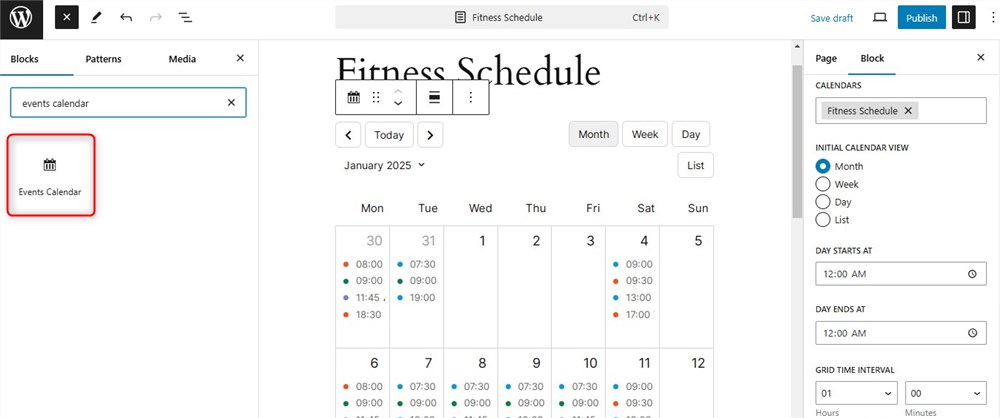
3. Customize block settings:
- Calendar(-s) to be displayed;
- Initial Calendar view;
- Start and End Times for events;
- Grid time interval;
- Hidden days (optional).
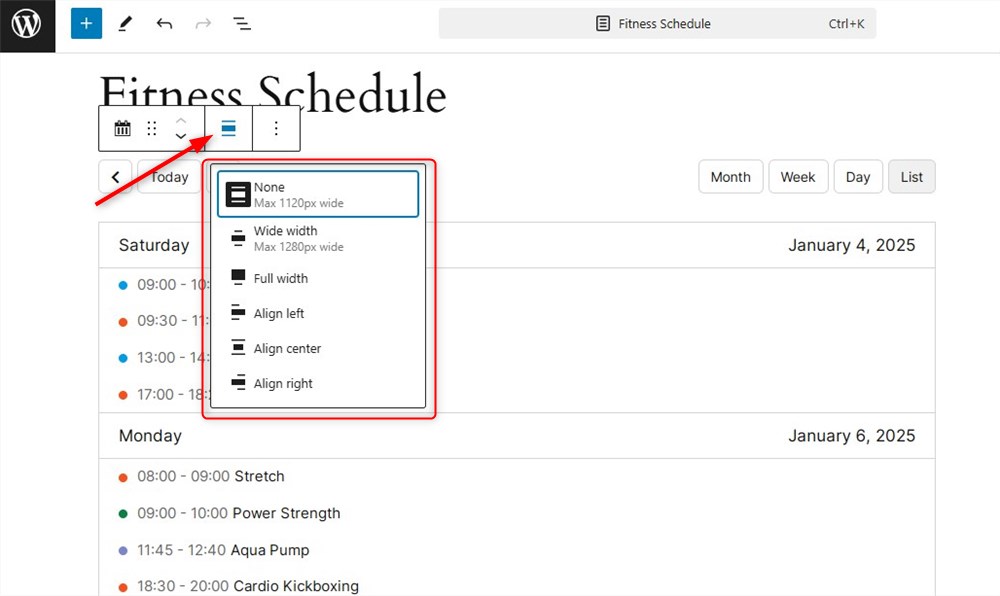
4. Define the calendar or list width.
5. Save or update the page/post.
Also, you can use the Events Calendar shortcode to embed a calendar into your website – [event_calendar].
Learn more about calendar customization capabilities from the documentation articles.
How to Enable Online Lesson Bookings?
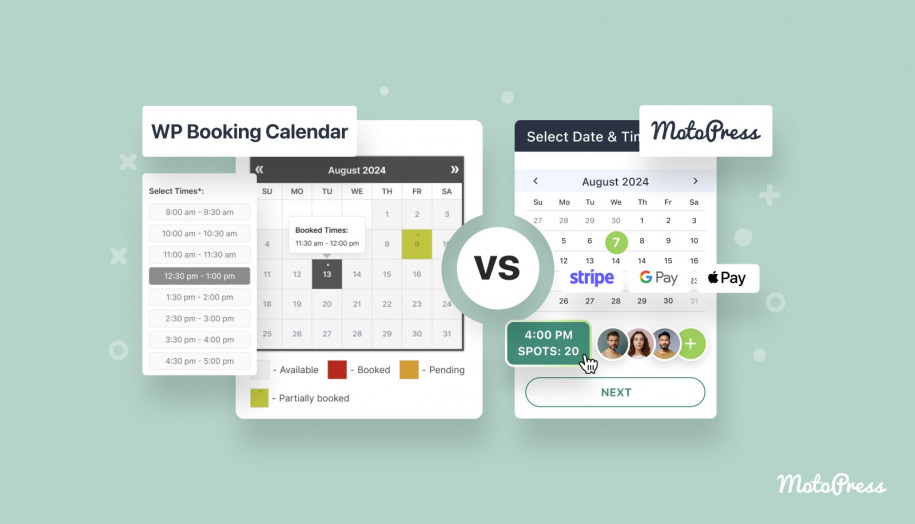
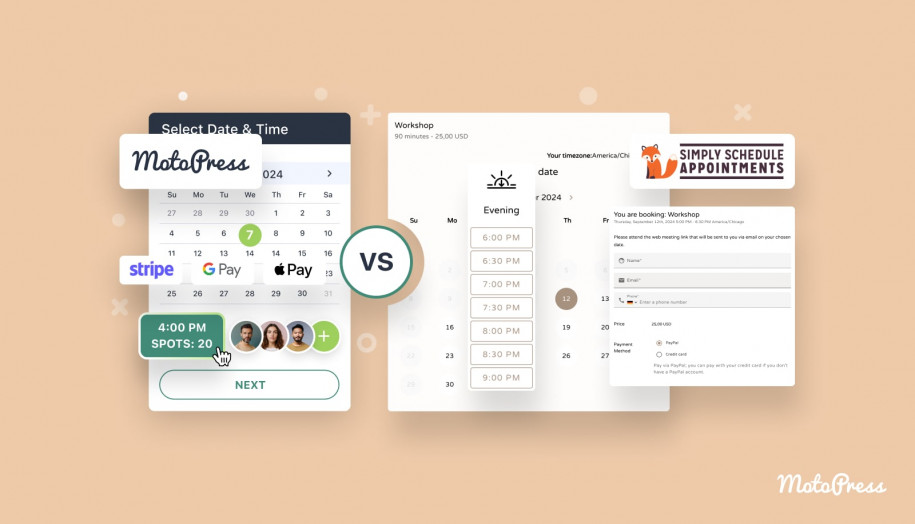
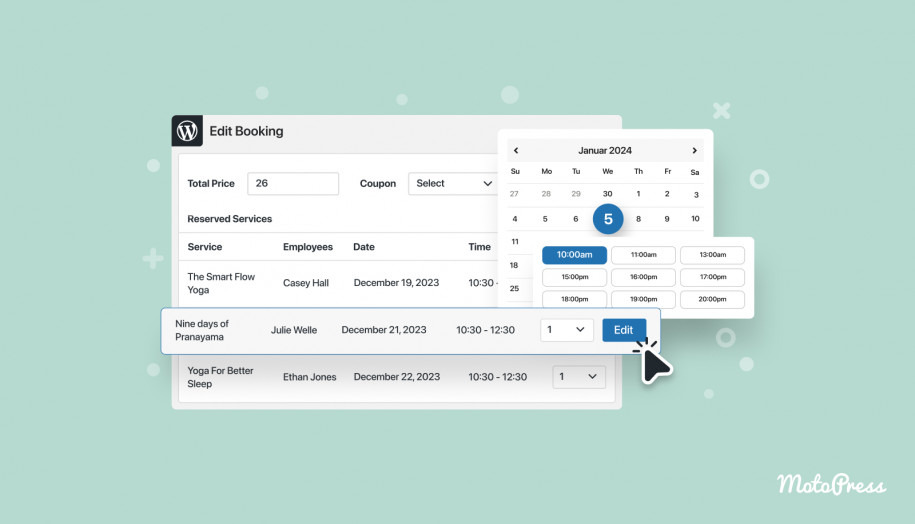
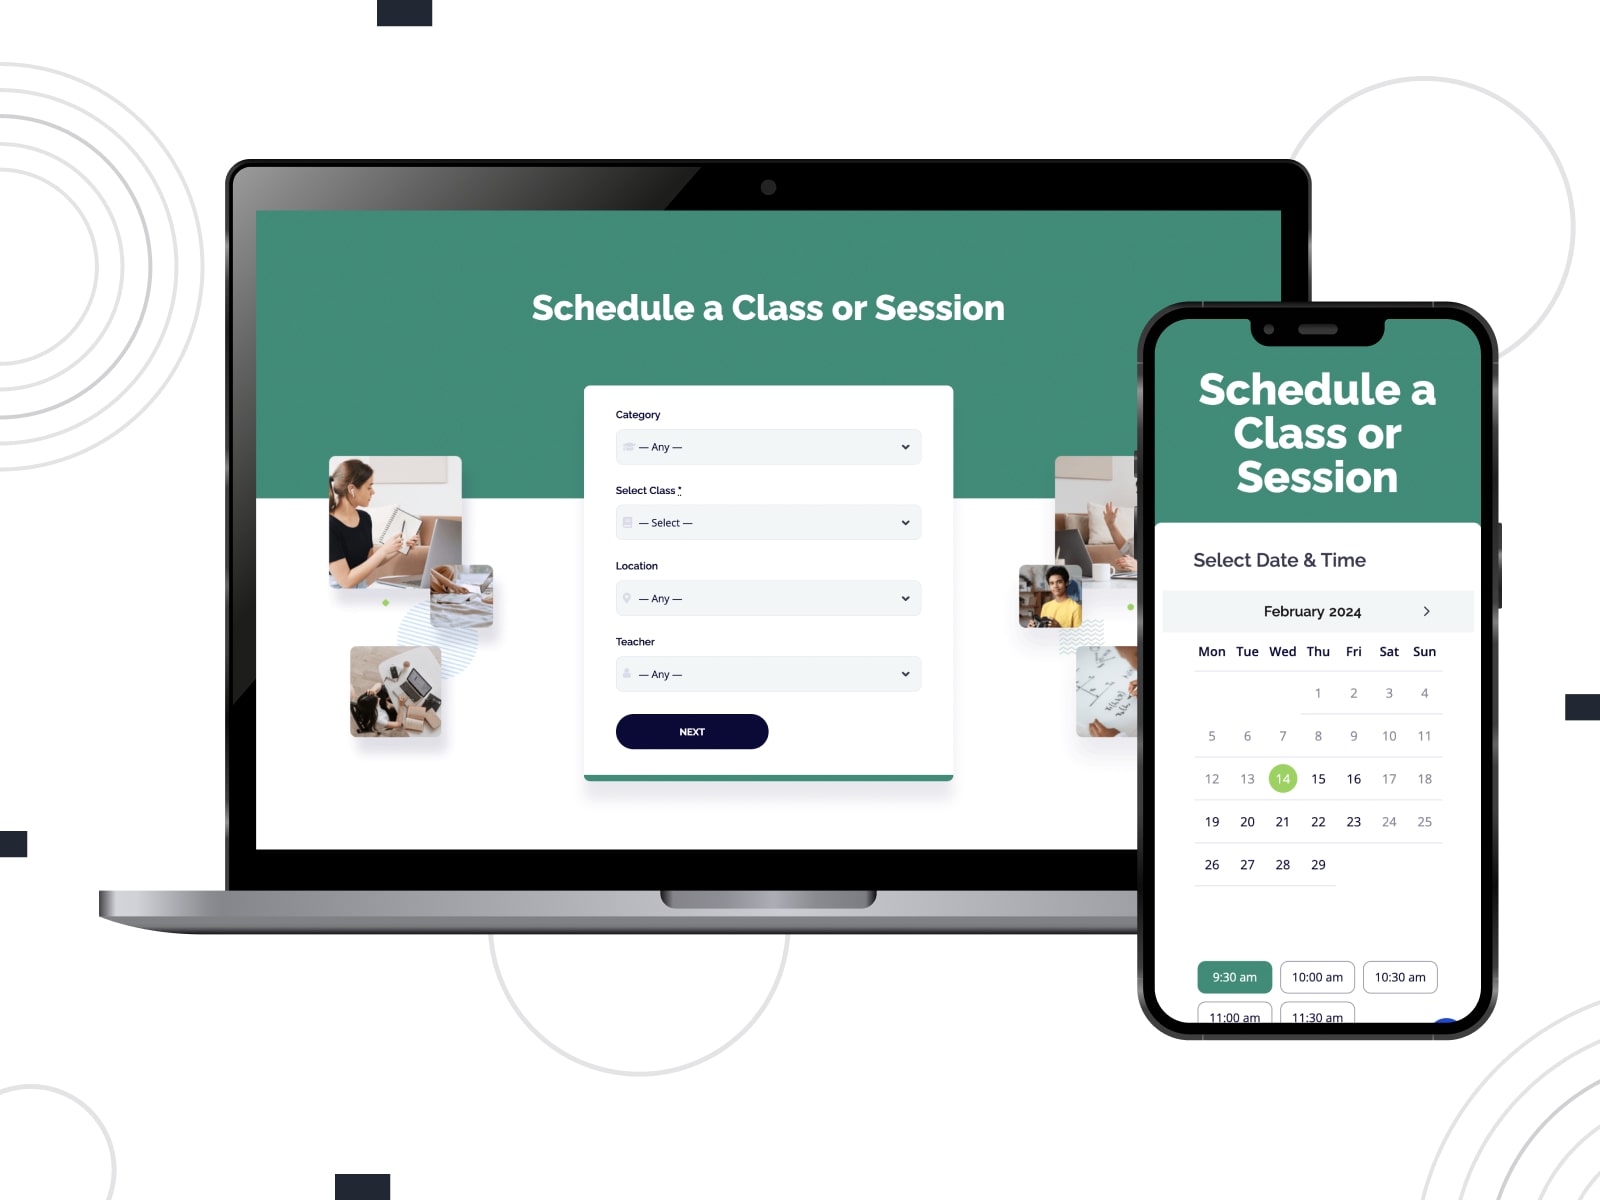
While the Events Calendar class schedule plugin WordPress is perfect for adding and displaying events, the ability to book a lesson directly on your website can help you automate appointments and manage availability. If you are eager to handle online bookings, MotoPress has a one-stop solution for you.
The MotoPress Appointment Booking plugin caters to your needs with such features as:
- A step-by-step booking wizard;
- Full and partial payments via PayPal, Stripe, WooCommerce (addon), Square (addon), direct bank transfer, or on-site;
- Group bookings;
- Support for unlimited bookings, services, and employees;
- Flexible schedules with weekends, holidays, etc.;
- Full-day bookings;
- Customer accounts;
- Synchronization with an employee’s Google Calendar;
- CSV reports;
- Automated email notifications and reminders;
- Analytics dashboard.
Watch a detailed video guide on how to set up the WordPress Appointment plugin by MotoPress step by step:
Recommended WordPress Themes for Lesson Scheduling
Are you looking for ready-made designs suitable for your niche? We’ve handpicked 3 premium solutions known for their pre-crafted templates, customization options, and advanced functionality. You can integrate the WordPress class schedule calendar plugin and adjust its settings to your needs. Let’s explore them!
Coachzee

| Name | Price | Avg. Demo Speed Score |
|---|---|---|
| Coachzee | $79-$199 | Mobile 55 Desktop 84 |
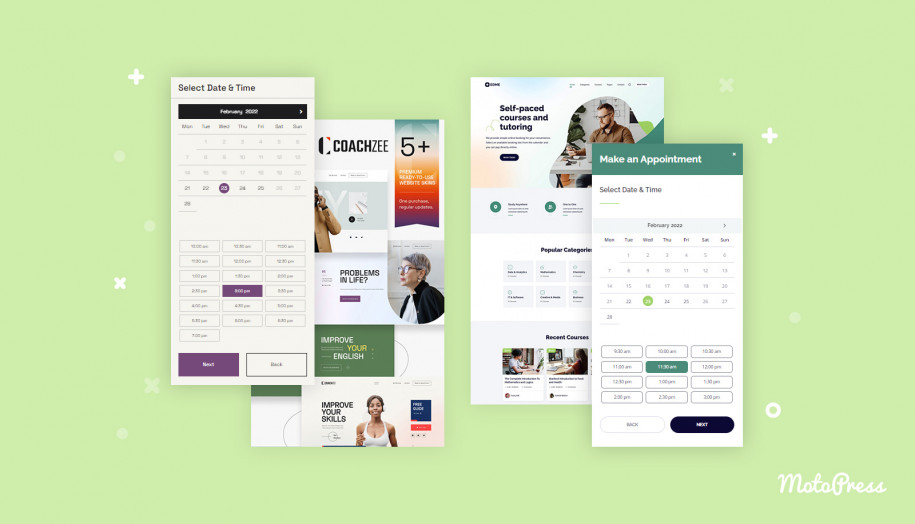
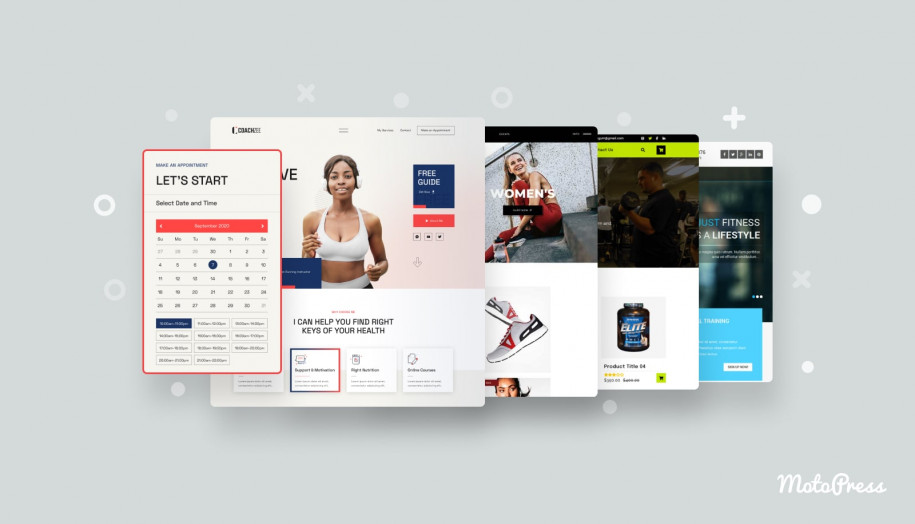
Coachzee is packed with 5+ demos for life coaches, therapists, teachers, health coaches, and driving instructors. This theme equips you with templates built with the WordPress block editor and Getwid blocks. You are free to customize them to showcase your services.
Coachzee is bundled with the MotoPress Appointment Booking plugin for free. Thus, you can integrate a feature-rich online booking system. It supports various payment methods, flexible class settings, automated emails, and more.
Key Features:
- Mobile-friendly appointment booking widget;
- Online & offline payments;
- Multiple locations;
- A centralized booking calendar;
- Accounts for clients;
- Scheduling for groups.
Edme

| Name | Price | Avg. Demo Speed Score |
|---|---|---|
| Edme | $79-$199 | Mobile 53 Desktop 87 |
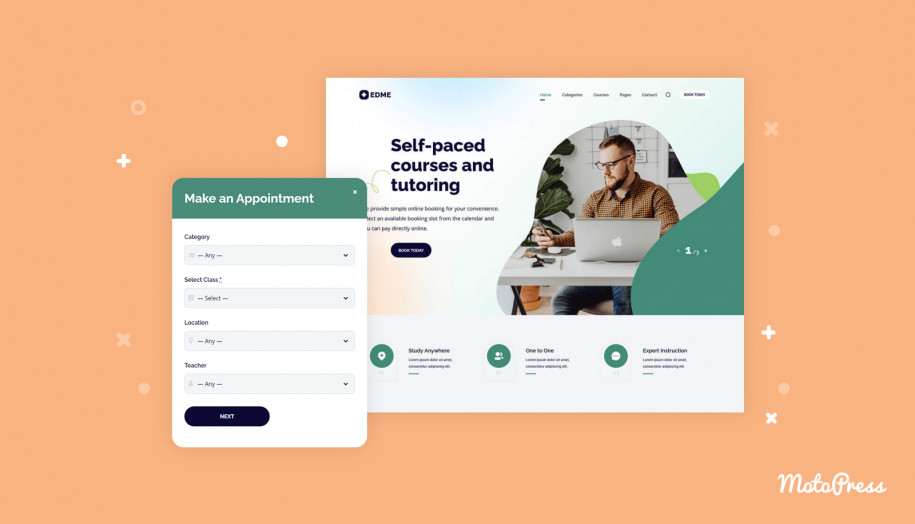
Edme is geared toward educational services and delivers related Elementor templates. Packed with the scheduling plugin, it adds a booking wizard for a step-by-step booking process. You get access to schedules with breaks, lunchtimes, vacations, custom locations, and variable service pricing.
Also, the plugin enables payments via PayPal, Stripe, direct bank transfer, or on-site. You can manage appointments, payments, and customers on the backend. Edme lets you set up email notifications and multi-slot reservations.
Key Features:
- 20+ Stratum Elementor widgets;
- Detailed tutor profiles;
- Deposit payments and discount coupons;
- Appointments in different locations;
- CSV reports;
- Login area for customers.
Gutenix

| Name | Price | Avg. Demo Speed Score |
|---|---|---|
| Gutenix | Free; $69-$174 | Mobile 48 Desktop 76 |
Gutenix is a multipurpose WordPress theme crafted for diverse industries. The package includes premium IronBody and Fitnession templates while you can get a School design for free. With Gutenix, you reach fast-loading pages, flexible customization options, and header & footer layouts.
Key Features:
- 47+ templates for multiple purposes;
- Gutenix Installation Wizard;
- Blog settings;
- Compatibility with Contact Form 7 and MailChimp plugins;
- ZeGuten plugin included.
Concluding Remarks
So, the MotoPress Events Calendar offers a comprehensive solution to easily display your schedule, set recurring events, and adjust calendar layouts. You’re just a few clicks away from a clean, responsive, and color-coded calendar that can be added via the WordPress clock editor. Are you ready to get started with the best class schedule plugin for WordPress and simplify your lesson organization today?
FAQ
What is a WordPress class schedule plugin?
Can I allow users to book classes directly through the MotoPress Events Calendar?
