WordPress Block Editor: How To Work Efficiently in Gutenberg?
Table of Contents
The 2022 version of Gutenberg is no longer just a Classic Editor successor. The WordPress block editor is a new paradigm in WP site building aimed to revolutionize the entire posting experience – exactly in the same way Gutenberg did with book printing.
Is it worth the hype? Definitely! Let’s just go through the major Gutenberg principles:
- Unlike the Classic Editor, the WordPress new editor is centered around content blocks. Each content type turned into a separate block: paragraph, picture, title, quote, etc.
- Such a modular approach to page & post customization is convenient when it comes to making changes within one specific element.
- WordPress blocks can be added, ordered, and rearranged. This allows users to create rich media pages visually intuitively— with fewer workarounds like shortcodes or custom HTML.
We should admit that Gutenberg is rapidly moving to become a full-site editing solution and not just a content editor. Furthermore, knowing some extra tweaks will help build a Gutenberg website from scratch even now.
HOW GUTENBERG IMPROVES UX
We’d like to highlight more features that might not be obvious to a regular WP user, yet it makes a big difference in terms of user experience:
- You’ll no longer need to use shortcodes to embed posts from external resources. Over 30+ WP Gutenberg blocks allows you to embed external content to your site in a couple of clicks. (Youtube, Facebook, Vimeo, Instagram).
- You no longer need extra shortcodes/plugins to embed buttons.
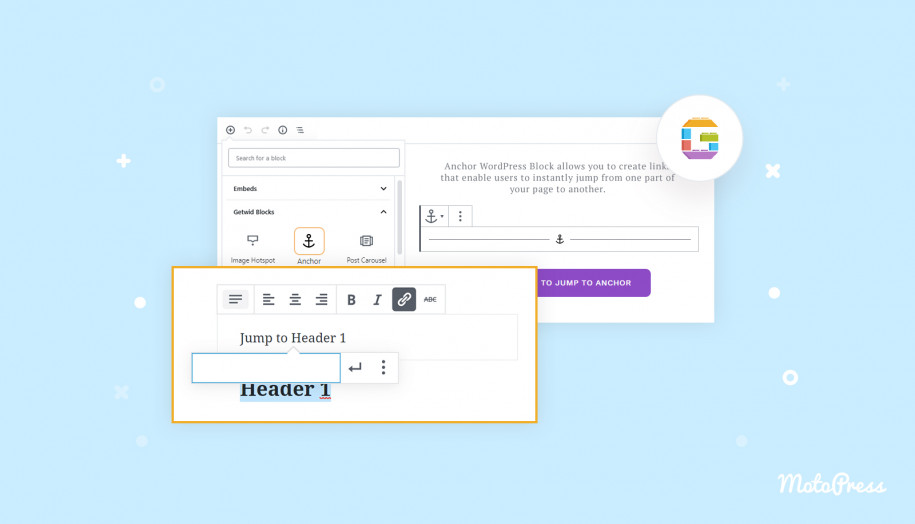
- You can use a visual anchor block to link to sections within the post/page.
- You may add text to the image directly in the WordPress block editor.
- You no longer need to learn how to edit text in WordPress using HTML.
This is how to use WordPress block editor to create posts and pages.
This post, however, is to cover Gutenberg lifehacks and teach how to work WordPress content blocks more efficiently. Read further if you want to extend the standard functionality and smoothen up your editing experience.
How Does WordPress Gutenberg Editor Work?
When switching to Gutenberg, the standard WP sidebar will be replaced by a full-screen mode.
Technically, you can divide the block editor into 3 units:
- Visual editor – located on the left and takes up most of the screen. The editing content here looks almost the same as what it will look like on the site.
- Top panel – contains the most common functions: add a new block, undo or redo a previous action, switch to a draft, open a preview, and publish.
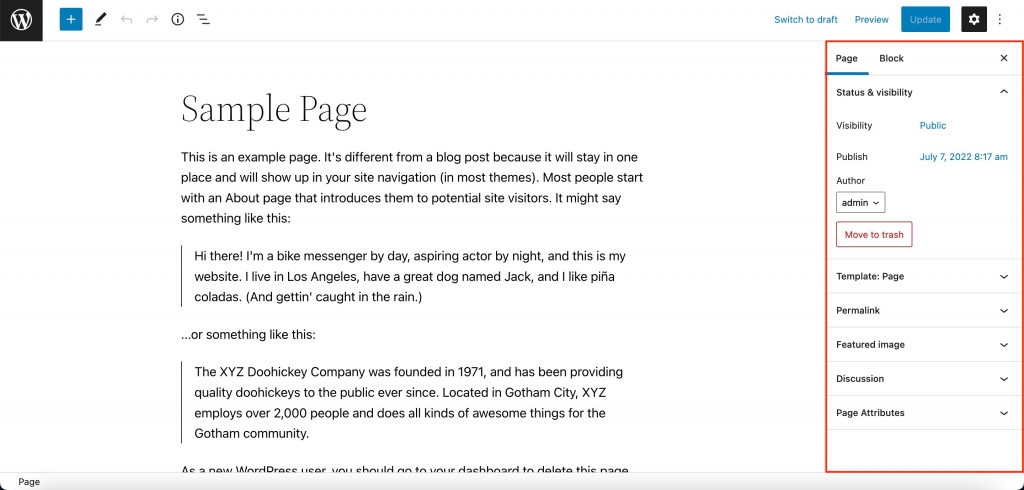
- Side panel – located on the right and contains advanced options. There are 2 tabs: Page (publishing settings) & Block (settings for the selected block).
Useful Customization Options in Gutenberg
When editing a WordPress page, you can take advantage of some useful settings located on the top and side panels of our WP blocks editor.
Undo Previous Action
There are two arrow buttons on the top left of the Gutenberg editor. The left arrow undoes the previous action, the right arrow repeats the action that was just undone.

Save Progress
Any changes in the Gutenberg WordPress editor are saved automatically once a minute. You can see it near the Publish button in the top right panel after you make any changes to the post.
If you left off without saving changes, you will be suggested to restore an automatic update as soon as you open the WordPress console.
If your page/post is still in the draft stage, you can save changes manually by clicking “Save draft”. If the post or page was already been published, this button would be displayed as “Switch to draft”. It will unpublish and put the page/post in the draft status. To save the progress of an already published page or post, click “Update”.
Restore Previous Changes
Gutenberg provides a section with revisions in the sidebar under the Status & Visibility tab on the main Page/Post tab.
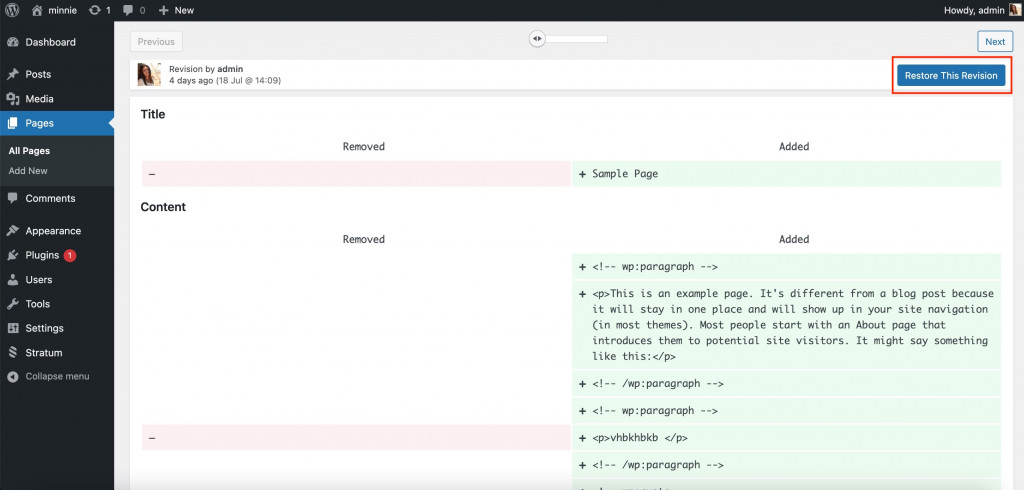
Click “Revisions” and you will see two columns comparing previous and current versions. The removed changes (left) will be highlighted in red, and the added content (right) will be highlighted in green.
Use the “Restore this revision” button in the upper right corner of the page.
Preview Mode
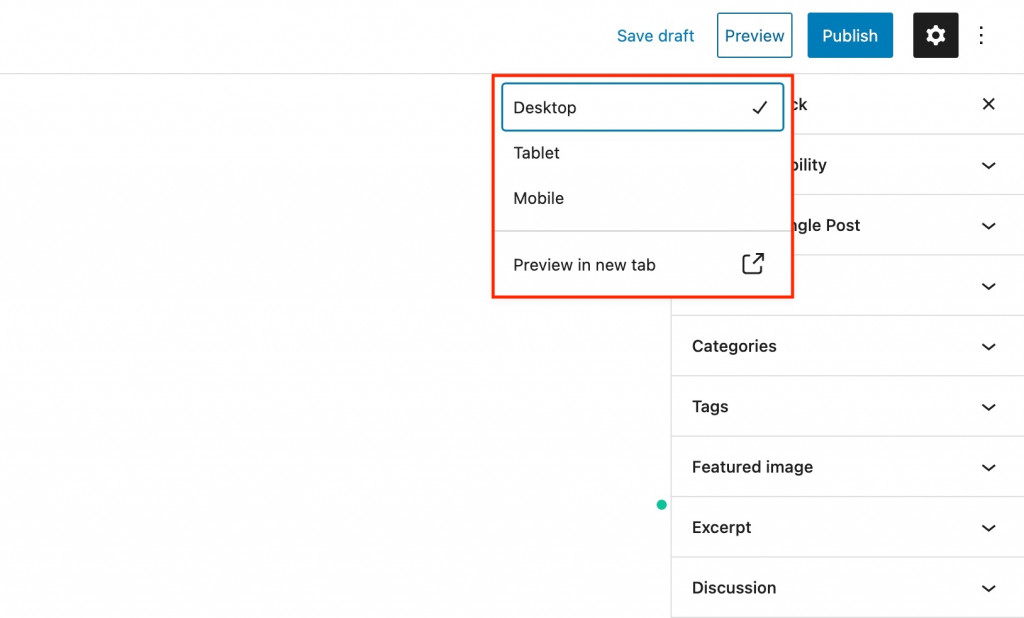
Previews are a great way to see content check it for minor errors before publishing. Click “Preview” on the top right of the Gutenberg editor, then “Preview in new tab”. You may choose to preview a page in either tablet, mobile, or desktop versions.
Hide From Public Access
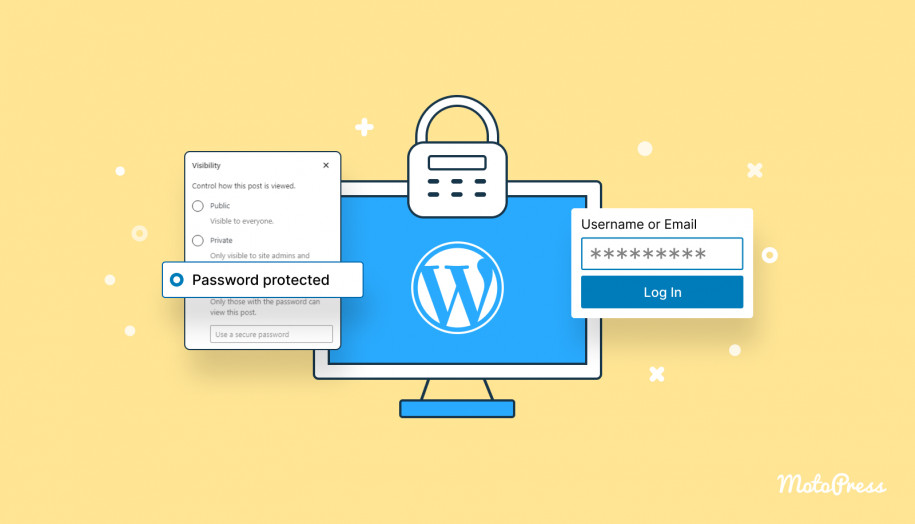
Adjust the visibility mode in the Status & Visibility section of the Gutenberg sidebar. There are 3 access levels to choose from:
- Public – the page is accessible by everyone.
- Private – only authorized WordPress users with Admin or Editor roles can view the page.
- Password Protected – only those who know the password you create will be able to view the page (they will see the following message in the browser)
Schedule a Post
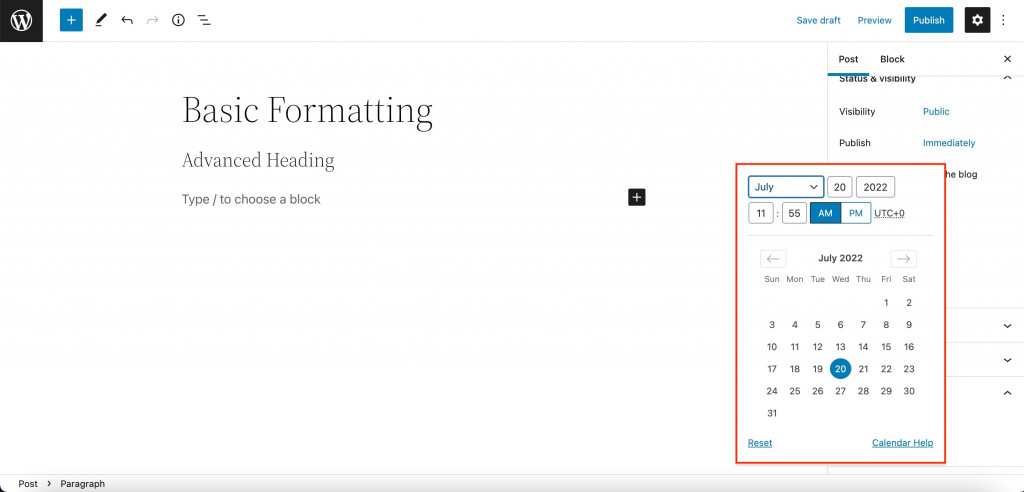
In the same Status and Visibility section, use the Publish option to select the day & time when you want to publish the post/page.
Unpublished pages will have an extra option – “Pending approval”. The posts with the checked “pending approval” mark will appear in the new tab on the Pages menu. Your chief editors or admins will be able to quickly find the page to check it right before publication.
Change URL
The URL link will be displayed in the Permalink section of the sidebar. When the draft is already saved, you will be able to change its name in the menu. Note that the block editor will generate the URL automatically based on the title.
Assign a Category
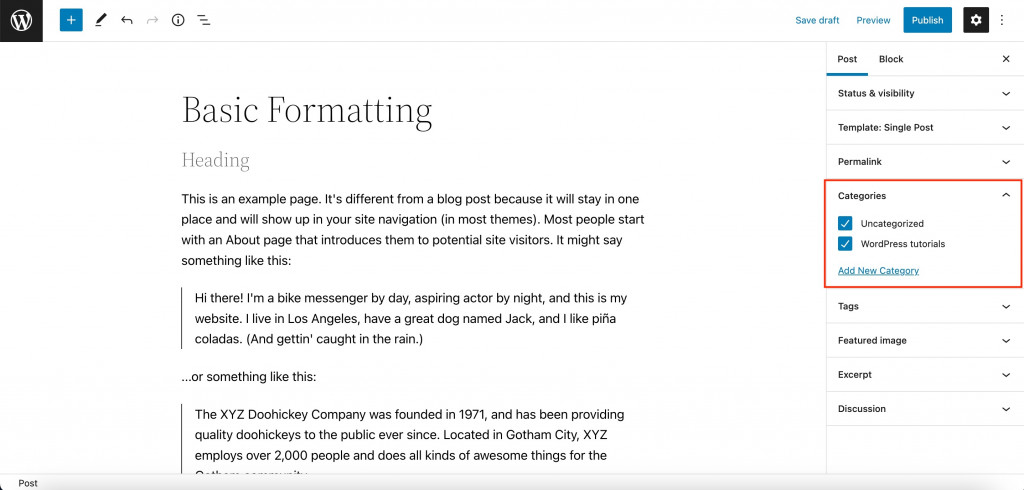
When you make a Gutenberg post, you can assign it to any Category. If needed, you can create a new category right as you edit the post (Add New Category). One post may belong to several categories at once.
Assign a Tag
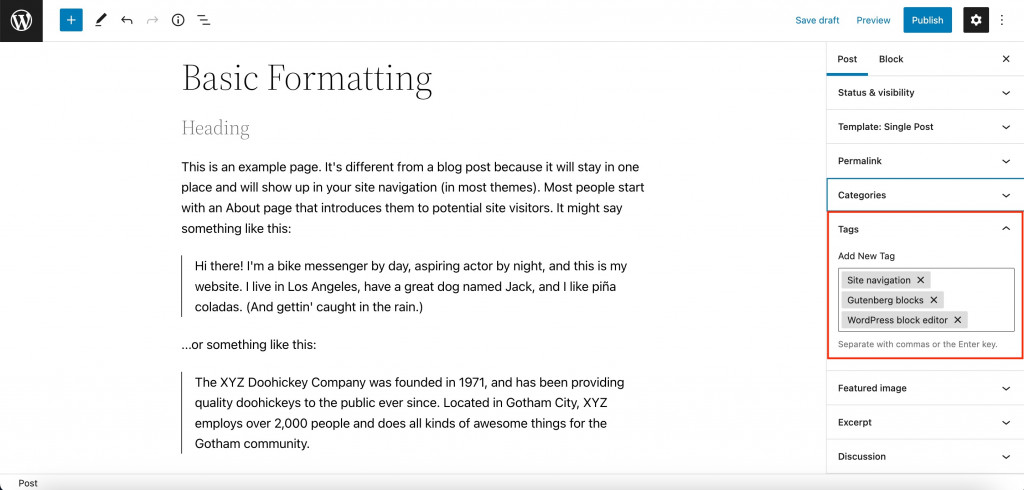
The Tags section is another way to group articles by some feature. Use tags to combine posts from different categories on one page.
For example, if you have a blog about musical instruments, you can create post categories for different instruments and labels, but make tags by musical genres or difficulty levels.
Just like categories, you may create new tags right as you edit the current post. Add as many tags as you need at once.
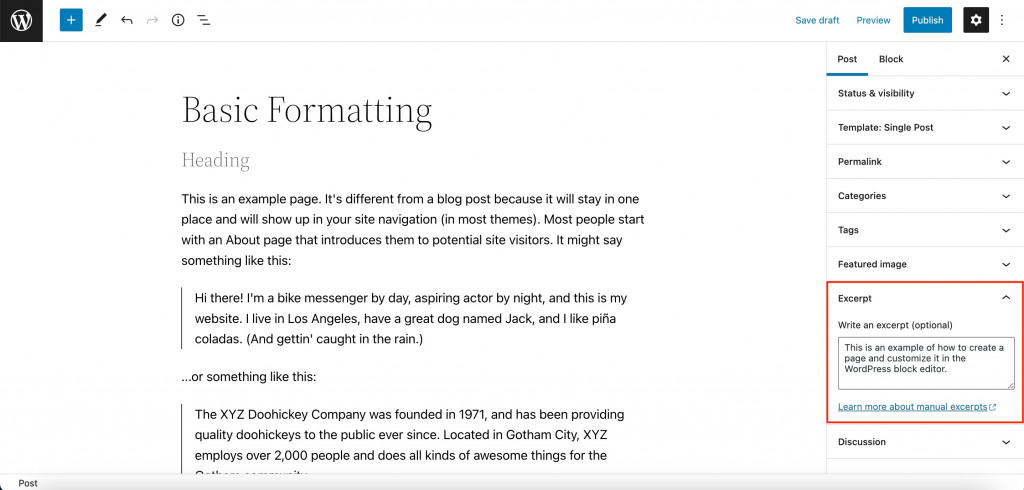
Customize the Excerpt
The excerpt text is displayed on the category page along with the title and features image. By default, WordPress uses the first couple of paragraphs (depending on their length) as a snippet, but cleans up their formatting and removes indentation between paragraphs.
The Excerpt allows you to specify a different summary or the formatted version of your intro. The field supports paragraphs and HTML tags.
Enable/Disable comments
Finally, use the Discussions section of the Gutenberg sidebar to allow comments. Also, you may allow pingbacks & trackbacks but we recommend to turn this option off.
How to Work With WordPress Gutenberg Blocks?
Whether you already know how to add & edit blocks or not, we decided to give you a quick guide on each action. Some users will have no idea what basic actions they can perform with blocks.
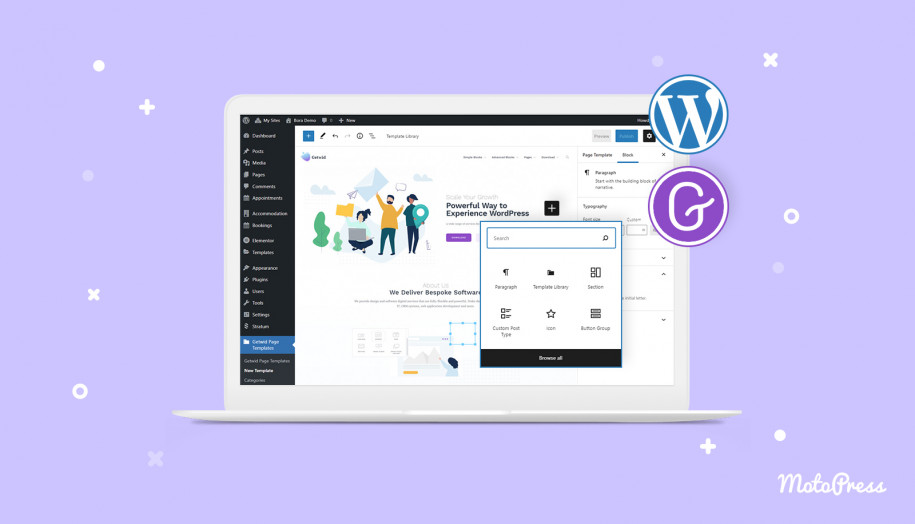
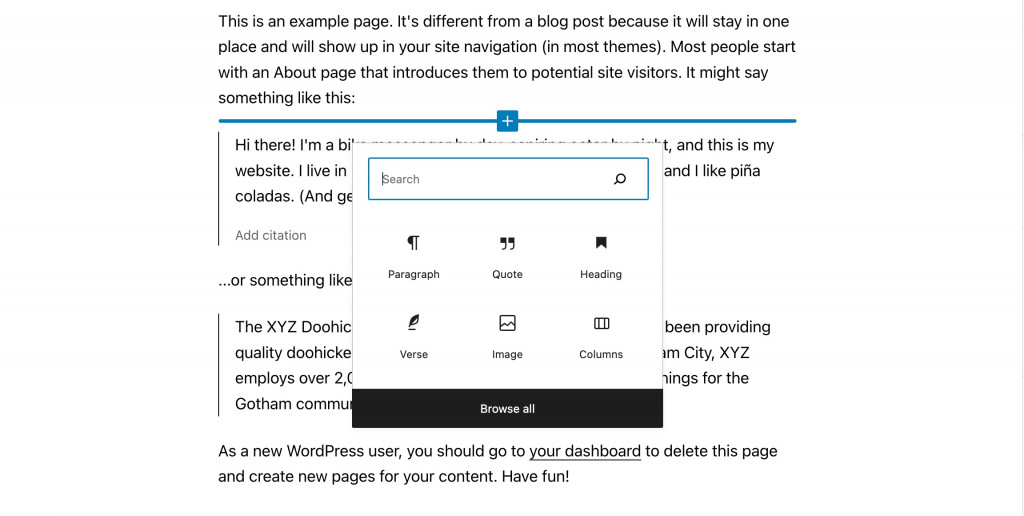
Adding a New Block
- Method #1: Click the + button on the left side of the Gutenberg top bar. Select the desired block in a pop-up window and click it.
- Method #2: Find the + button under the last block. Choose the needed block in a pop-up window.
- Method #3: Move the cursor between two existing blocks, and click the + button in the center. You can add a new block between any two blocks.
Basic & Advanced Formatting
Select the inserted block and you will see a pop-up settings panel above the block. Those are basic formatting and each block will have its own settings.
Along with basic formatting, each block will have content & styling options in the right sidebar under the Blocks tab. To open the sidebar, click the gear in the top Gutenberg bar to the right. These settings also differ based on a particular block.
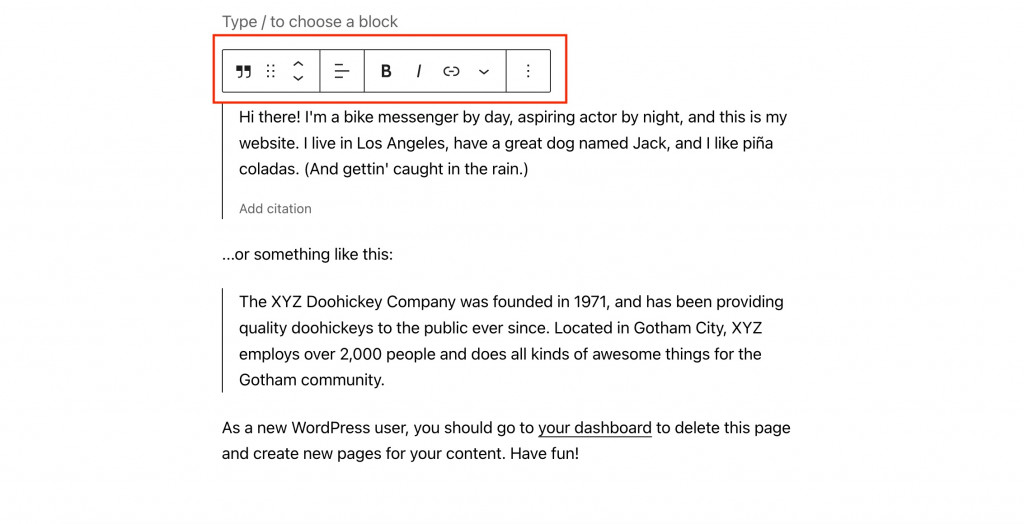
Block Placement & Alignment
Use basic formatting to find up/down arrows on the left side of the pop-up panel. They will help you move the block up or down one position. Also, you can use the six points button next to the arrows to drag a block with your mouse to the needed position.
Now, select the block in the center of the panel above to change alignment.
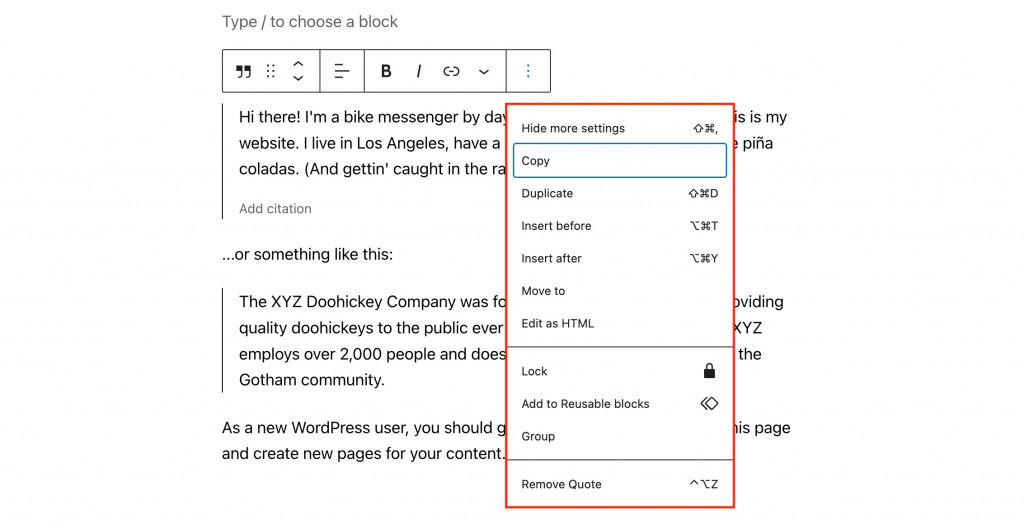
Copy, Duplicate, or Delete
In addition to the formatting options, the pop-up panel has options to copy, duplicate, and delete the block.
Most of you will wonder how to delete a block in WordPress. Simply press the three dots in the pop-up panel and click “Delete block”. That’s a place where you may also copy or duplicate the block.
Gutenberg Patterns
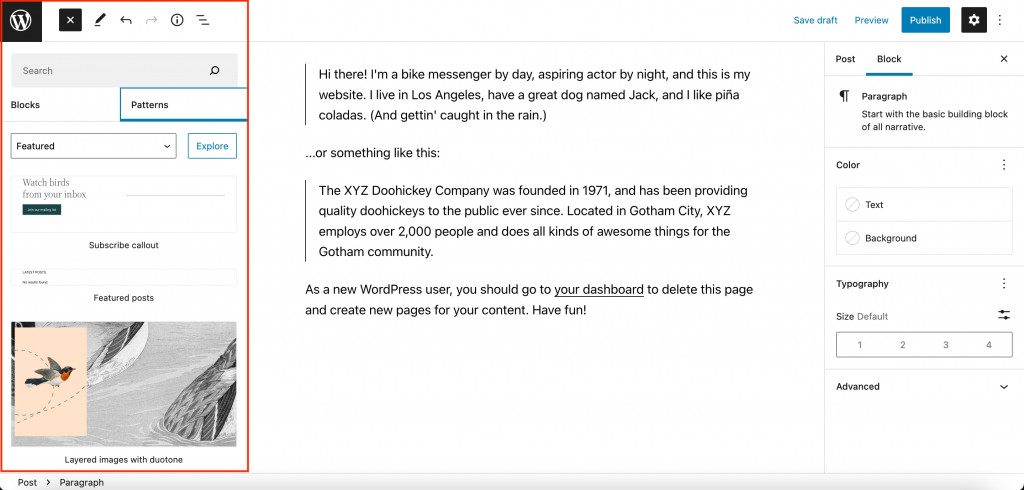
Heard of ready-made patterns for Gutenberg? The WP text editor provides a section with standard patterns applicable to any theme. But also, you can use unique WordPress block patterns created by theme developers.
To find patterns, click + in the sidebar and go to the Patterns tab. They will be divided into groups and each pattern will have a preview to peak at:
Create Sections Manually
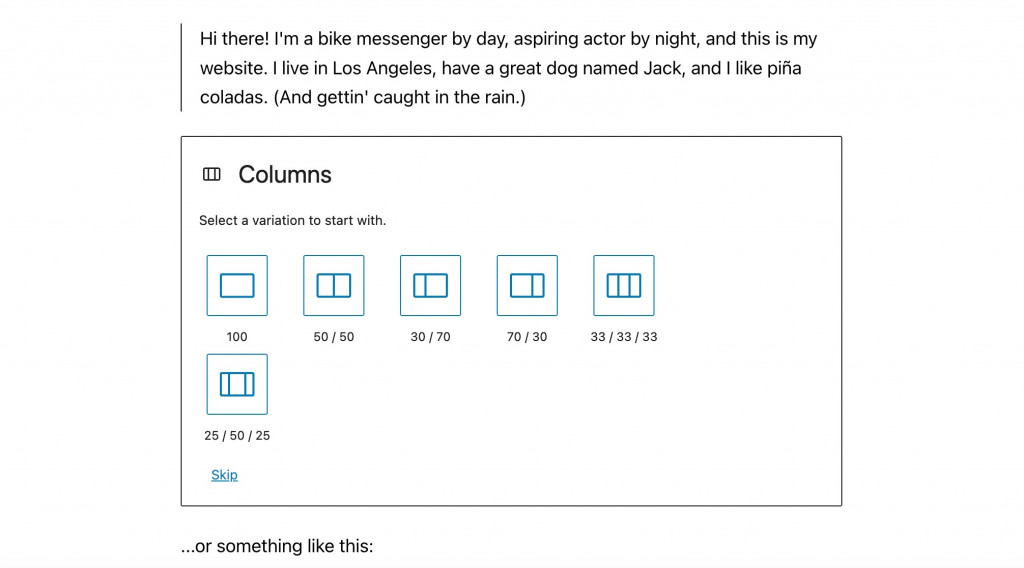
Use the Columns block to place any Gutenberg blocks WordPress next to each other. Sections with 2 or even 3 columns are quite common: from customer testimonials and pricing tables to FAQ sections and contact forms.
To select the number of columns, add the Columns block first, then select its number & layout.
Each column supports different blocks with its own content & styling. Still, you can create a universal background color for this section. Just combine the blocks into a group and change the background color of that group once.
Use “Reusable Blocks”
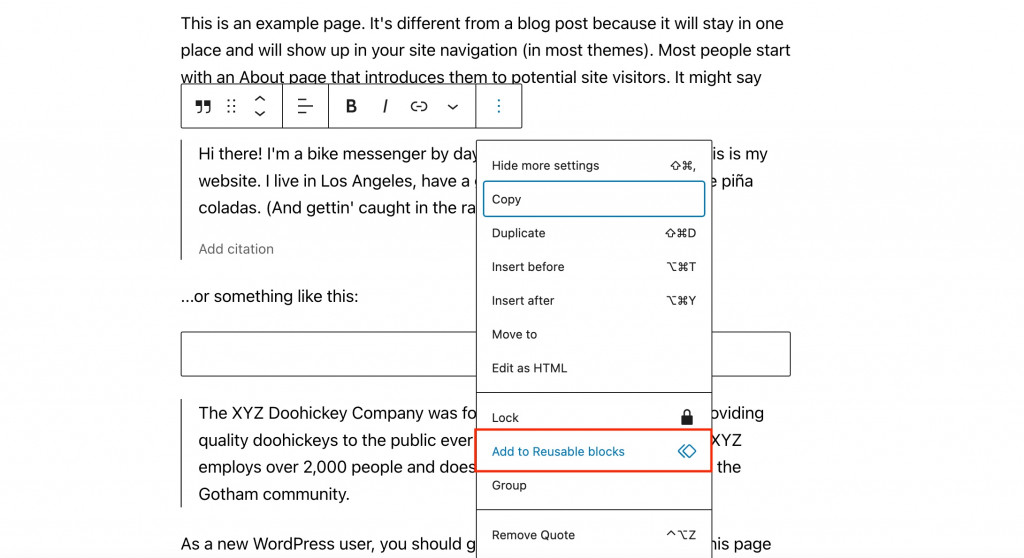
It’s possible to save an entire section to reuse it in different on different posts or pages. These are called reusable blocks WordPress.
All you have to do is create the section as you want it to look, click the three dots in the pop-up menu, and select “Add to reusable blocks”. Name the section, and click “Save”.
To add the saved section to the page, press the + button and proceed to the “Reusable” tab. Paste the saved block in a couple of clicks only!
More Lifehacks for Gutenberg To Know About
- Use “/” to quickly add new blocks – and you will no longer need to open the block panel every time and scroll to find the one you want. Just type in “/” from a new line and start typing the name of the block.
- Pin the top toolbar – and the popup bar will no longer overlap the content in the block above it.
- Use the code editor to edit the HTML content – and you’ll be able to edit WordPress HTML attributes of this block, provide your own CSS class, or write embedded code for the block. Select the block, click the three dots, and select the “Edit as HTML” option.
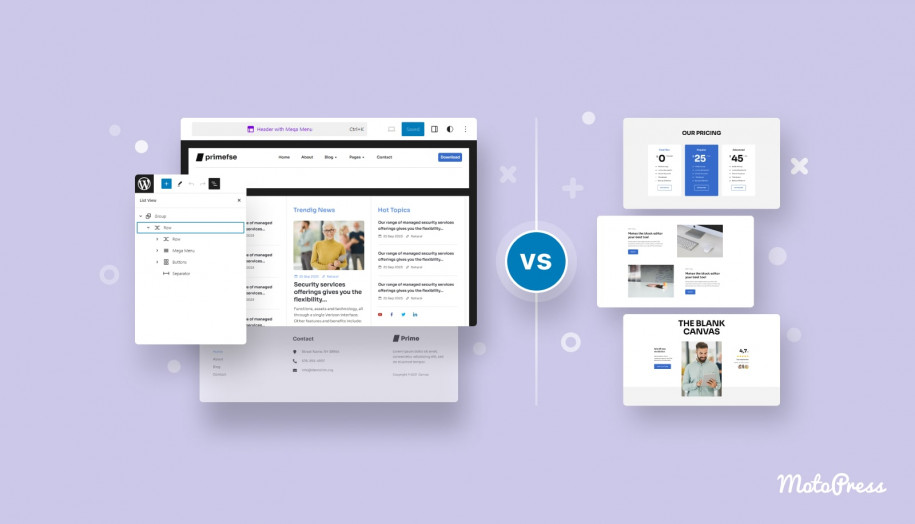
- Quickly find the needed block in the Table of Contents. If your post consists of so many blocks that it gets difficult to find the needed one, click the button with three horizontal bars on the top left. You will see the full list of all used blocks on the page.
- Drag & drop images directly from your computer – and will no longer need to take extra actions with the “Image” block.
- Use hotkeys – and working with the WordPress block editor will be much easier. View the full list of hotkeys in your editor by clicking 3 dots on the top right => Keyboard shortcuts.
How to Extend the Functionality of Gutenberg?
The Gutenberg editor gets rich in options with each new update. However, when it comes to more advanced features, you might want to consider using extra Gutenberg block templates & addons.
Which plugins can replenish core blocks with new WordPress blocks? We have a post with a roundup of 12 best addons with WordPress custom blocks in 2022.
One of them is the free Getwid addon:

The WordPress content block plugin is a library of 40+ Gutenberg blocks & 35+ WordPress block templates. All Getwid blocks are lightweight, multipurpose, and customizable under the needs of any website & project, including nonprofit ones.
Some examples of Getwid blocks are:
- Section – works more as a WordPress group block (combine multiple blocks in a single section);
- Image Stack Gallery – use the block to build image galleries of different styles;
- Video Popup – display any video using various options;
- Image Hotspot – add unlimited animated markers with fully customizable tooltips;
- Post Slider – display slider post blocks anywhere on your website. Posts can be sourced by specific categories.
Getwid provides smooth interplay with standard Gutenburg blocks so that you may come up with even more exquisite blocks design. Also, the addon offers a starter WordPress blocks theme – Getwid Base.
More Gutenberg themes
There are many WordPress themes designed to work specifically with Gutenberg, both multipurpose and niche ones. Our lineup offers solutions ranging from the equipment rental WordPress theme to a fully FSE WordPress theme.
Final Words on the WordPress Block Editor
Sooner or later, we’ll all fall in love with Gutenberg for its simple visual approach coming by default. Starting as a WordPress post editor, it has evolved into a site-building solution for all needs and tastes.
Now, Gutenberg attracts both pro users and beginners used to working with visual page builders. The Gutenberg interface looks no worse than popular page builders.
Share your thoughts on the WordPress block editor after using our editing tips!