How to Create a WordPress Sticky Header without Plugin (Using a Group Block)
Table of Contents
The header is one of the first elements visitors notice when they land on a website, and it plays a crucial role in providing essential information and navigation. Traditionally, customizing the header layout in WordPress themes was limited. However, with the introduction of full-site editing (FSE) and block themes, things have changed significantly.
In this post, we’ll cover how to make a sticky header in WordPress by exploring a feature introduced in WordPress 6.2 that allows you to create a sticky header in under a minute. No extra plugins or coding skills are required – just your block theme. Let’s dive in!
Understanding Block Themes
Block themes represent a modern approach to building WordPress sites. Unlike traditional WordPress themes, block themes are built entirely out of blocks. This means every part of your page – including headers, footers, sidebars, menus, logos, and titles – is adjustable and movable. This level of customization allows for extensive flexibility, including the ability to create sticky headers.
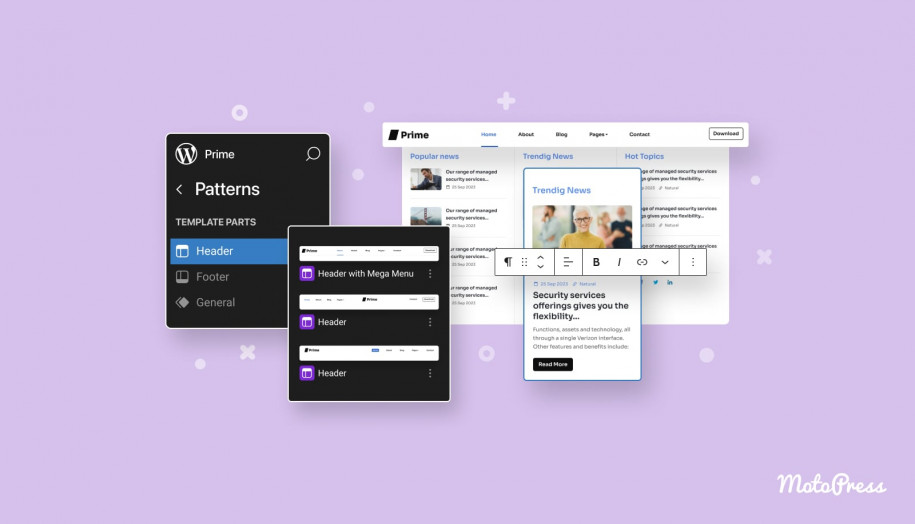
As you might already know from our previous posts, in block themes, you can customize headers by editing the header template part directly. This allows you to adjust the layout, add or remove blocks, and style the header according to your preferences, for example, using a navigation block for your menu, a site logo block for your logo, and a search block for search functionality.
What is a Sticky Header in WordPress and Why Use One?
Sticky headers (or persistent headers or sticky positioning) keep your website’s header visible at all times as users scroll down the page. This ensures that navigation, search, and other utility elements are always accessible, enhancing user experience, increasing engagement, and potentially reducing bounce rates.
Setting Up a WordPress Sticky Header
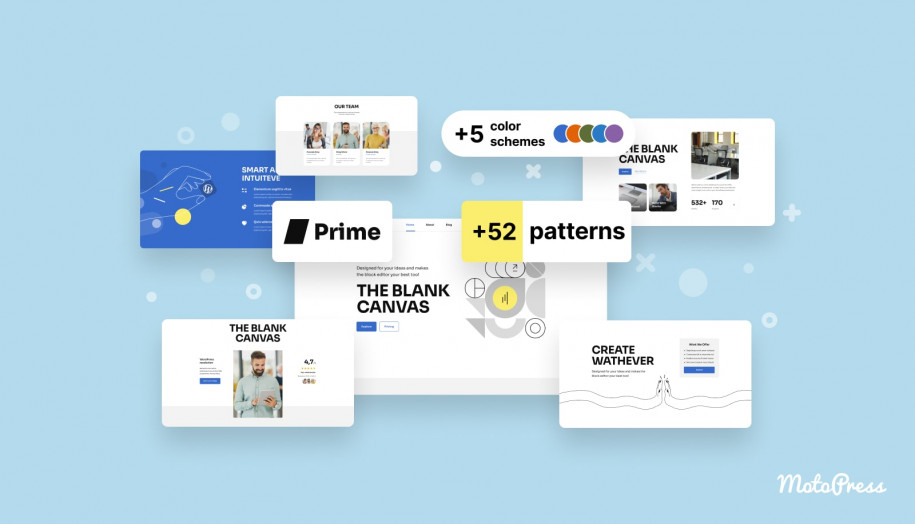
For this tutorial, we’ll use WordPress version 6.6 and the Prime FSE theme by MotoPress – a free WordPress FSE starter theme perfect for creating top-notch business portfolios.
1. Access the Site Editor
First, go to Appearance > Editor in your WordPress admin menu.
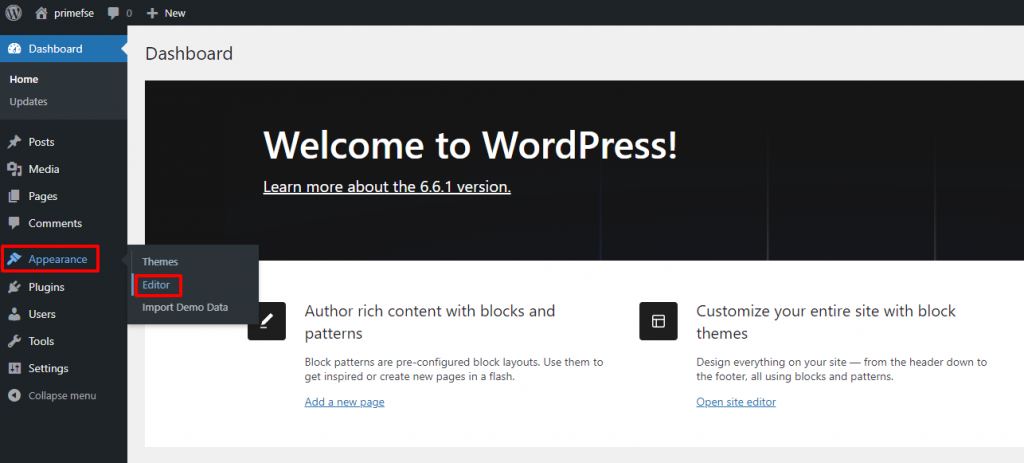
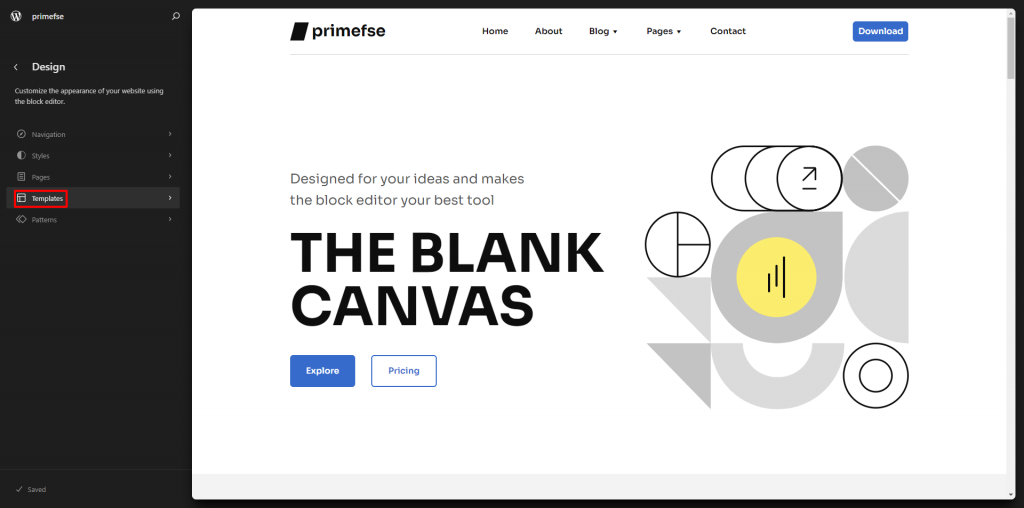
Wait for the Site Editor to load, then navigate to the Templates menu.
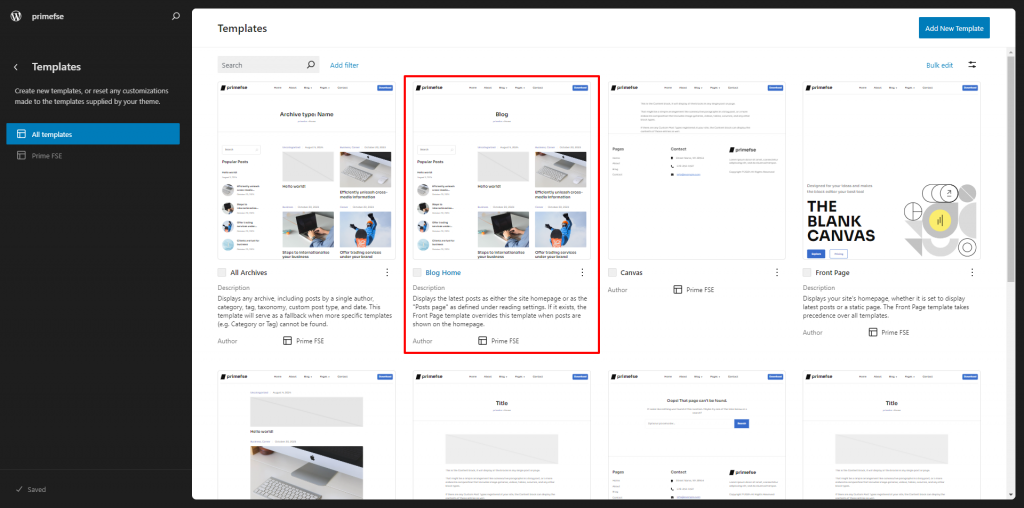
Choose the template you want to edit and click on the page preview to open it in the editor.
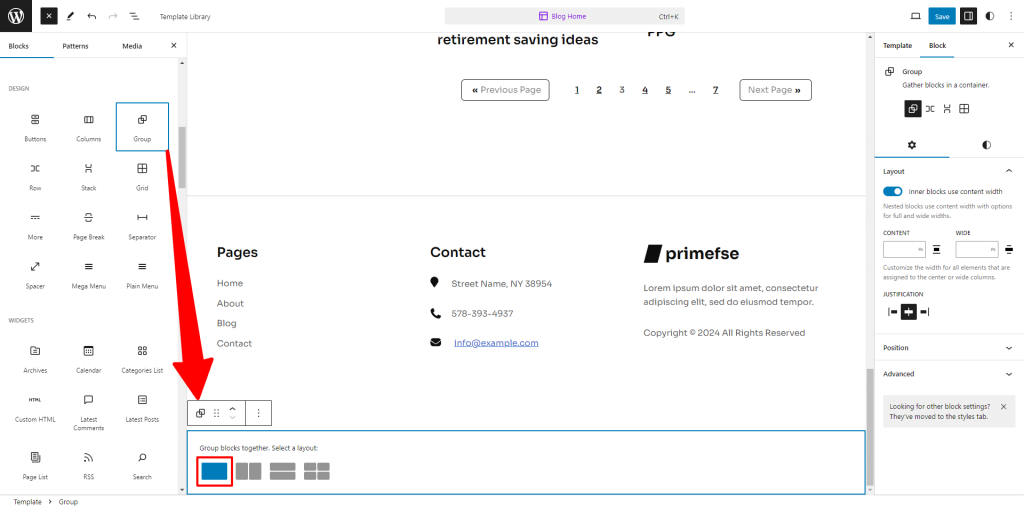
2. Add a Group Block
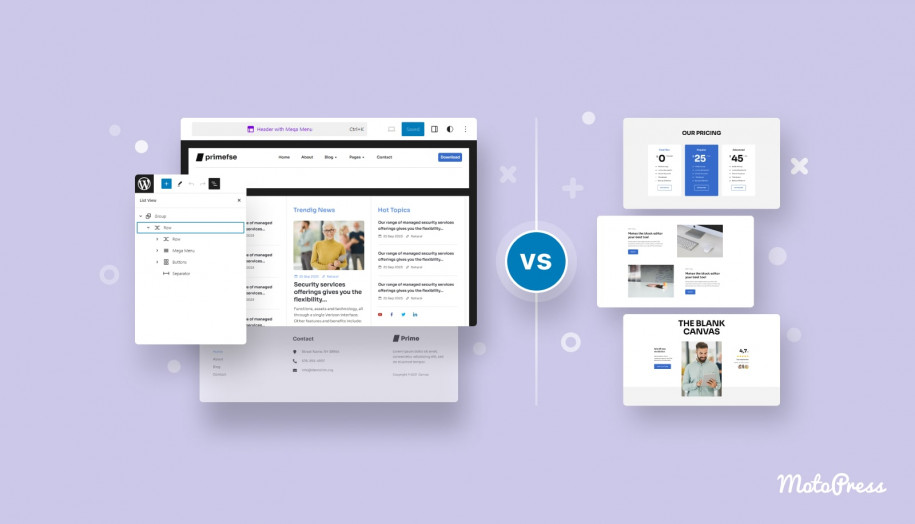
Add a new Group Block and select the option to gather blocks in a container. Position this block at the top of your layout. Using the List View tool can simplify navigating between different content layers.
3. Insert the Header Template
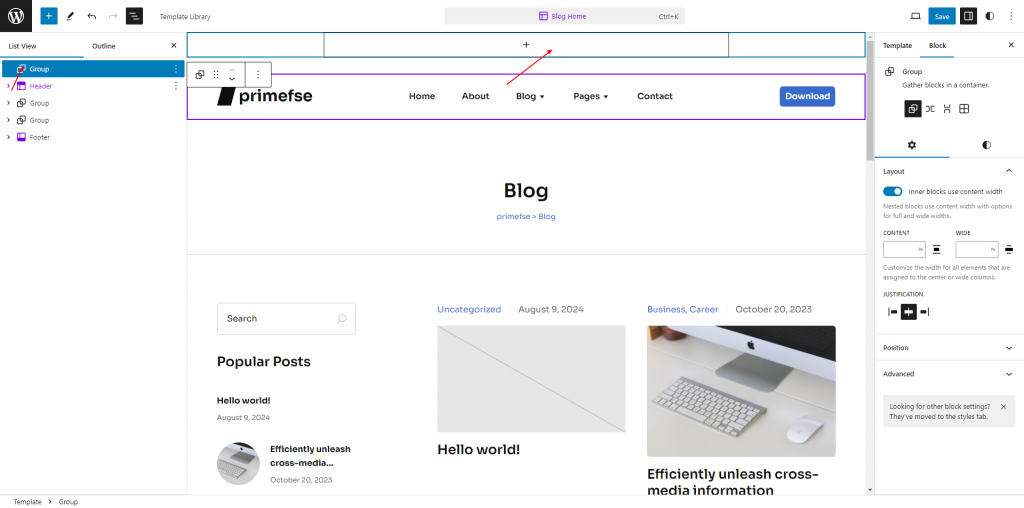
Drag the Header Template Part into the new Group Block. Make sure to set the header to full width for a seamless look.
4. Enable Sticky Position
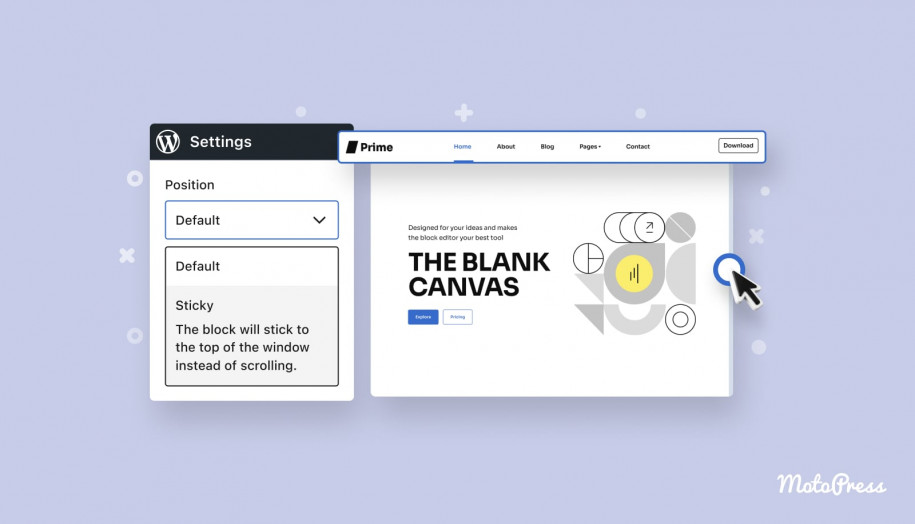
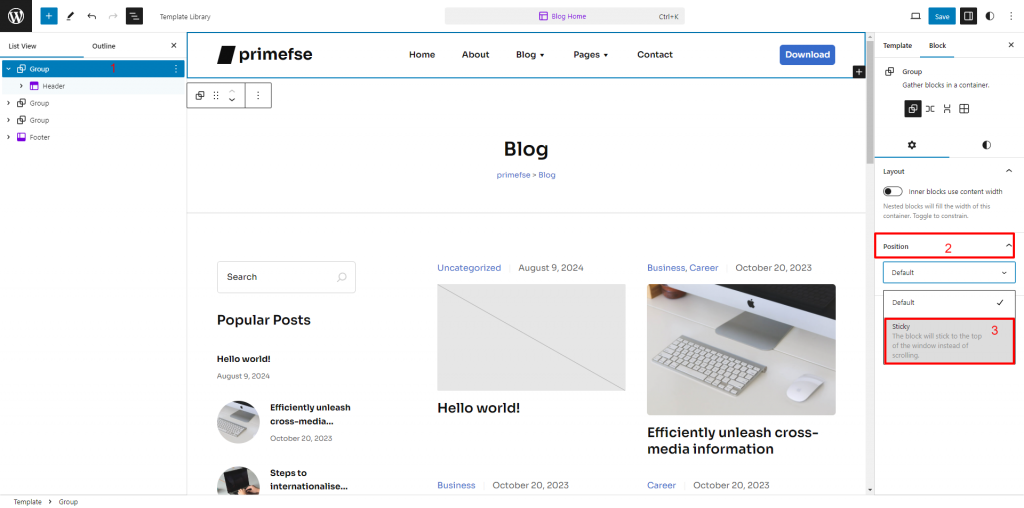
Select the Group Block and open the Position Panel. The new Position block support includes a “Sticky” option, which keeps the block fixed at the top of the viewport while scrolling. This feature ensures that the header remains visible without scrolling with the rest of the page content.
5. Customize Header Style
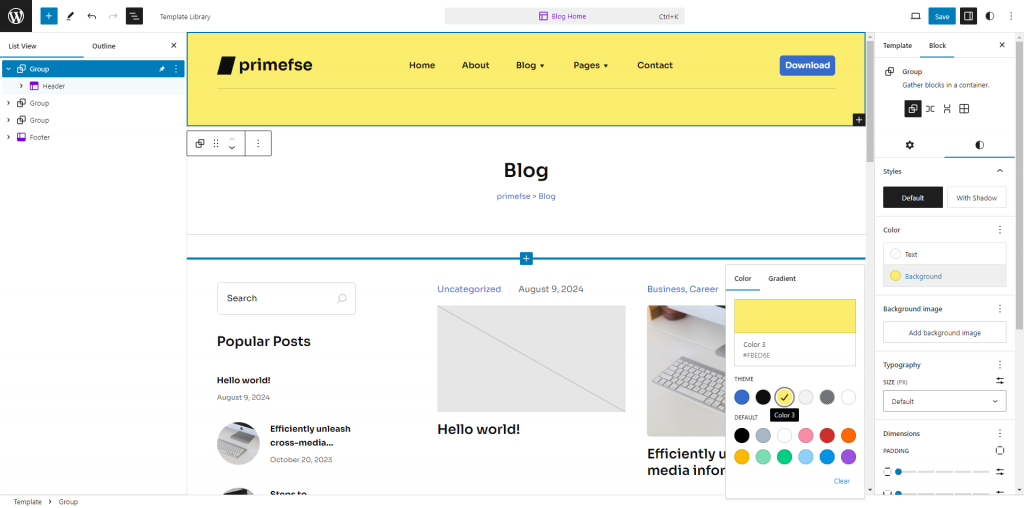
In the Styles Panel of the block settings sidebar, add a background color to the Group Block. It’s important to choose a background color that contrasts well with your page content to ensure the header remains readable and distinct.
Consider Expanded Submenus and Dropdowns
Be cautious with expanded submenus or dropdowns in your WordPress sticky header. Ensure these elements are also visually separated from the background to maintain clear visibility and usability. Proper contrast and spacing are essential to avoid overlap and ensure that all interactive elements remain easy to use.
Additional Customizations
You can further enhance your header by styling the Group Block. For instance, adding a bottom border can make the header more prominent. The sticky position block support is also useful for keeping status messages or promotions visible as users scroll.
6. Save and Update Templates
After configuring the sticky header, save your changes.
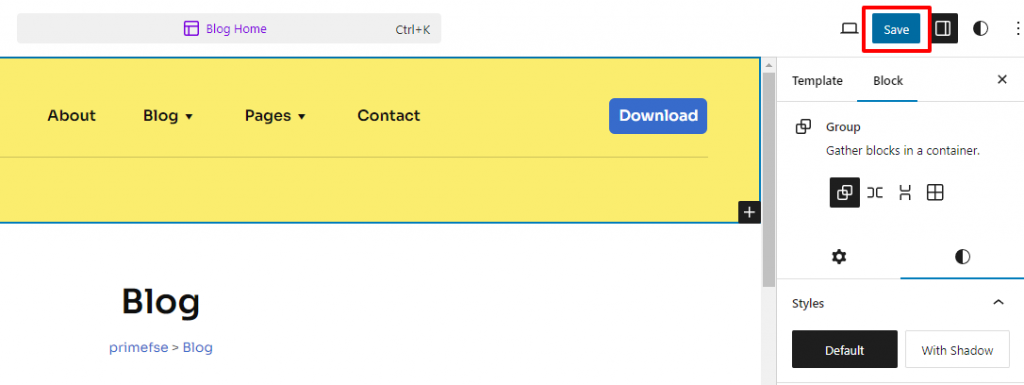
Be sure to update every template where you want the sticky header WordPress offers to appear.
So, whether you’re building a business portfolio or a personal blog, the ability to create a sticky header allows you to deliver a polished and professional look. This functionality is just one example of how modern WordPress tools can elevate your site’s design and usability.
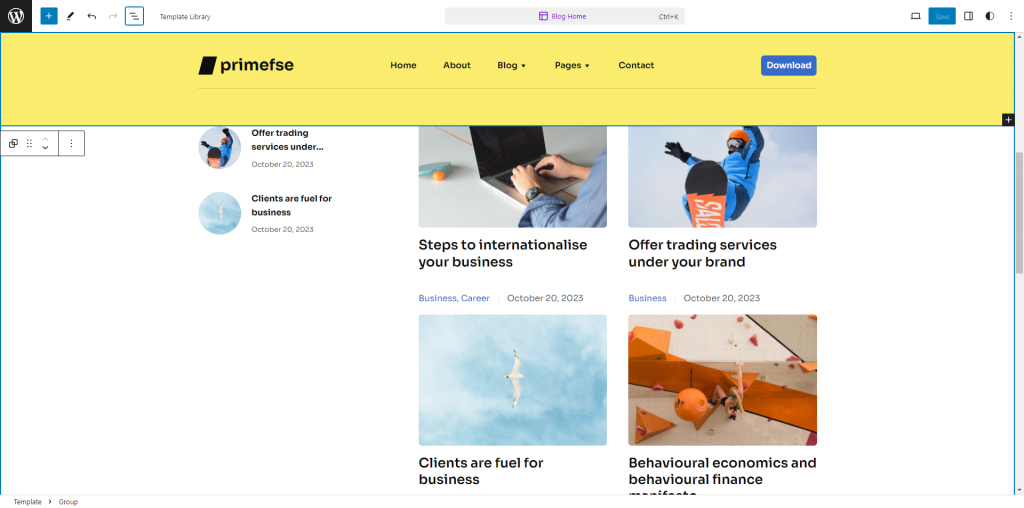
Conclusion: WordPress Sticky Header is Easy to Implement without a Plugin
Block themes have significantly transformed how we customize WordPress headers. Creating a sticky header has become a straightforward process that doesn’t require extra plugins or coding skills. By using the new Position block support feature (“Sticky” option ) of the Group block, you can ensure that your header remains visible and accessible as users navigate through your site. This feature not only improves navigation but also contributes to a more engaging and user-friendly experience.
When designing your sticky header, remember to choose a background color that contrasts well with your content and ensures that any expanded submenus or dropdowns are easily distinguishable. This attention to detail will help maintain a clean, functional, and visually appealing design.
As you explore these new features, don’t hesitate to experiment with different styles and settings to find out what works best for your site. If you have any questions or need further guidance, feel free to reach out. We’re here to help you make the most of your WordPress experience!
Thank you for following along with this WordPress sticky header without plugin tutorial. Happy customizing!
FAQ
What is a sticky header in WordPress?
A sticky header in WordPress refers to a header section that remains fixed at the top of the page as you scroll down. This means that as users scroll through the content, the header stays visible at the top of the viewport, making navigation and important elements always accessible.
Do I need any additional plugins or coding skills to create a sticky header?
Can I customize the sticky header further?
Yes, you can further customize your sticky header. For example, you can add styling elements such as borders or adjust the background color to ensure it contrasts well with the page content. The block editor provides various customization options to tailor the header to your needs.
Will the sticky header affect the performance of my website?
A well-implemented WordPress sticky header should not negatively impact your website’s performance. However, it’s important to ensure that the design and functionality are optimized to maintain fast load times and a smooth user experience. For example, if the sticky header includes many elements or animations, it could increase memory usage and affect performance, especially on lower-end devices.
What should I consider when choosing a background color for the sticky header?
When selecting a background color for your sticky header, ensure it provides sufficient contrast with your page content to maintain readability. The header should stand out without clashing with the overall design of the site. Also, ensure that any expanded submenus or dropdowns are visible against the header background.
What WordPress theme with a sticky header can I use?
What are the benefits of a WordPress sticky header?
When you make header sticky in WordPress, this can potentially create the following advantages:
- Increased time on site.
- Consistent navigation.
- Enhanced usability.
- Improved visibility for important elements.
- Prominent call-to-action.
