How to Create a Rental Site on WordPress with MotoPress Booking Calendar
Table of Contents
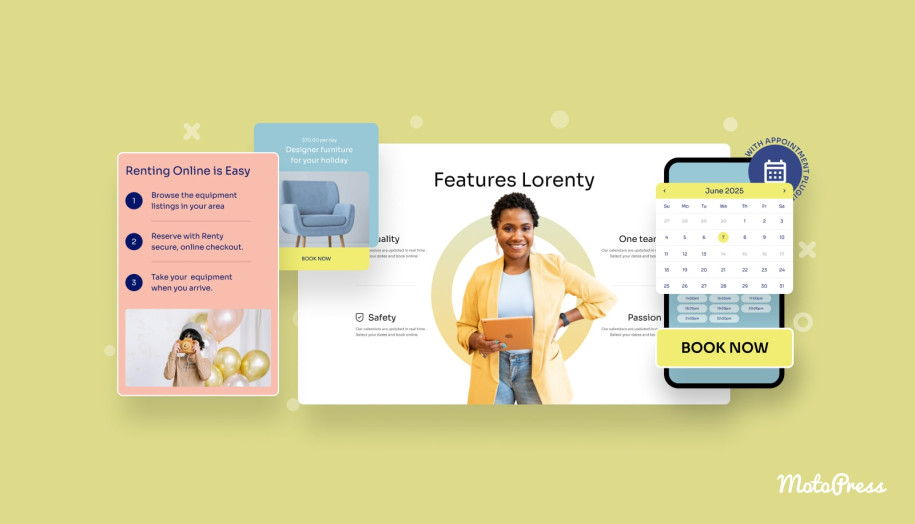
Looking for the best WordPress rental plugin to help you establish a notable booking website for your business? With MotoPress Booking Calendar, a powerful solution by the team behind Appointment Booking and Hotel Booking, you can easily enhance your online presence with a powerful rental booking engine and efficiently manage your inventory. In this post, we’ll take a brief look at this plugin and how to set up its booking engine to cover the multiple usage cases it was designed for.
What is the MotoPress Booking Calendar?
MotoPress Booking Calendar is one of the latest plugins developed by the team behind popular booking solutions, such as Hotel Booking and Appointment Booking, as well as other tools for WordPress site owners. Equipped with a visual calendar and inventory manager, this solution provides essential tools with some extra features, aimed at helping you automate the booking process. The rental plugin is designed to help you rent out nearly any product or service thanks to multiple booking modes and other features. Moreover, it is available as a free plugin with essential functionality, or a premium one with an even greater range of advantages.
Key features:
- Dynamic price management;
- Bulk editing of inventory;
- Automated notifications;
- Stripe payments;
- Drag-and-drop form builder.
| Name | Developer | Price | Installations |
|---|---|---|---|
| Booking Calendar | MotoPress | Free or from $49/year | 50+ |

How to Add a Booking Calendar to Your WordPress Rental Site
 Now that we know more about the WordPress rental plugin, let’s look closer at what it can offer and how you can create efficient booking calendars with its help.
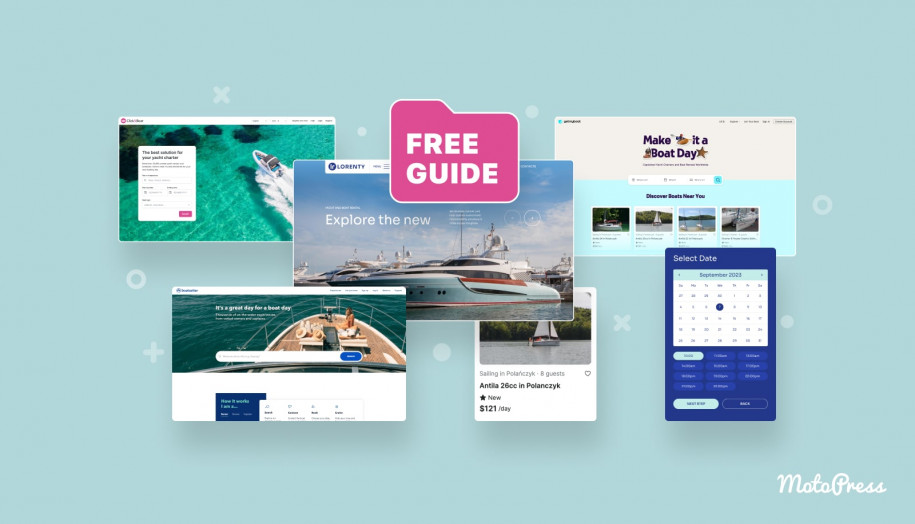
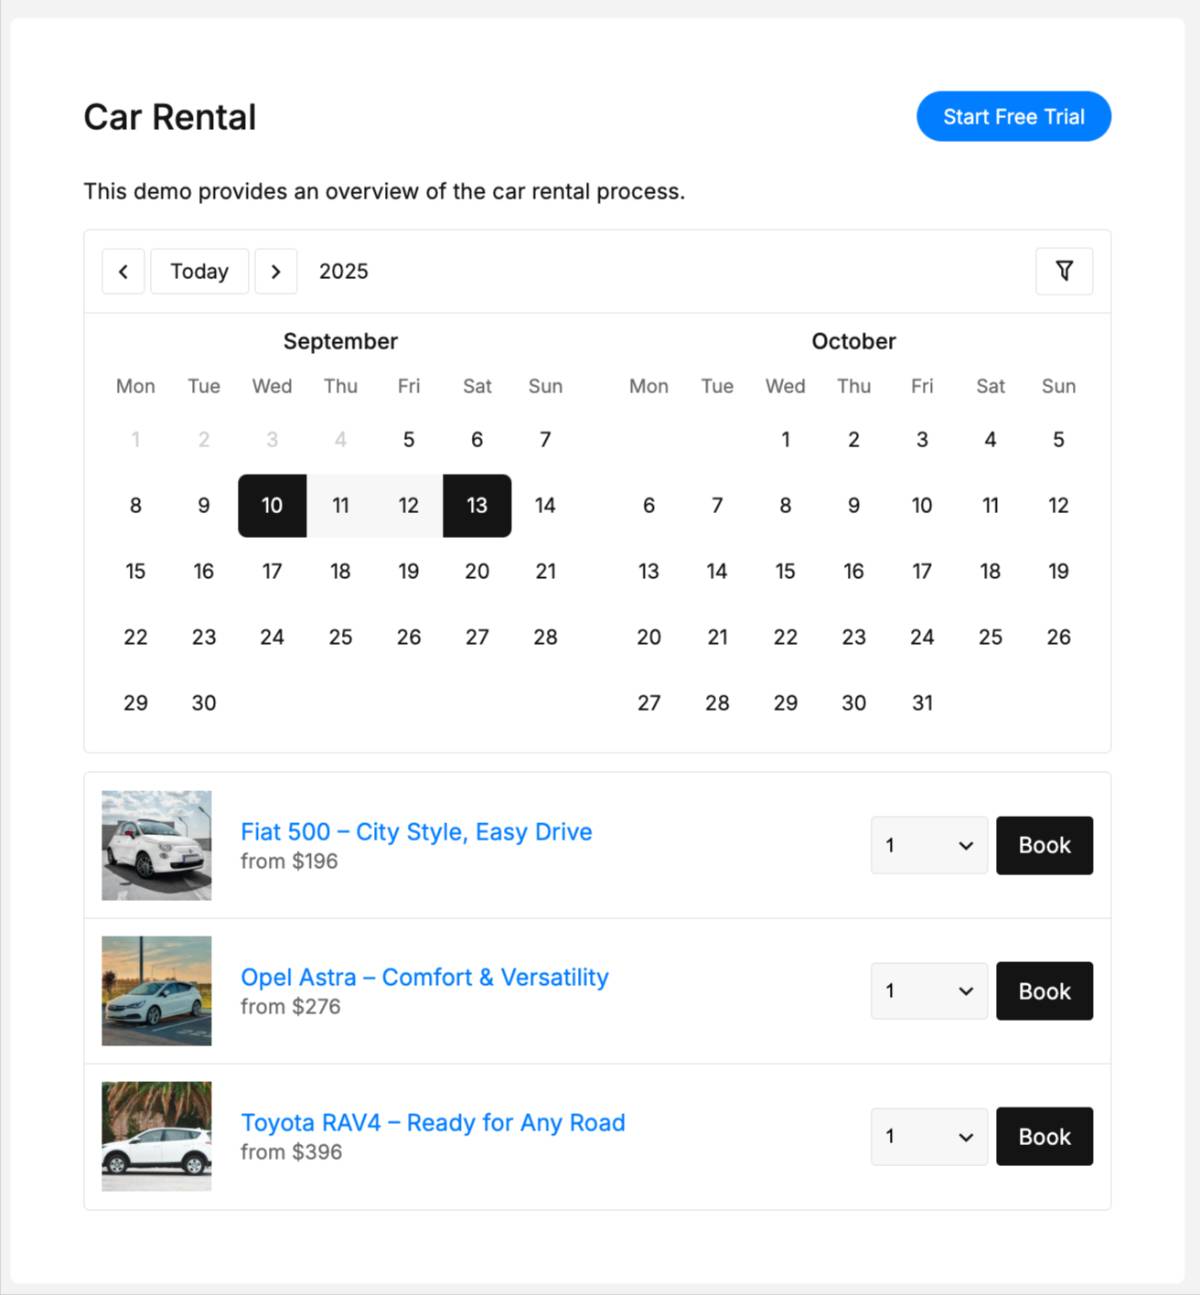
First of all, it is worth noting that the plugin is designed to handle various rental scheduling tasks, based on both daily and nightly bookings as well as hourly reservations. All three of these options are suitable for varied purposes. To set up a calendar for each of these options, you need to simply select the booking mode when creating one. Other than that, the process of adding the WordPress car rental booking plugin to your website is pretty simple and includes:
- Creating and configuring the calendar;
- Populating your inventory;
- Specifying rental rates;
- Adding booking forms;
- Setting up email notifications;
- Integrating the calendar.
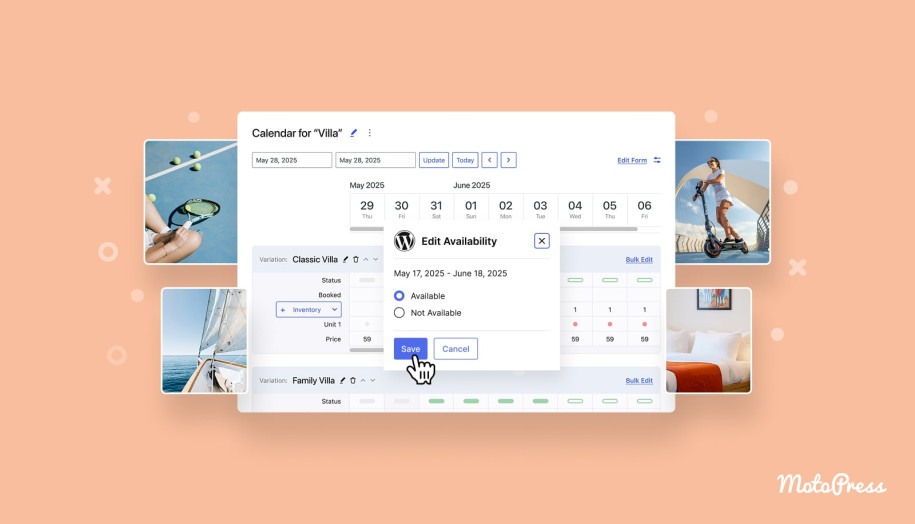
Step 1: Creating the Calendar
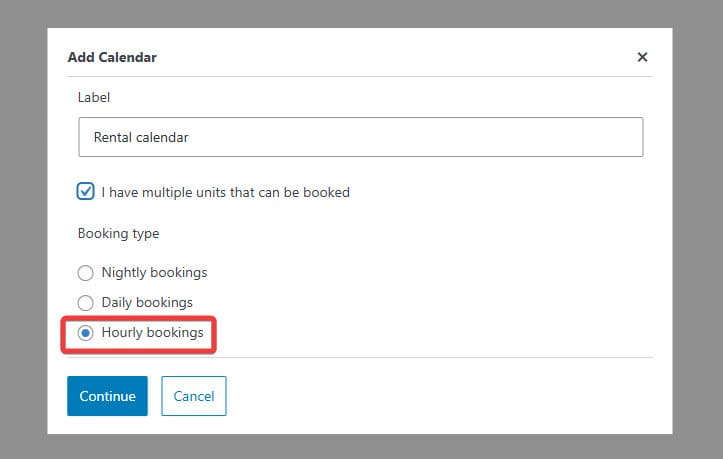
This action is quite simple and requires you to create a calendar in a few clicks. To do it, navigate to the Calendars tab in your site’s dashboard and press the “Add the Calendar” button to get started. After that, you can move to the next step and configure your WordPress rental system in detail, for example, by creating timeslots if you use the hourly booking mode.
As for the booking mode, there are 3 possible configurations you can choose:
- Hourly;
- Daily;
- Nightly.
Each of them can be used in different rental scenarios, so let’s take a closer look at them before moving to other aspects of the plugin.
1. Hourly Rentals
One of the first options you can pick when setting up your calendar is the hourly mode. After clicking the “Add the Calendar” button, a modal window will appear where you can choose one of the three available options that the WordPress rental plugin provides. For this example, let’s choose the Hourly mode to take a closer look at it.
As evident from its name, it is designed to let you manage inventory and bookings on an hourly basis. This includes:
- Adding timeslots;
- Editing product availability;
- Using the bulk editing feature;
- Setting rental rates.
Note that while you can create each timeslot manually, the plugin allows for multiple timeslots to be easily specified by adding a certain date range. This is especially useful if you are renting out products or providing services on a time-based basis that require time slots to function properly. From spa and beauty salon appointments to tennis court or sports facility rentals, the hourly mode of Booking Calendar can work for your business in many ways.
2. Daily Rentals
 Another mode that the WordPress rental plugin provides is all about daily rentals and reservations. In this mode, there are no timeslots available, because each date counts as a separate availability slot. It can be set up in a similar way as described above, just by choosing the Daily mode using the Calendars tab.
Aside from that, the mentioned mode of car rental booking system for WordPress provides similar availability management functionality, as well as bulk editing and price customization regarding any of the added items. This type of booking is the best pick for large tools, vehicles, and equipment rentals or reservations that only work using the daily schedule of this rent a car WordPress plugin.
3. Nightly Rentals
 The last option is connected with nightly bookings and recommended if you provide nightly services, such as accommodation or property rentals. Using it for your calendar will provide your guest with an option of choosing check-in and check-out dates, which counts as one booked night. This is a perfect type of WordPress rental system for:
- Hotels & vacation rentals;
- Camping sites;
- Villas and resorts;
- Guesthouses.
To configure your WordPress rental plugin to use this mode, you just need to repeat the process described above by choosing the Nightly mode in the modal window on the “Calendars” tab. Other options described above are also present in this type of calendar, such as availability management, dynamic pricing, and bulk editing. All this will help you update and plan your vacation rentals or anything that you want to rent out nightly.
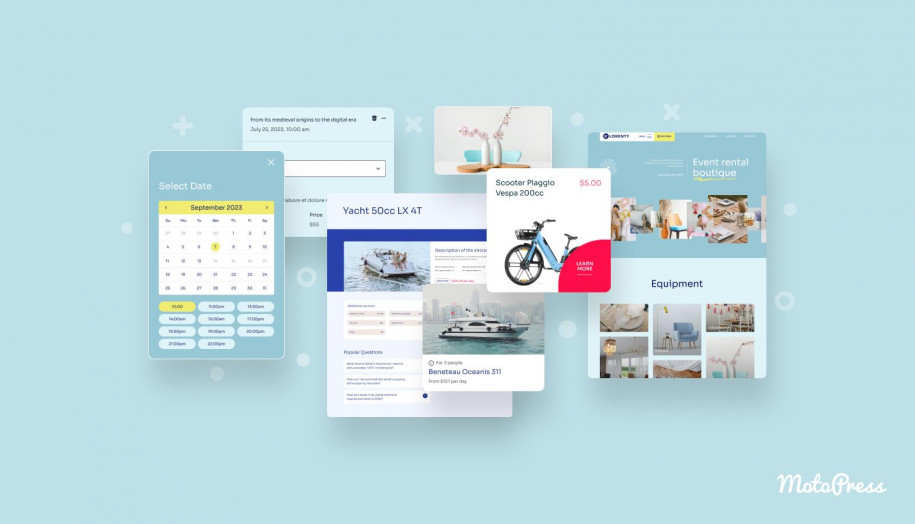
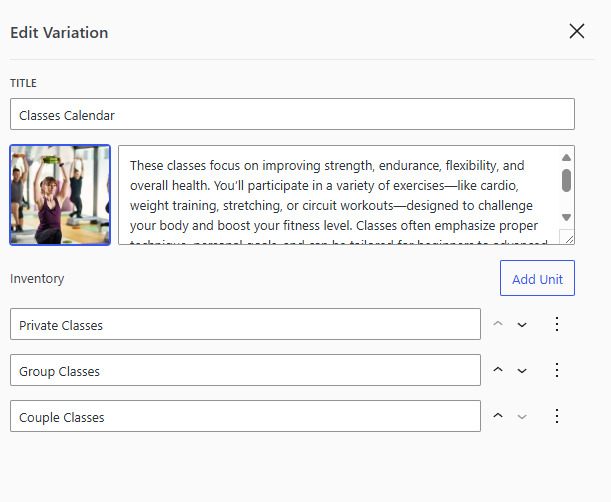
Step 2. Adding Rentable Items to Inventory
 After configuring your WordPress Booking Calendar, it’s time to add items to your inventory. Luckily, it is integrated with the “Calendars” tab, so you don’t need to have multiple pages open. This step may seem time-consuming, but thanks to the bulk editing feature and variations module, it is easily automated without having to add multiple instances of the same item type repeatedly. Similar to the calendar, this process just takes a few simple steps that include providing the inventory item information, descriptions, and their availability after the items are added. Note that you can also use the bulk editing feature to update multiple items at once.
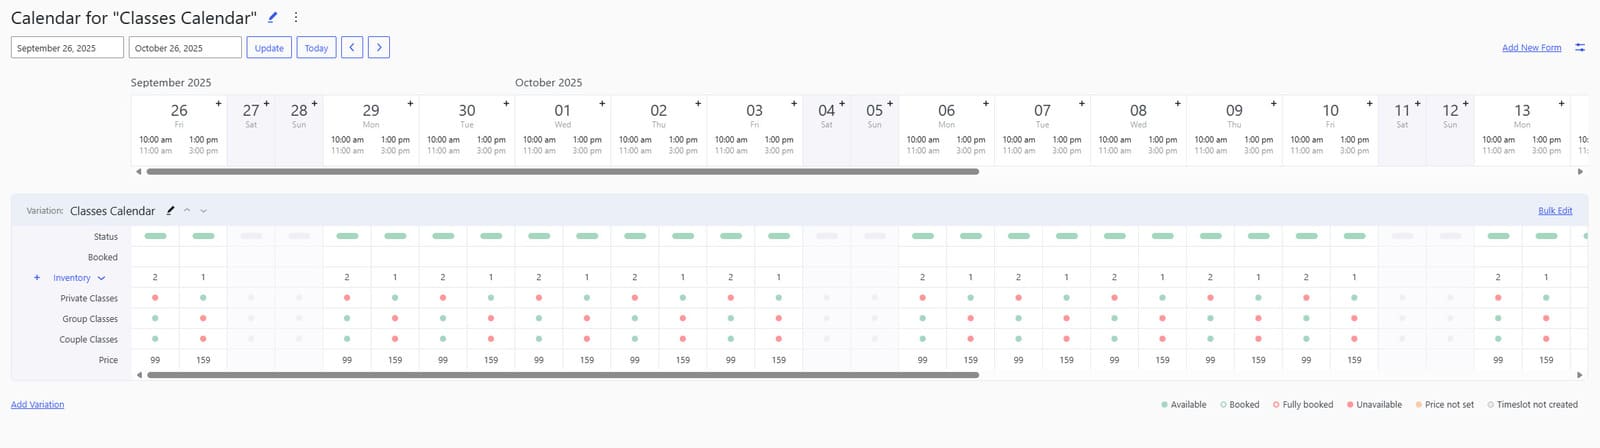
Step 3. Setting Rental Rates
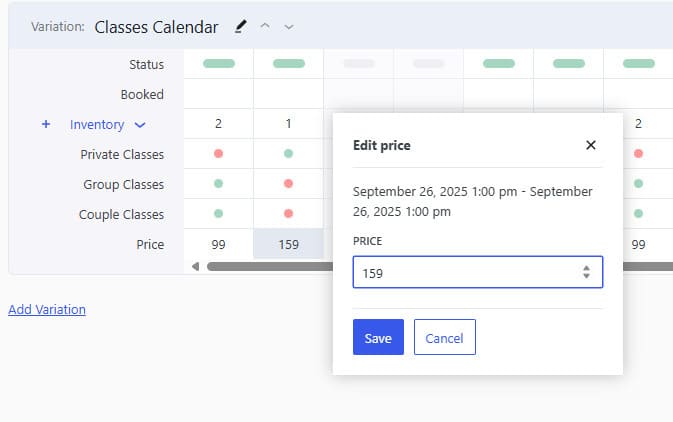 Once you have added items and specified their availability status, feel free to add pricing options that will be displayed during the booking process. Based on your WordPress rental plugin settings, the price can be set for night, day, or per timeslot. This will allow you to:
- Offer dynamic pricing depending on stay length or booking duration;
- Clearly display costs upfront, reducing customer confusion;
- Easily adjust rates during a custom date range;
- Provide a transparent and professional booking experience.
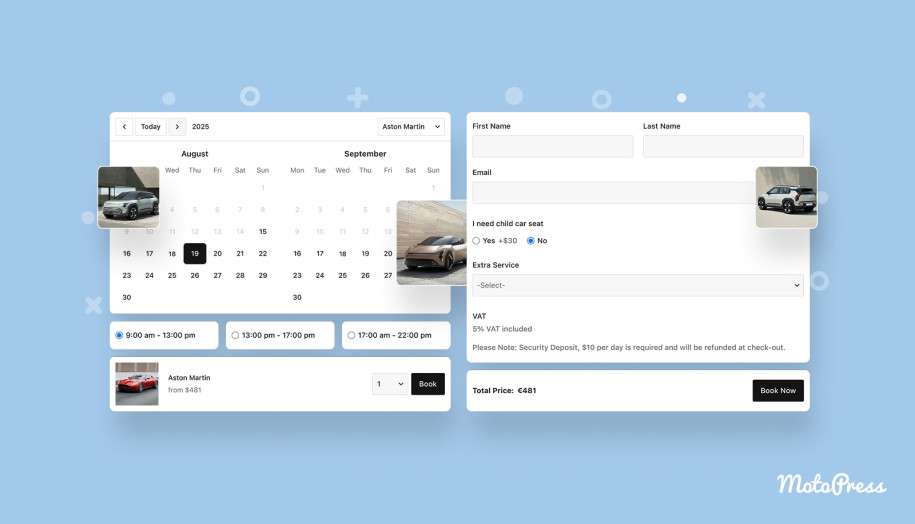
Step 4. Adding Booking Forms
After performing the basic configuration of your calendar, you’ll need to create booking forms to gather your clients’ data in a way that is comfortable for all sides using the “Forms” tab. By using the built-in booking form builder, you can craft a reliable booking form in just a few minutes. Forms are associated with the calendar you create and are displayed during the booking process automatically. Some of the available fields for the form builder also include:
- Name, email, and phone (default fields);
- Short & long answer;
- Price adjustment;
- Number & checkbox;
- Multiple choice.
Step 5. Configuring Email Notifications
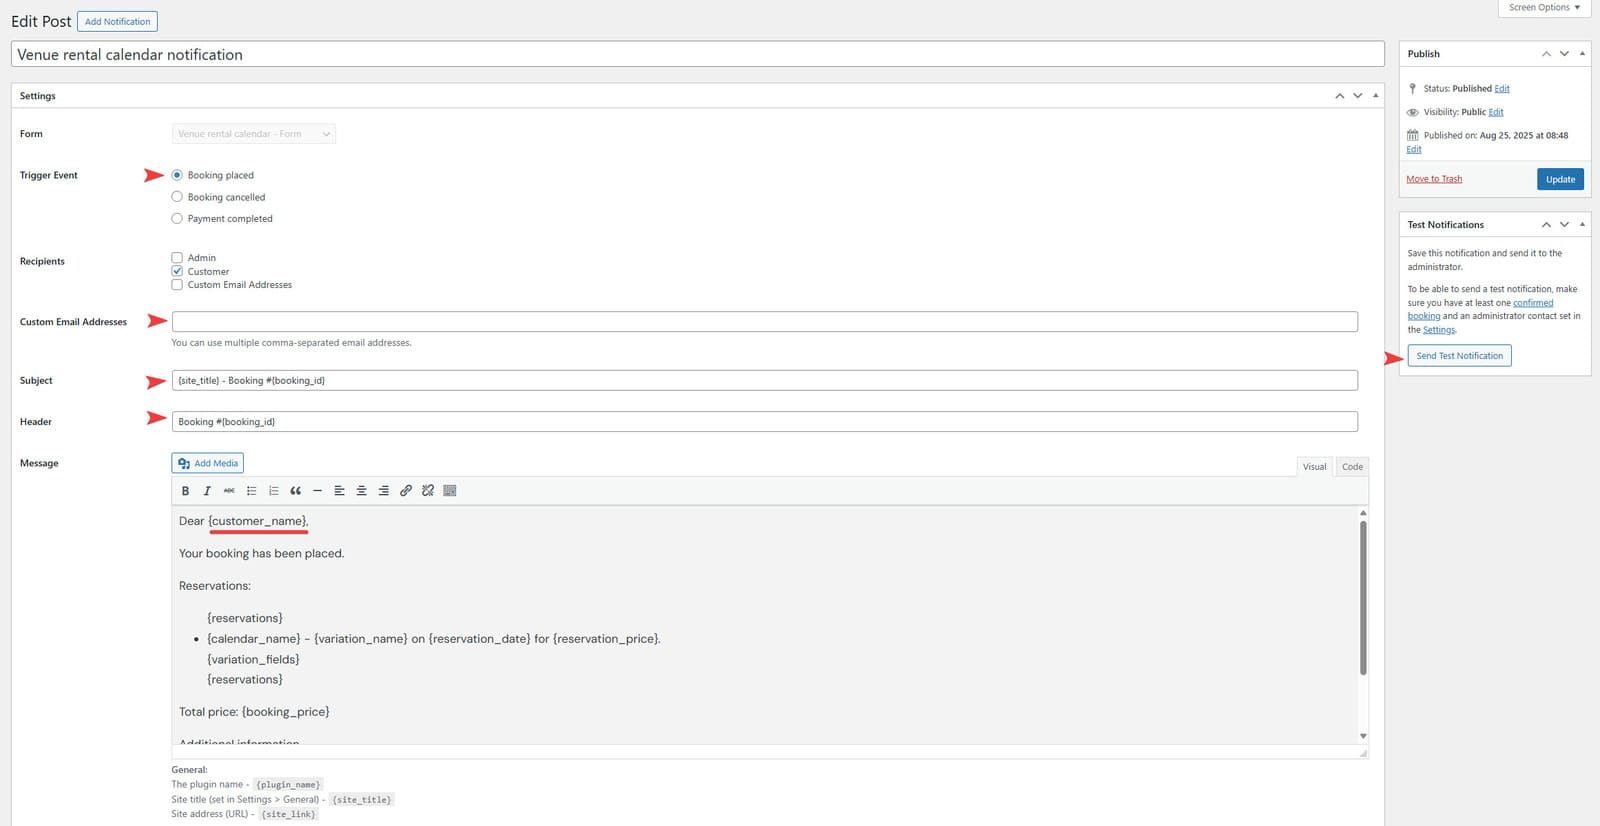 Before you add the WordPress Booking Calendar to your website’s front page, it is necessary to ensure the email notifications are up and working, so that your clients are informed about any changes in their bookings. This is done in the Notifications tab of the WordPress rental plugin and takes a few steps to complete. The plugin also provides a ready-made email template that you can tweak to match your customers’ expectations. Additionally, the plugin’s notification module comes with:
- 2 varied triggers;
- Email template tags;
- Customizable subject & header fields;
- Custom email address support;
- Notification test mode.
Step 6. Displaying the Calendar on Your WordPress Rental Site
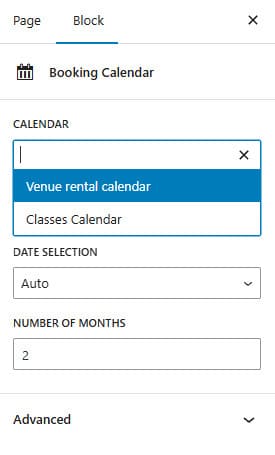 Finally, when you are done with the configuration of various plugin modules, it’s time to integrate your WordPress equipment rental plugin into a website page. This is done simply by creating a page in Gutenberg and inserting the supplied calendar block. Alternatively, you can use a configurable shortcode in case you need to add a calendar to any other builder or sidebar.
Both ways allow you to add the booking calendar to your website without any complex customization or manual web development. As for the block, to add it, you need to:
- Open the Gutenberg editor using the Pages tab in the WordPress dashboard.
- Find the “Booking Calendar” block and drag it into the blank editor page.
- Choose the calendar you created.
- Customize the date selection and number of months if necessary.
- Save any made changes or publish the page.
WordPress Rental Plugin Updates and New Features
 Aside from the multiple ways to configure your booking calendar, the WordPress rental plugin by MotoPress offers a wide variety of ways to manage your rental schedule. It is built to improve the experience of your website visitors, while also automating diverse aspects of your rental business. Moreover, the WordPress rent plugin is constantly updated with security fixes and new & planned features.
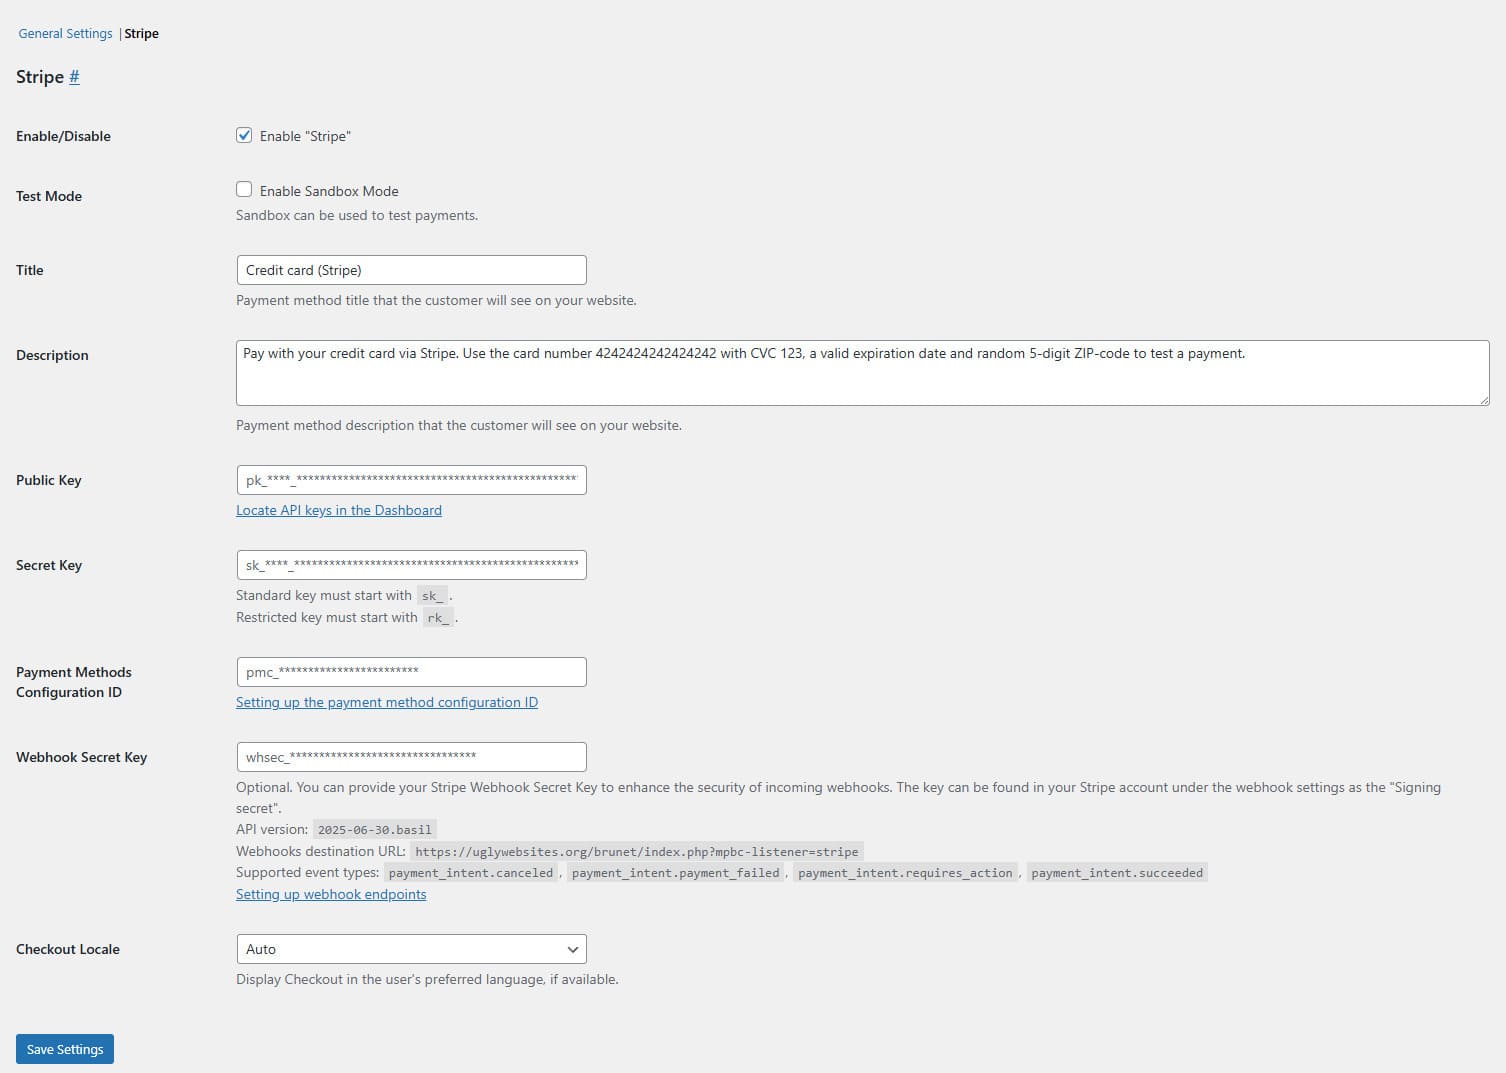
One of the latest additions is Stripe payment gateway integration. It is designed to deliver a safe and secure way for customers to pay for renting the items available on your calendar. With the support of popular online payment services like PayPal, Google Pay, and Apple Pay, such an integration of a WordPress car rental booking plugin can drastically improve already impressive functionality. Moreover, such a feature can provide you with:
- Multiple payment options;
- Payment security;
- Detailed reports;
- Seamless checkout;
- Stored payment details.
Conclusion
 We hope this overview of booking modes and their settings that the WordPress rental plugin provides has helped you discover its true potential for your business. For small and medium rental businesses, this plugin can not only save time but also automate core processes and help you avoid routine manual work. As a result, you can manage and plan rental activities faster and with more precision than before, while also saving money. For those who are not yet convinced of the plugin’s true benefits and usage potential, here are some extra reasons to try it today:
- Seamless integration with WordPress: Thanks to being built for WordPress, WordPress rent plugin solutions like Booking Calendar allow you to get reliable booking functionality without having to develop anything extra by yourself.
- Customizable booking forms: Due to the many features supplied with such booking calendar solutions, you can adapt the fields and layouts of booking forms to match the requirements of your WordPress rental site.
- Flexible pricing rules: for those businesses that need to have dynamic pricing depending on the season and time of the day, modern rental booking plugins allow you to set up any type of rates that match your business idea.
- Mobile-friendly interface: The responsive design of rental management plugins allows you to access your booking dashboard from anywhere. Besides, your clients can access and control their rentals without having to manually contact you to reschedule or cancel anything – they can just use your WordPress website.
- Reliable customer support and updates: We recommend looking for WordPress equipment rental plugin options that consistently deliver not only improvements and security fixes but also professional customer support.