Hotel Booking Checkout Fields is Out: a Handy Checkout Form Editor
Table of Contents
If a default set of the checkout fields in the Hotel Booking plugin for WordPress doesn’t fully meet your needs, our new add-on is made to change this. The new Hotel Booking Checkout Fields extension allows you to add, edit or remove/hide fields displayed on the checkout page, thus, completely transform it to suit your business.
This will allow you to collect more information from your guests, for example:
- Personal details required by the policy of your country
- Require user’s agreements to comply with the policy of your property
- Ask to specify the basic information, e.g., about pets or children
- Add extra instructions
- Add marketing-focused fields, e.g., to learn how people find you.
The process is fairly easy since you’ll be able to add, edit and reorder the fields in one place and instantly preview the settings of the fields in one table.
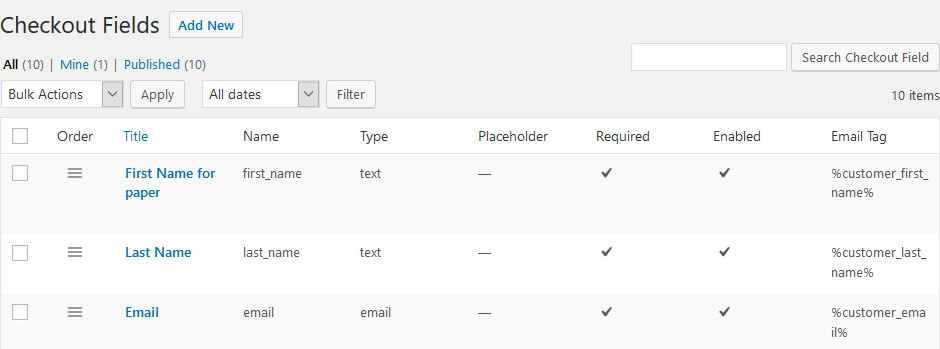
Let’s get into detail.
How to edit default/add new Hotel Booking checkout fields
Once you’ve installed and activated the new extension, you’ll see that the default checkout fields are already there – so go ahead and choose those that must be modified. But let’s start with customization restrictions.
There are two parameters you can’t change in the core fields since those are system ones:
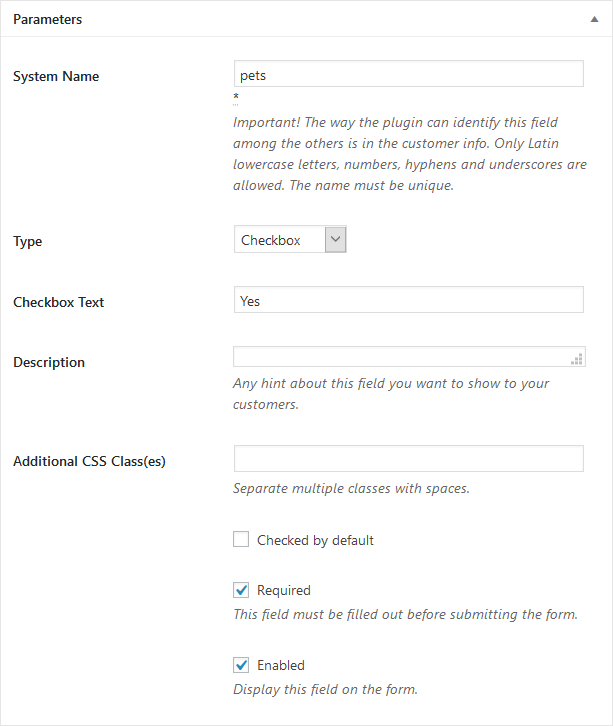
- System name
- Field type
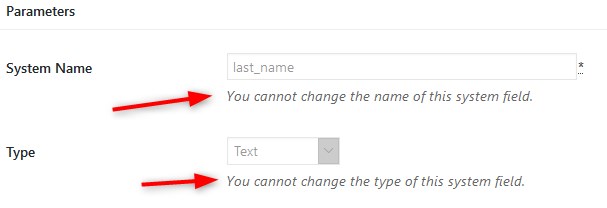
They don’t affect the frontend checkout page experience since this information is not displayed publicly. Furthermore, if you don’t need any of the core fields, feel free to hide them or make them non-required for submitting.
However, you can’t mark the Email field as non-required because it’s crucial for recording a booking and communicating with the guest.
Let’s now list the options you can customize for all default fields. They are completely the same as for the new fields. You can modify:
- Field label – this one will be displayed on the checkout page above the field. Feel free to tailor labels of the default fields to your business.
- Description is an optional hint displayed under the field; use it when you believe guests need more details as to what information must be provided.
- Additional CSS. If you want to customize the look of the fields, you can add one or multiple custom CSS classes separated with spaces.
- Required/Non-required. Required fields are obligatory (the guest won’t be able to place a booking if the field is not filled out).
- Enabled/Disable. Enabled fields are visible to guests; feel free to hide them at any time.
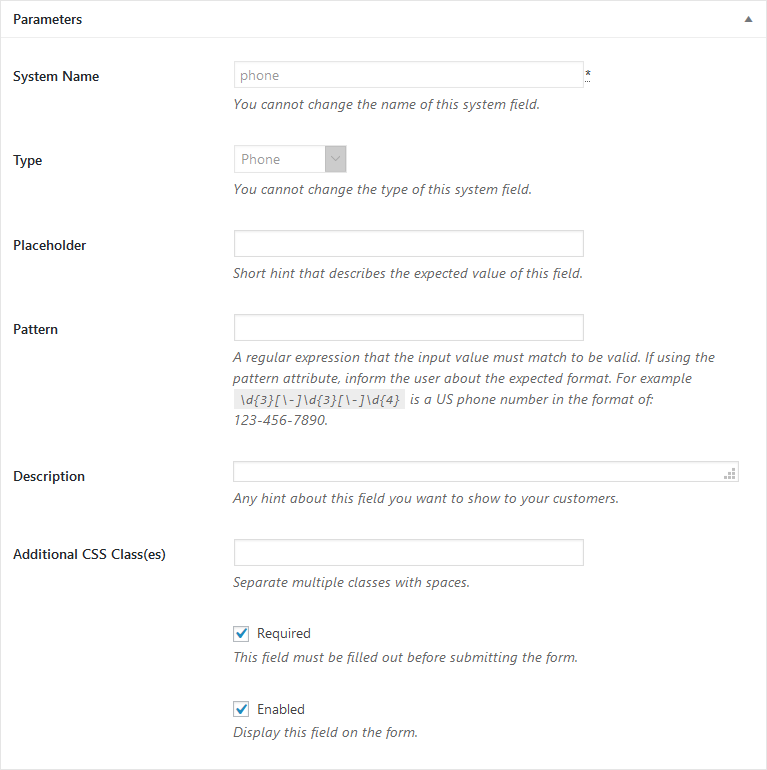
For the new field, you must also add a System name. You’ll need to come up with a unique system name for this field (create one that described the field).
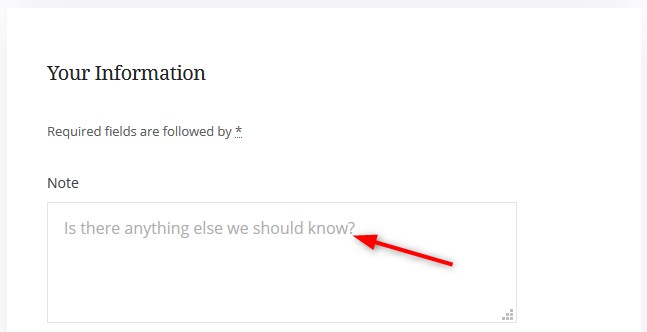
Some fields (depending on the field type) offer placeholders that allow you to provide guidance about what you expect to see in this field:
How to Disable the “Confirm Reservation” Button in Hotel Booking
Field types for new custom checkout fields
When you are adding new custom checkout fields, you can modify everything in them. Let’s see what field types are available and stop on some of their specifics:
- The Checkbox field comes with the editable text (comes next to the checkbox) and the ability to display it checked by default. However, it’s important to be responsible with regard to any pre-set checkboxes without obtaining consent from users (check out GDPR).
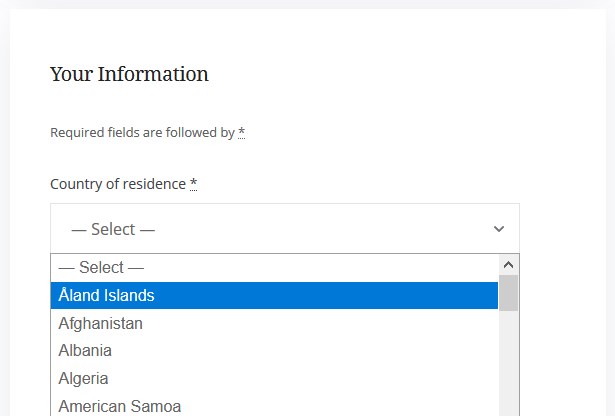
- The Country field is a selector of countries.
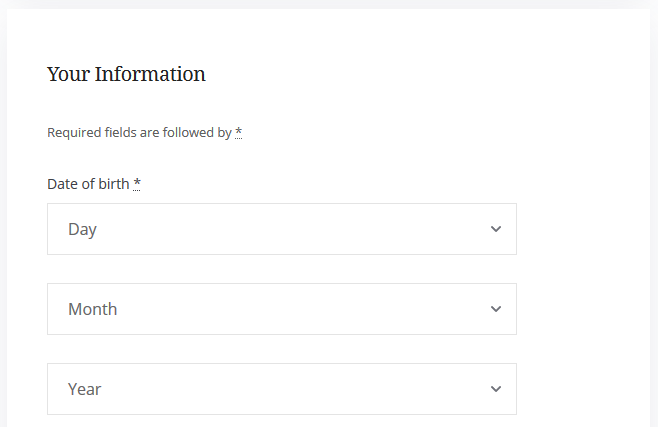
- Date of birth is a three-field section with the date, month and year pickers.
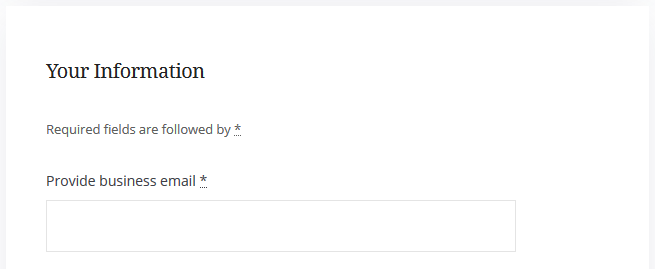
- The Email field is for asking for any extra email addresses, e.g. a business email address or an alternative way to reach out. Validation works for the fields like this, where a specific format is expected (validation options ensure that data is correctly entered into a field).
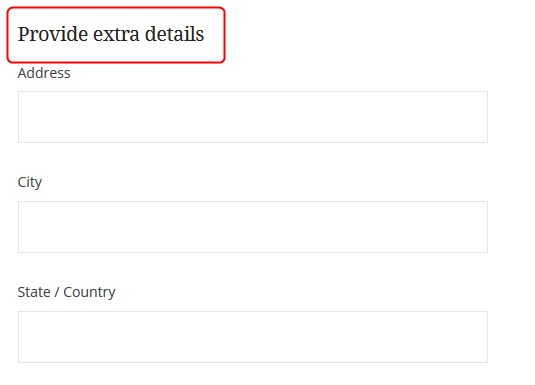
- Headings are basically text headings on the frontend, not fields. You can use them to visually break long checkout forms into shorter ones by semantic groups.
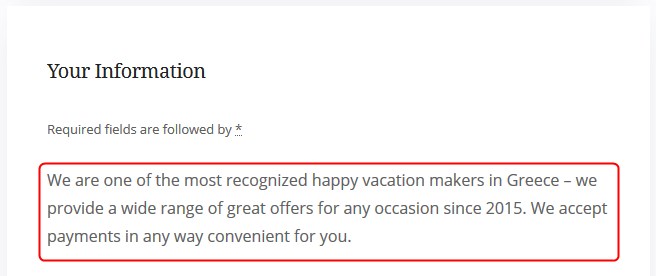
- The Paragraph field is suitable for longer guidances.
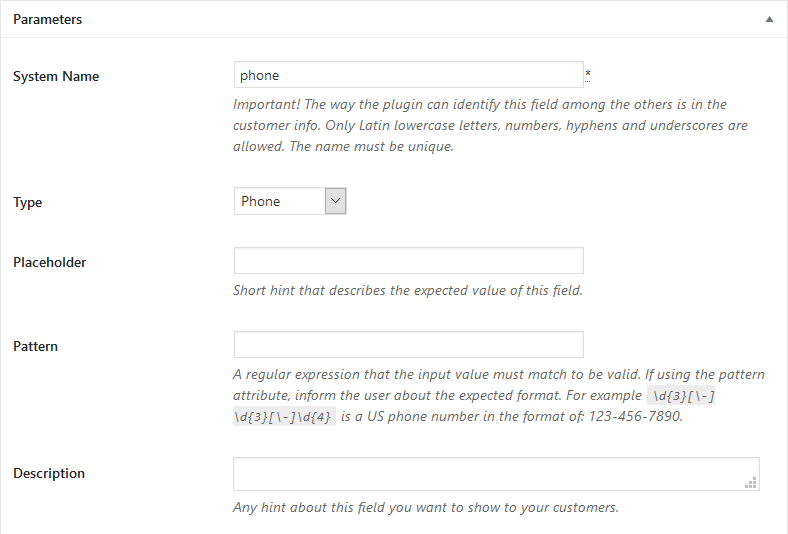
- The Phone field comes with all tunable parameters, such as a pattern, description, and placeholder.
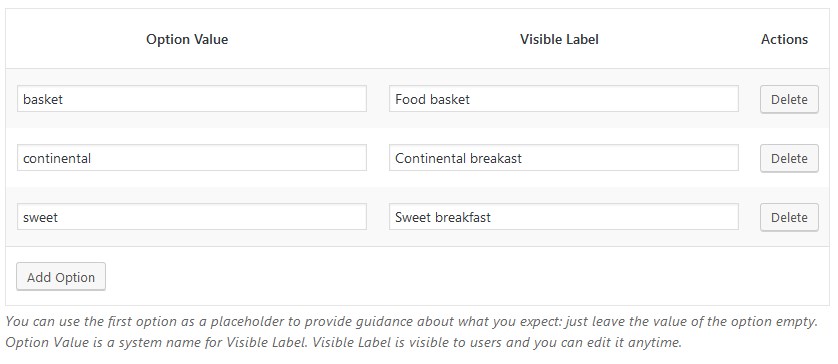
- Select allows you to add multiple options in one drop-down menu. By default, the first custom option will be displayed – you can change this by adding a guidance custom text (e.g. “Select”) as the first option (leave the value empty).

- Text ads a field for short answers.
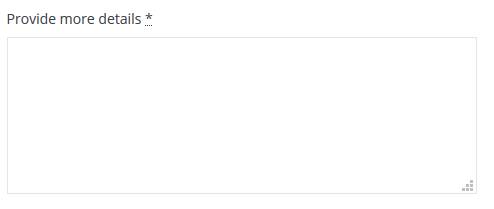
- Textarea is for longer answers.
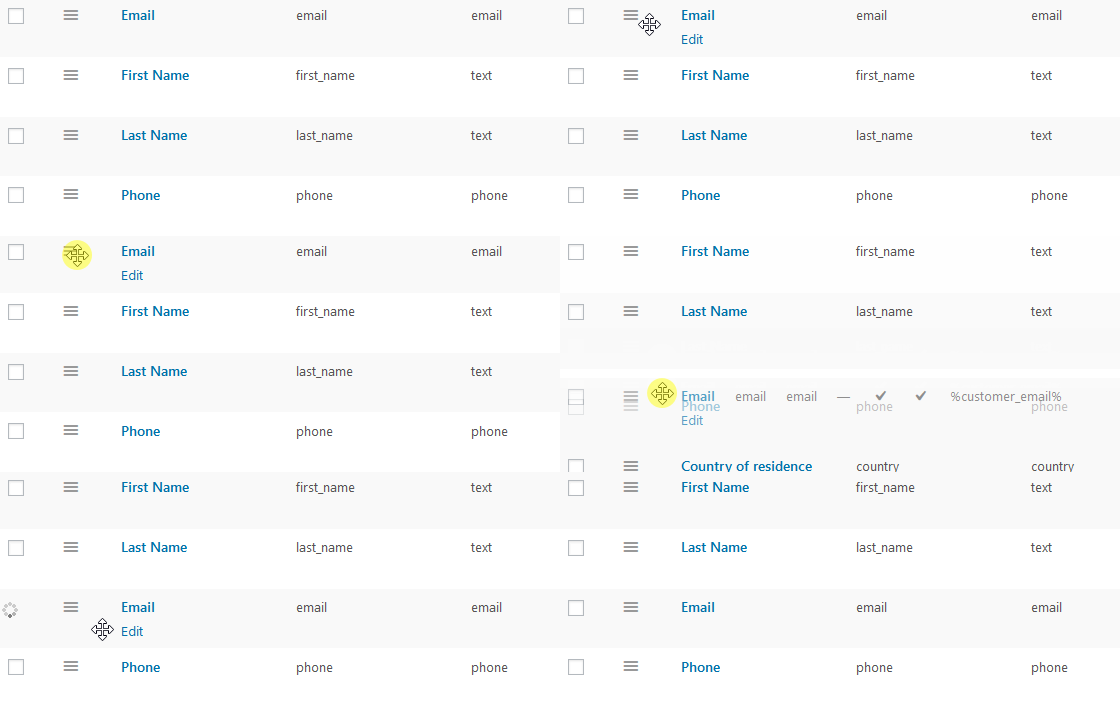
Feel free to reorder the fields by dragging and dropping them in the Checkout Fields menu:
Use data submitted through custom checkout fields in Hotel Booking emails
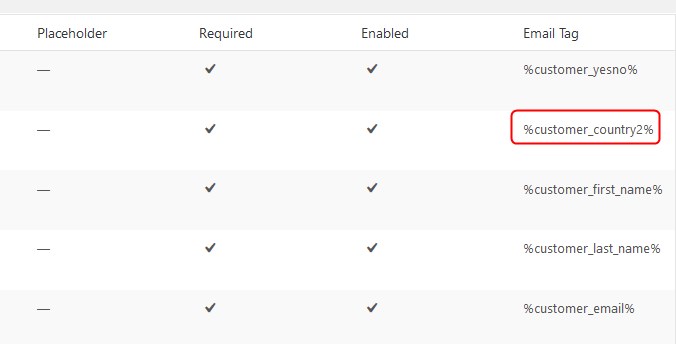
You can also include the information submitted through custom Hotel Booking checkout fields into the client and admin emails. There are email tags automatically generated for each field so you can just copy and paste them into the email templates.
Export data of the fields in CSV via Reports
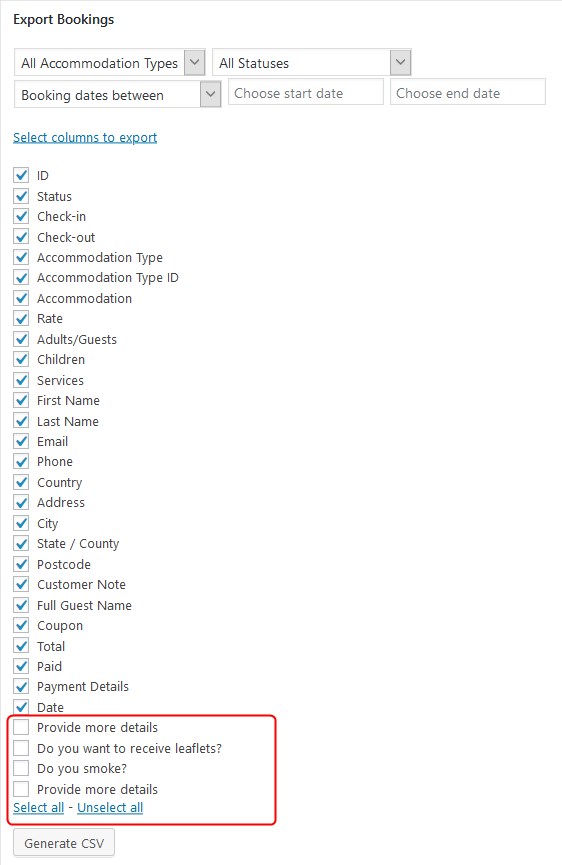
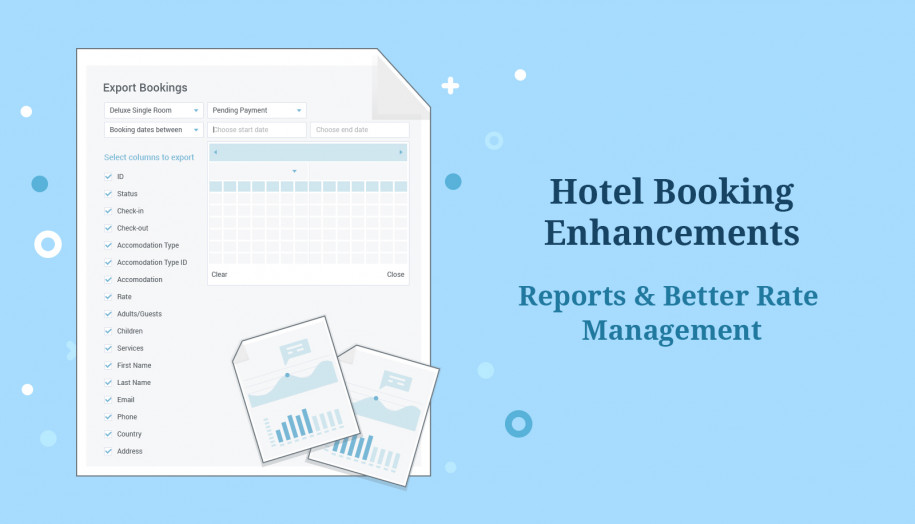
When you need to generate a new report on your bookings and clients, you can now notice all-new checkout fields as selectable columns for your reports (expand the list by clicking on the “Select columns to export”)
To exclude unnecessary client and booking details from the checkout fields, simply untick the appropriate boxes.
Final word: Customize the Hotel Booking checkout form
This WordPress Hotel Booking Checkout Fields extension can give you a leg up in tailoring the checkout experience to your needs by offering a super handy interface of the checkout field editor. We hope this add-on will bring a significant improvement to your property management processes. You can now shorten the form to the basics and improve the submission rate or, vice versa, request more necessary details with custom checkout form fields. Let us know if you have any questions or ideas.
*This premium add-on if free for all MotoPress Club members or you can get it with other add-ons in a bundle.


Hello. I need to get a special field in the source code. How can I do this? I also need to get a special field for the Motopress Hotel Booking PDF Inovice accessory. How do I do that? Thank you.
Hi Martin, Thanks for your question however I’m not sure I get it correctly. Could you submit a request and describe the question in more detail? Thanks.