How to Add Apple Pay to WordPress? Appointment Scheduling Scenario
Table of Contents
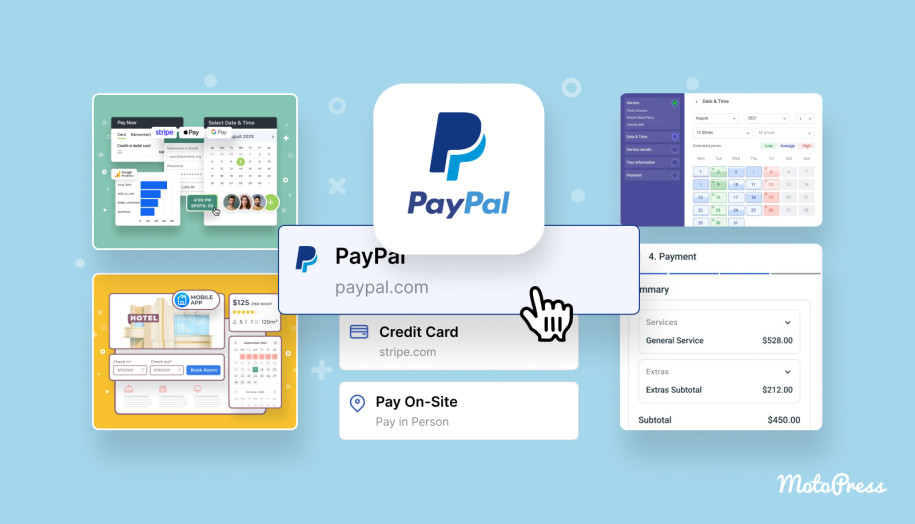
Is there a user-friendly way to enable Apple Pay WordPress integration for your website? How do you add such functionality to an appointment-scheduling website? If you’re looking for an answer to any of these questions, you’re in luck! In today’s post, we’ll take a look at the process of adding Apple Pay to your WordPress website.
We’ll use the Appointment Booking plugin by MotoPress and Stripe payment gateway integration as an example of enabling secure payment functionality.
What is Apple Pay?
 Before we dive deeper into the details of adding Apple Pay to your WordPress website, let’s learn more about the service itself.
As evident from its name, Apple Pay is a mobile payment and digital wallet service by Apple. It is designed to help users make secure, contactless payments using their Apple devices, such as iPhone, Apple Watch, iPad, or Mac. By storing your credit, debit, and prepaid cards digitally, this service simplifies online transactions, making them fast and convenient. No wonder that many online stores and websites use it to ensure a smooth and secure payment process. Aside from these obvious reasons for using Apple Pay for WordPress, it can also be used for:
- Peer-to-peer transfers;
- Transit payments;
- In-app purchases;
- Recurring payments.
| Name | Developer | Launched in |
|---|---|---|
| Apple Pay | Apple | 2014 |
Appointment Booking: A Comprehensive Scheduling Tool
 Let’s take a look at the Appointment Booking WordPress plugin that we’ll be using to integrate Apple Pay with your website.
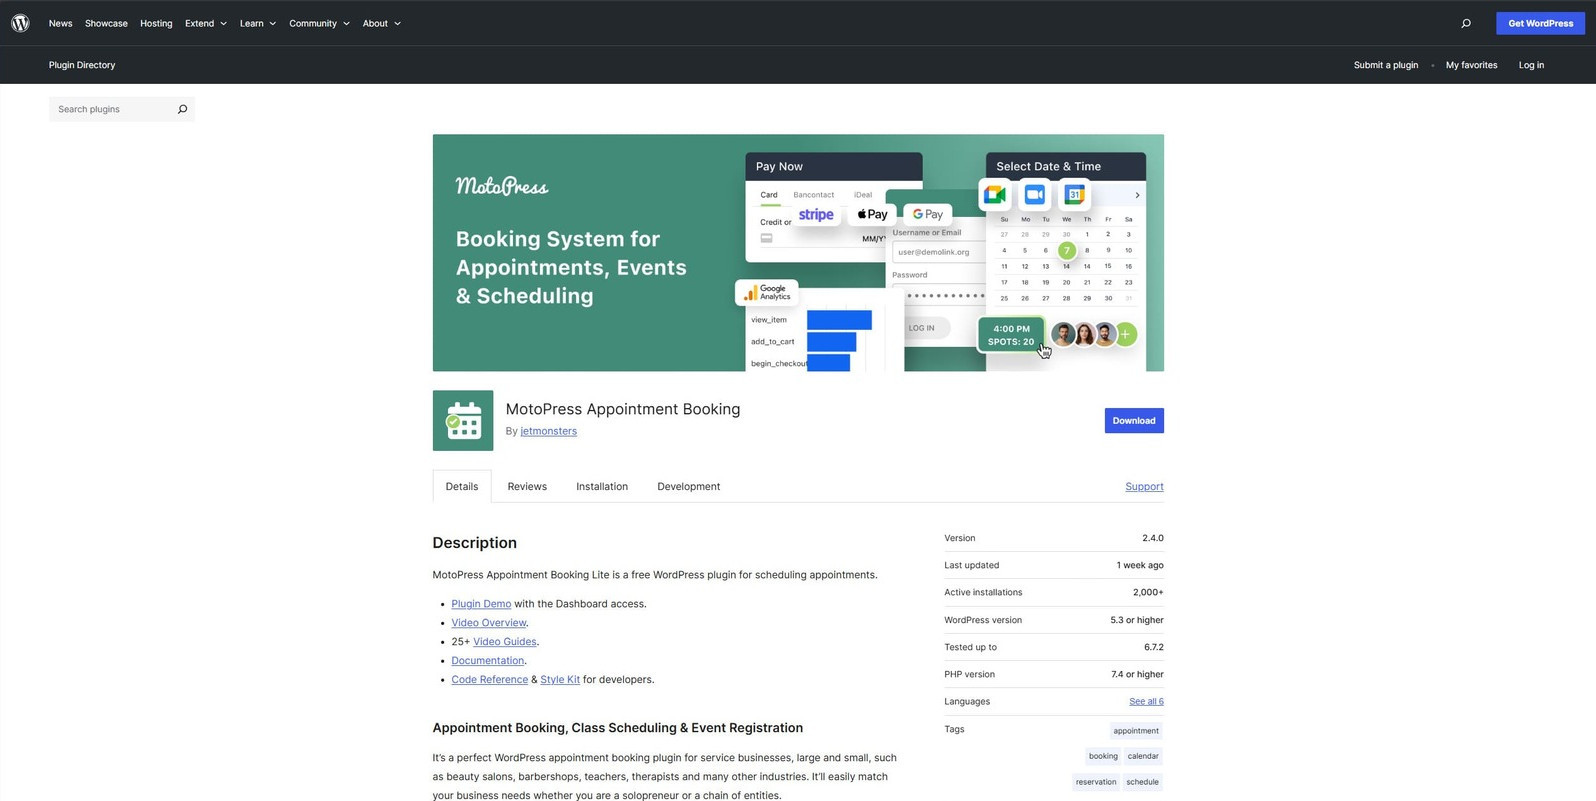
MotoPress Appointment Booking is built to help service-based businesses schedule and manage appointments easily. It helps you avoid any manual routine work by automating online bookings, notifications, payments, and other core processes. By allowing customers to book services and choose staff members among many other features, this WordPress Apple Pay plugin provides a variety of tools for transforming your website into a space for fast and easy service booking. Additionally, it offers various payment integrations, such as PayPal and Stripe, through which you can set up multiple payment methods that include Apple Pay, Google Pay, and WordPress support. Moreover, it has a free version, which you can use free of charge to access basic functionality.
Key features:
- Step-by-step booking wizard;
- Configurable email appointment reminders;
- Multiple location support;
- Customization of booking rules;
- Individual schedules for employees;
- Customer accounts;
- Various premium add-ons.
| Name | Author | Price | Installations |
|---|---|---|---|
| Appointment Booking | MotoPress | Free or from $49/year | 1,7k+ |
How to Integrate Apple Pay into WordPress with MotoPress Appointment Booking Plugin?
 Now that we know more about both solutions we’ll be using to automate online payments on your WordPress website, let’s explore how to add Apple Pay to WordPress in a few simple steps.
First of all, we explore the installation of Appointment Booking, what the requirements are for making it work with your Apple Pay, and how it is displayed online during the booking process.
Please note that to successfully integrate this payment service into your website, you need the premium version of the plugin, as it gives you access to the Stripe integration that we’ll use to make online payments possible. You also need to have a Stripe account.
Step 1: Install Appointment Booking
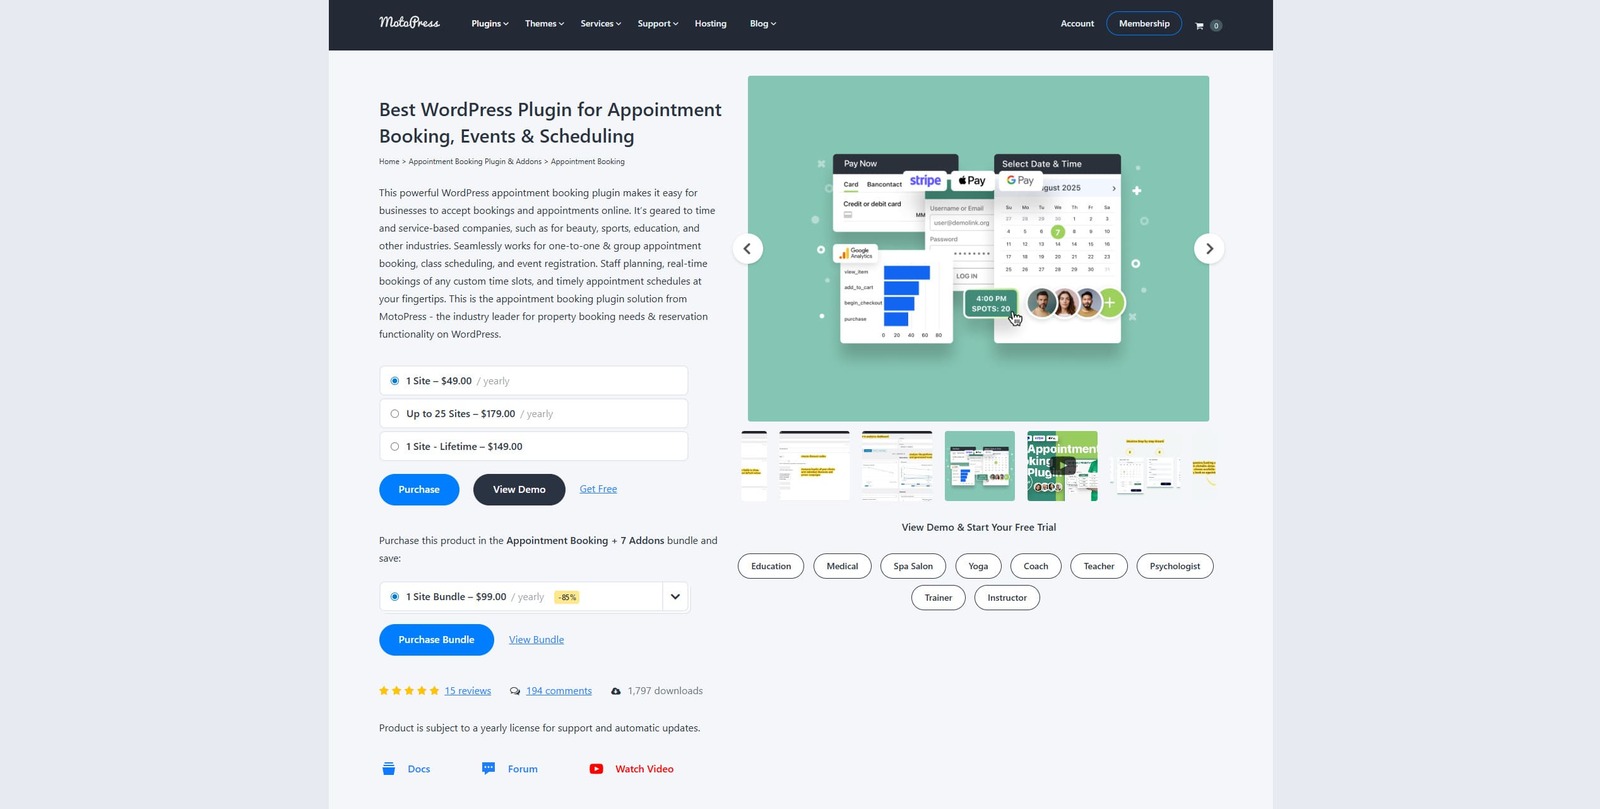
 The first step to adding Apple Pay WordPress integration to your website lies in installing the MotoPress Appointment Booking plugin. Since you’ll need a premium version to make it work, it is recommended to check out available free demos and available appointment WordPress themes first on the MotoPress website. After testing the available functionality, you can consider which option is the best for you.
 For example, you can go for a default option with just the premium plugin for $49 or choose a bundle with the plugin and all available add-ons for $99. Note that all pricing options are annual subscriptions that provide not just the Appointment Booking plugin and add-ons but also qualified support in case you have any trouble configuring the plugin. After you register a MotoPress account and confirm your purchase, you can download the plugin and add-ons if you’ve chosen them. After that, considering you already have WordPress installed, do the following:
- Log in to your site’s dashboard.
- Navigate to the “Plugins – Add Plugins” tab.
- Press the “Upload plugin” to upload the purchased plugin to your website.
- Choose the ZIP archive you’ve downloaded from the MotoPress website.
- After the Appointment Booking is uploaded to your website, activate it.
- When activation is complete, you’ll see the Appointments tab on your Dashboard tab panel.
Step 2: Register for a Stripe account
 The next step involves setting up a Stripe account. This will be necessary for integrating the Stripe Apple Pay WordPress solution into your website. Thanks to Stripe being an all-in-one payment platform, it simplifies the process of accepting multiple payment methods, including Apple Pay. Moreover, with Stripe, you don’t have to register for additional merchant services. After registering, you’ll have access to the dashboard. There, you can manage transactions, enable Apple Pay, and monitor customer payments in real time. You’ll also get unique API keys that will be used later in configuring payment integrations with Appointment Booking. To register a Stripe account for WordPress Apple Pay support, do the following:
- Navigate to https://dashboard.stripe.com/register
- Provide required data, such as:
- Email;
- Full name;
- Password;
- Country.
- You can also sign up using your Google account and provide the necessary data afterward.

- Activate your account by answering simple questions about your business and providing public business information.
- Add banking accounts.
- Set up two-factor authentication to protect your data.
Step 3: Configure Stripe Integration and Select Apple Pay
Now, let’s configure the Stripe integration to access Apple Pay for WordPress. Since you’ve already installed and activated the plugin and registered the Stripe account, the rest is quite easy to do. Note that you’ll need access to your confidential Stripe API keys, so keep your Stripe dashboard open for this step. Here’s how to integrate Stripe with the Appointment Booking plugin (that will also help you learn how to add Google Pay to WordPress):
- In your WordPress dashboard, navigate to the “Appointments – Settings” tab.
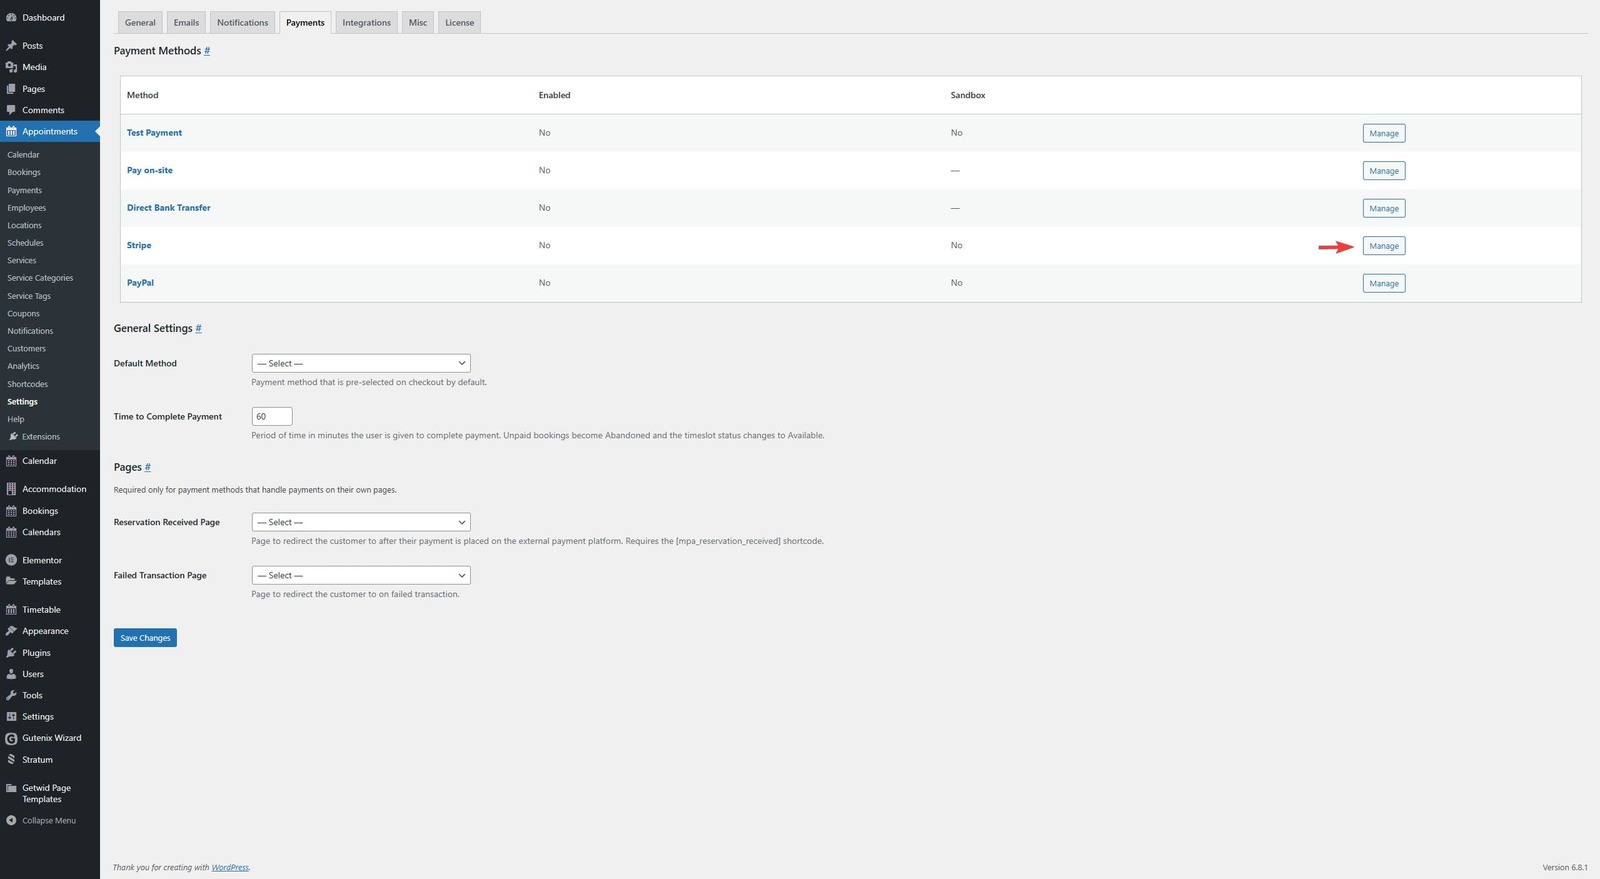
- On the opened page, choose the “Payments” tab.
- Then, click “Manage” next to Stripe as a payment gateway you need to configure.
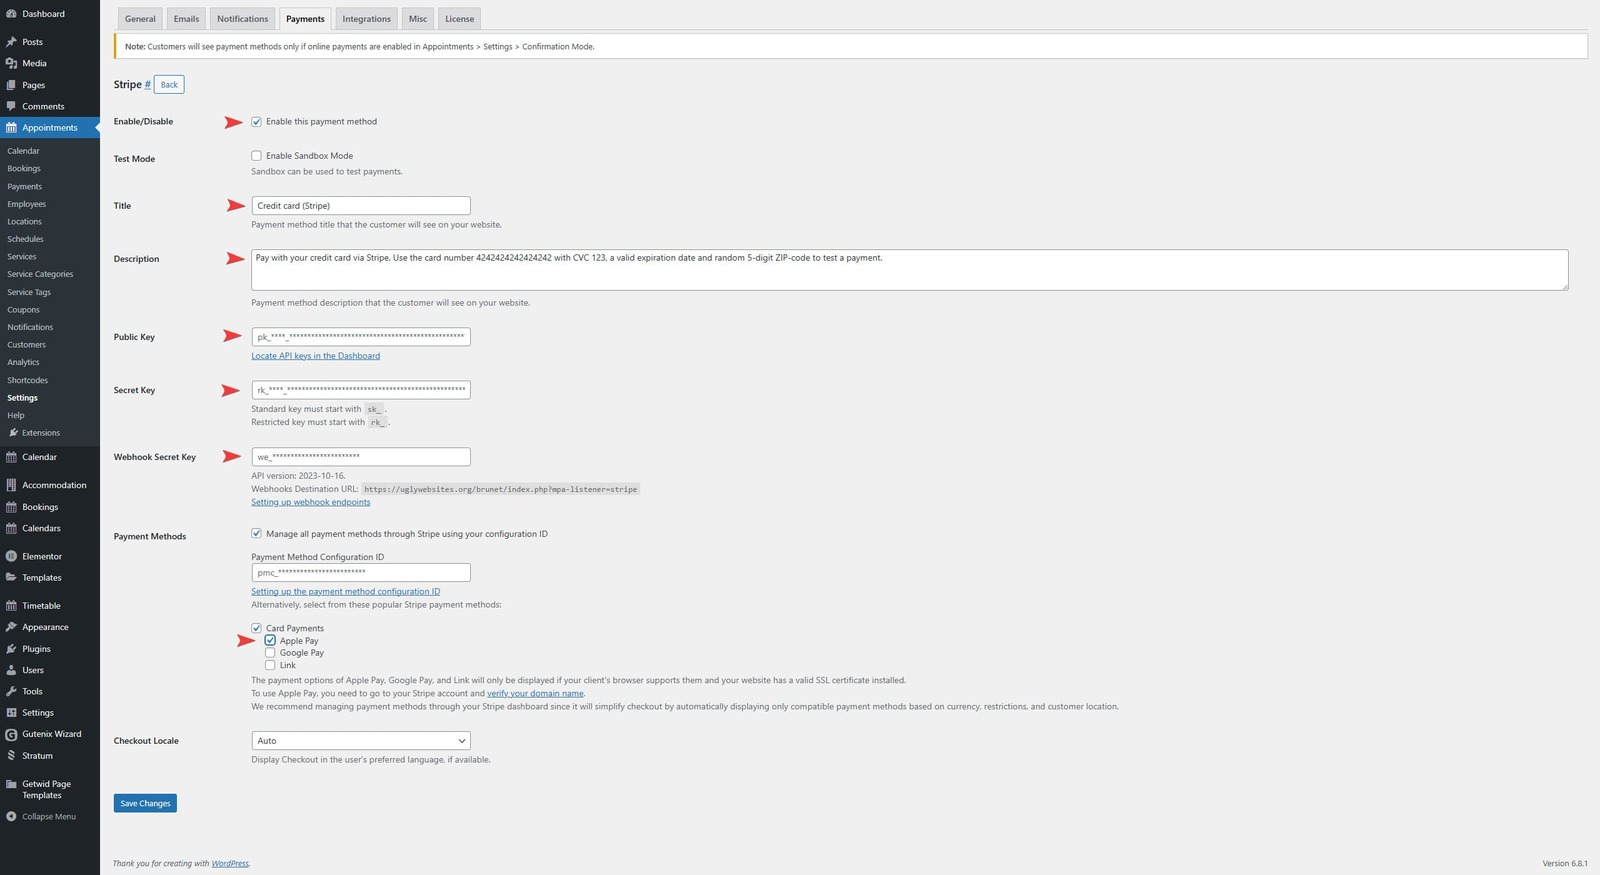
- On the next page, select “Enable this payment method”.
- Then, provide a title and description for this payment method to be displayed during appointment booking. You can also leave these fields for now and edit them later.
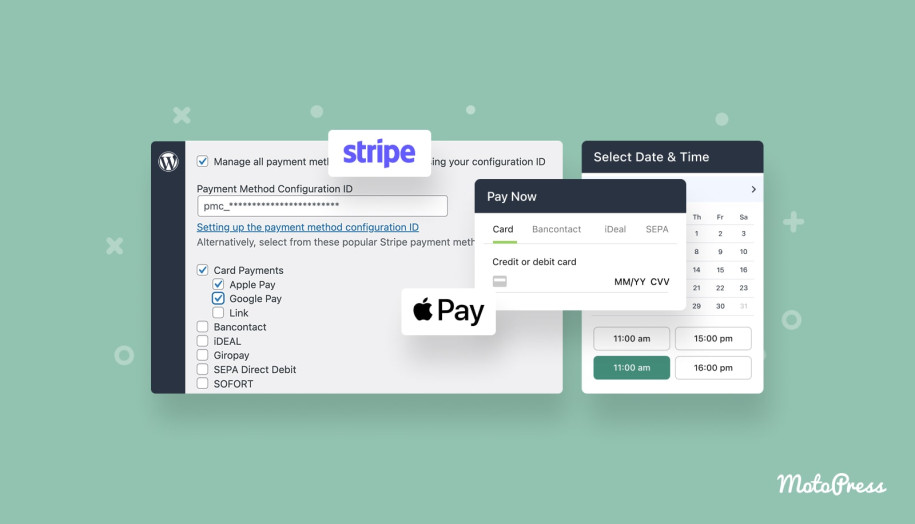
- Next, provide the API keys required for the correct work of the integration. They include the Public key, Secret key, and Webhook secret key that can be found in the Stripe dashboard.
- Now, choose the preferred payment method you’d like your customers to use. There are 2 ways to do it:
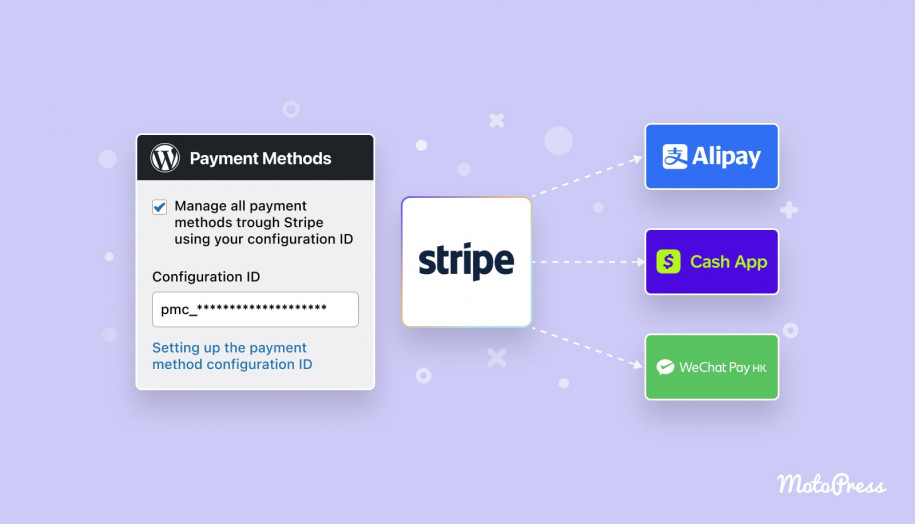
- Create a configuration of the payment method page in Stripe, and then specify the configuration ID in the settings of Stripe integration of the Appointment Booking plugin.
- Alternatively, you can simply choose Apple Pay, Google Pay WordPress integration, and other popular payment methods by selecting them on the Settings page of Stripe integration. Note that to use these methods, you need to verify your site’s domain with Stripe.
- Don’t forget to save changes after setting up Stripe integration.
Step 4: Configure the Appointment Booking Plugin for a Better Scheduling Experience
If you have already enabled an option to display payment methods during a booking process, it’s time to configure the Appointment Booking plugin tools. While this process may seem quite complex at first, it is easy to follow once you get acquainted with how Appointment Booking works. You need to configure four main parts of the plugin to make sure your clients will not only be able to pay with Apple Pay WordPress integration for your services, but also book them in a few simple steps.
- Employees: First, go to the “Appointment – Employees” tab in your site’s dashboard before you make the booking form of the Google Pay WordPress plugin public. Press the “Add New Employee” button at the top. On the opened page, you can add a name and description of your employee, and specify the email the employee will use to access your site’s admin panel.
- Locations: Next, we recommend setting up locations even if you have a single address where you provide your services. Navigate to the “Locations” tab and press “Add New Locations” at the top of the page. Similarly to the Employee pages, here you can use the Gutenberg editor to describe various locations your service-based business relies on.
- Services: By adding a service through a corresponding tab of the plugin dashboard, you can specify the booking rules of each service and rates that you’ll use with the Apple Pay WordPress plugin, enable group booking, and customize capacity. Most importantly, you can easily select which employee is responsible for providing the exact service, especially if it’s compatible with Apple Pay WordPress integration.
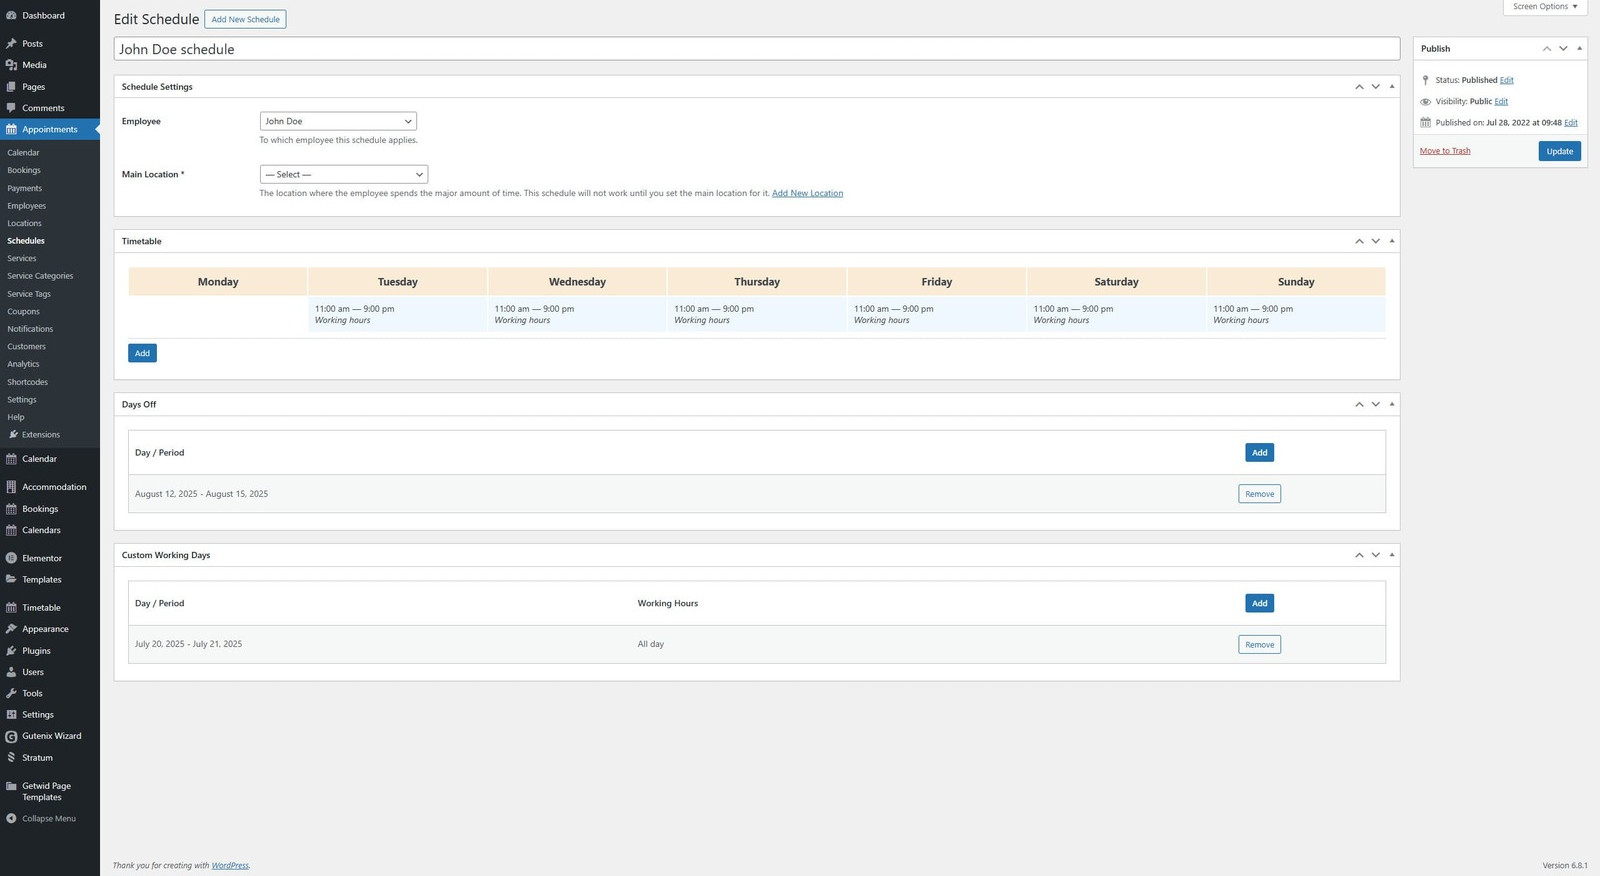
- Schedules: We also recommend adding individual schedules for each of the employees on the “Schedules” tab. There, you can link together an employee and their main location as well as specify the employee’s timetable, days off, and custom working days.
- Email notifications: Don’t forget to set up email notifications. Using the “Notifications” tab, you can specify which type of reminder you want to send and when. Thanks to the included email template, you don’t have to start from scratch when writing an email reminder. Moreover, the plugin supports multiple triggers and allows you to send copies of any notification to admins, employees, and custom contacts. You can even edit such notifications to remind your clients to pay for an appointment using Apple Pay WordPress integration or any other payment method.
Step 5: Add the Booking Form to Your Website
 One of the final steps allowing your clients to access the Apple Pay functionality on your website requires you to add the step-by-step booking form to any page. The easiest way to do it is to use the Gutenberg block that is included with any version of the plugin. Here’s what you need to make the form appear on your website:
- Navigate to the “Pages – Add Page” tab in your site’s dashboard.
- Press the blue plus button in the upper left corner. The block inserter will appear. In the search box at the top, enter “Appointment Form” and choose the block with this title.
- After adding an appointment form block, you can customize its behavior, such as:
- Appointment Booking form title;
- Service selected by default;
- Field labels;
- Show or hide the “Add to your calendar?” section for customer calendar synchronization;
- Customize form appearance.
- After making necessary edits and naming the page using the editor, don’t forget to press “Publish” at the top right to make the page public. You can later add it to the main menu of your website using the “Appearance – Menus” tab.
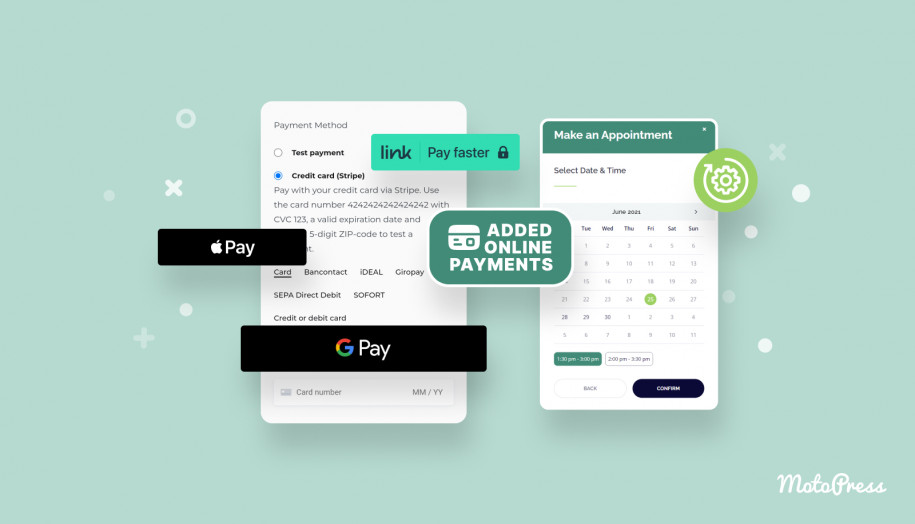
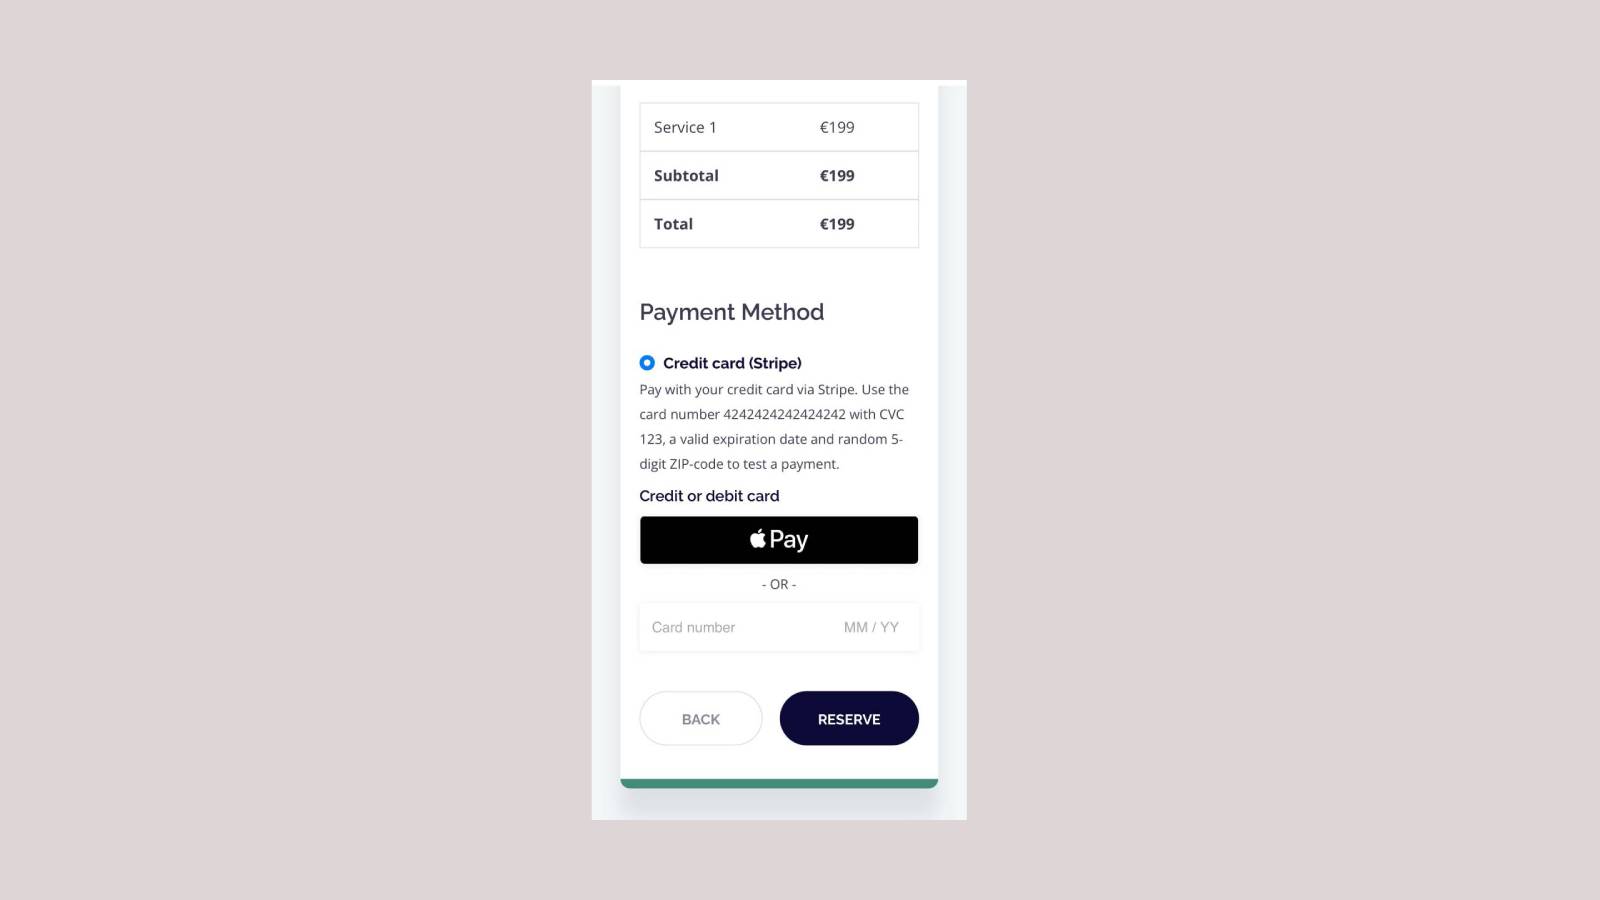
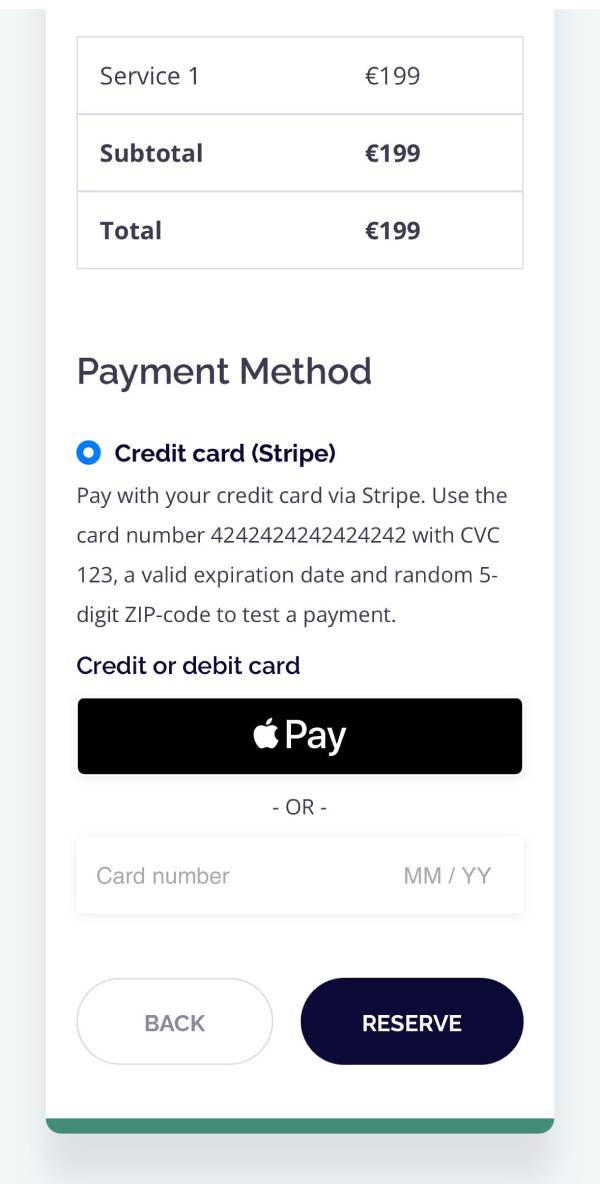
On the checkout page, customers will see the option to pay with Apple Pay.
Conclusion
 As you see, adding an Apple Pay WordPress plugin to your website just takes a reliable plugin with well-implemented online payment gateway support like Appointment Booking by MotoPress. Additionally, with secure payments and services like Apple Pay and Google Pay enabled, you can increase your trustworthiness and positively impact your reputation. Aside from that, relying on automated online payments provides other benefits, such as:
- Faster payments: Apple Pay and similar payment platforms enable contactless and quick transactions. This allows you to reduce checkout time, which is highly useful for appointments or businesses like salons or clinics.
- Increased conversions: By enabling WordPress Apple Pay integration for your website, you can improve your sales and conversions by providing secure and quick payments.
- Improved customer experience: Modern customers of nearly any service-based business prefer online payments with Apple Pay for its convenience and security. Accepting such payments also shows that you are customer-oriented.
- Higher security: If you aim to provide better payment security to your customers, introducing Apple Pay as a part of the service booking process will reduce the risk of any breaches due to tokenization and Face ID/Touch ID that Apple Pay supports.