How to Create a WordPress Menu? Tutorial & Videos
Table of Contents
A menu is an essential part of any website, and WordPress sites are no exception. In this post, we will guide you through creating and managing your menus in the classic themes with the help of the traditional WordPress Menu Editor.
What is a WordPress menu?
A navigation menu is a horizontal or vertical bar typically in the site’s header or sidebar that contains an organized list of links that usually lead to internal site pages, though external links are also possible. You can think of your website’s menu as a map that helps visitors navigate to the content they’re looking for.
A well-designed WordPress menu, in turn, can enhance the user experience and even improve conversion rates. So, before you start adding menus to your site, we recommend creating a sitemap or developing a WordPress navigation menu strategy, as it will save you loads of time later.
Think about your main pages, what your visitors will be looking for first, and how you can make their path to that content as smooth as possible.
Let’s start by finding the WordPress Menu Editor. There are two methods you can use to create a menu for your WordPress site. To understand which method to follow, visit your dashboard and check under Appearance on the left side. If you see Menus under the Appearance, you will deal with the so-called “Traditional” WordPress Menu editor.

If you see Editor, you’re using a block theme and have access to the Site Editor to edit all site elements in one place, including navigation.
Traditional WordPress menu editor
From the WordPress Dashboard, go to the ‘Appearance’ menu on the left-hand side of the dashboard and select the ‘Menus’ option to bring up the WordPress Menu Editor . If you have multiple menus, you’ll see the Select a menu to edit dropdown. Pick the one you want, then click Select to load it. This way, you can easily edit existing menus on your site.
To create a new menu from scratch, click the Create a new menu link, type in a name for your menu, and click the Create Menu button.

Now let’s pay attention to the menu settings section. We see two options for WordPress edit menu: Auto add pages and Display location. If you check the Auto add pages option, new pages will be added automatically when you create them.
The display location option lets you choose where your custom menu WordPress appears in your theme. By default, your menu will appear in the main navigation area of your theme. However, you can select a different location if your theme supports multiple menus. After creating your new menu, you can add items, change their order, and create sub-levels.
Add your navigation items to WordPress menu
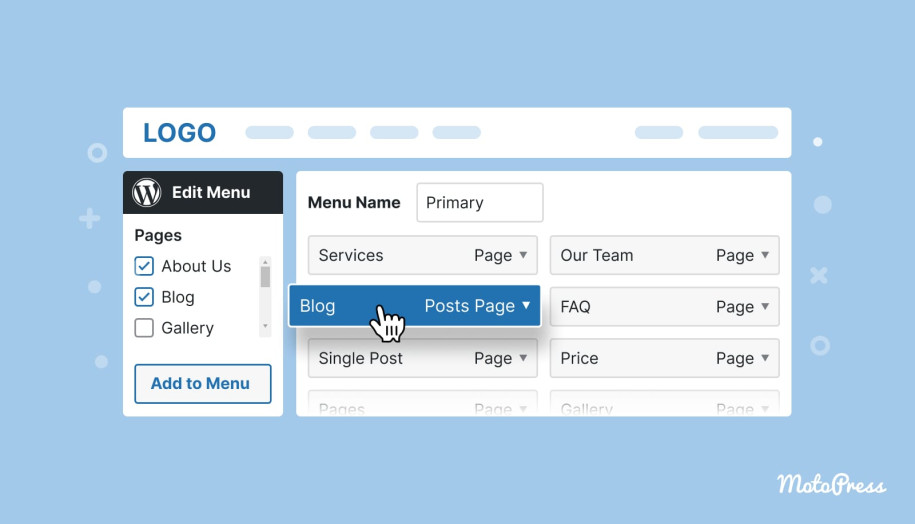
Now look at the left box, where you should see the Add menu items box with several tabs. The Pages tab contains three categories: Most Recent, View All, and Search. The first will display a handful of your latest pages for easy access. If you have many pages on your site, the View All tab may be a bit unwieldy. Instead, I recommend using the Search tab to find the pages you need. You can also click the Select All checkbox at the bottom if you want to add all displayed pages to your menu.

When you’ve selected what you want, click Add to Menu. All the pages you’ll select will be listed on the right. For posts, it works the same. Select the Posts tab, and as before, choose from all of your most recent posts, or search for the ones you want. After that, click Add to Menu. It’s also possible to add custom links. This can link to any URL you want, even to external pages.
Touching the topic of external pages, sometimes you want a menu link to open in a new tab so visitors can return to your website and keep browsing. This is especially important if you’ve added an external link. This hidden option can be found within the Menus interface. To turn it on, click Screen Options at the top of the screen, then tick the Link Target checkbox. Here you can find more useful options too. Now, when you use the dropdown arrow on a WordPress menu item in the Menu Structure section on the right, you’ll see a new checkbox: Open link in a new tab. Click it, and you’re good to go.
Note: There are all sorts of things you can add to your WordPress Menu. It can be Products, Product Categories, or Tags for Products. It depends on the plugins and things you have running on the site.
If you need to remove a WordPress menu item you’ve added, there are two ways to do so; again, we select the item by clicking the arrow. Then, click the red Remove link.

You can also bulk remove multiple pages at once. Click the Bulk Select checkbox and tick each menu item you want to delete. Then click Remove selected items.

What’s more, you can rename menu items by changing the Navigation Label. This is handy, for example, if you want your menu items to have a shorter title to save space.
Organize your menu’s structure
Once all the items have been added, you can move them around by dragging and dropping them. To do so, hover over any menu item. You’ll see your cursor turn into a crosshair. This way, you can change their order and rearrange them the way you like.
If you’d like to create a menu hierarchy using submenus, you can do that here as well. Nesting items are an essential part of the WordPress edit menu functionality. Drag an item to the right until the dotted lines shift to the right as well, and it will automatically become a sub-element of the menu item right above it. You can nest items as deeply as you want, creating submenus within submenus infinitely. The second way is to open the menu item you want to move and click the Under link. Very simple.
Add a menu item without a link
When creating a WordPress dropdown menu, there is a chance that you just want the top-level link to be text and nothing else. To do this, create a Custom Link like normal, but instead of inserting a link, insert the # symbol. Then, give the menu the proper name you normally do and click Add to Menu. When the menu is ready, you can click the ‘Save Menu’ button.

On top of that, I have one more thing to mention: the second way to change the menu position in WordPress is to click on the Manage Locations tab. After clicking, you will see a list of the various menu locations used in your theme. You may have one menu location or you may have multiple, depending on the theme you currently use. Assign an existing menu that you’ve created to the appropriate Theme Location by selecting it from the dropdown list. Click the Save Changes button to save your changes.
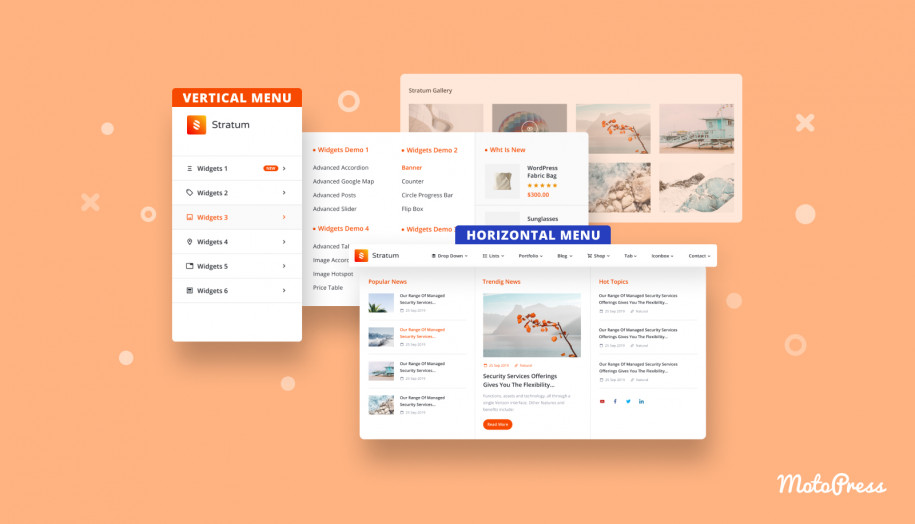
Upgrade your site navigation with WordPress mega menu plugin
What is Mega Menu? A mega menu is an expandable navigation type menu in which multiple options are displayed in a two-dimensional dropdown layout (organized both horizontally and vertically in a grid-like structure).
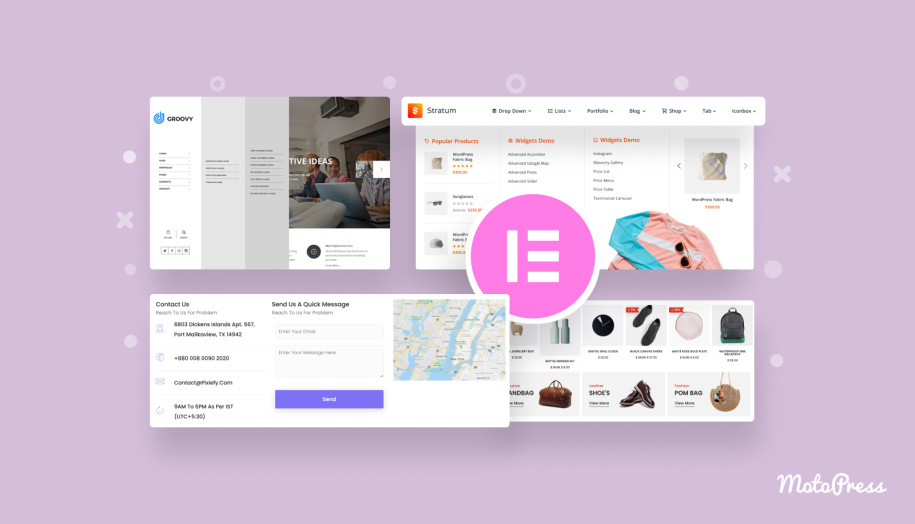
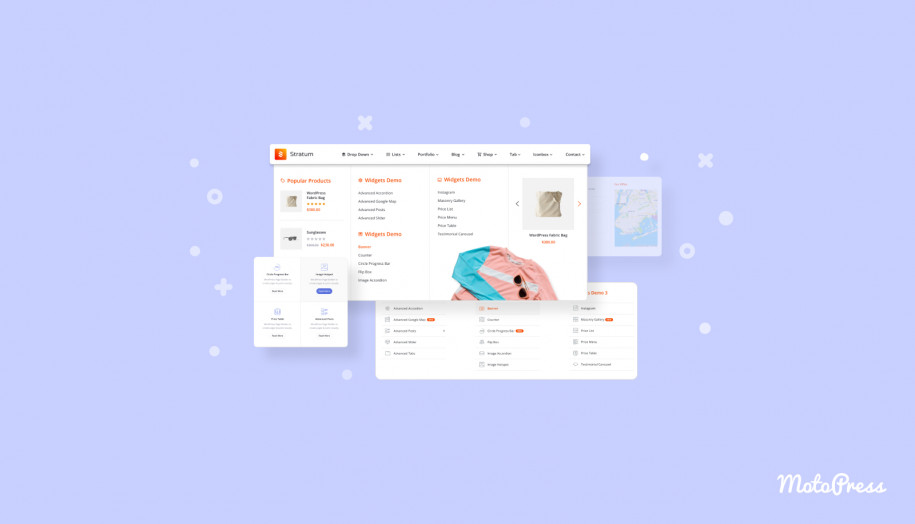
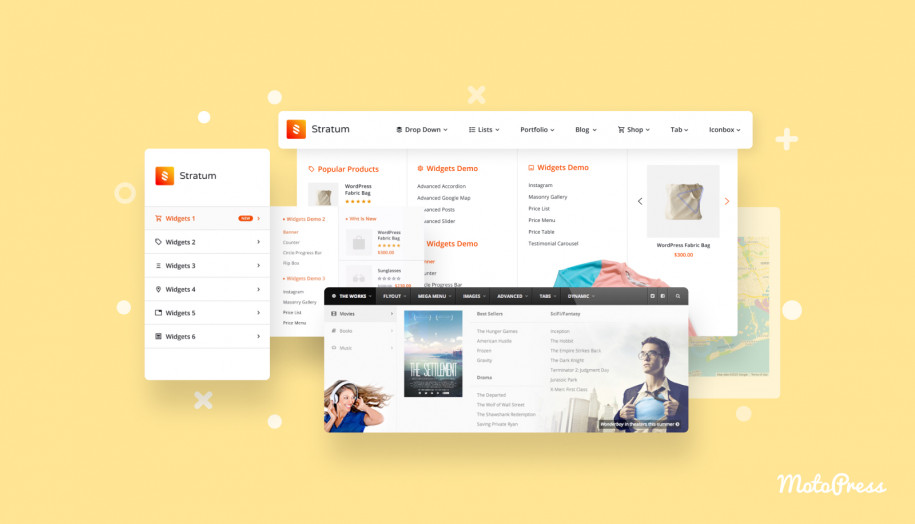
If you want to include multiple columns of links, icons, images, buttons, or even widgets like search bars or product previews into your menu, especially if we’re talking about eCommerce stores, news sites, or large corporate sites, mega menu WordPress addons are worth considering. Looking for how to change menu color in WordPress? It’s also possible. With tools like the Stratum Mega Menu for Elementor or the WordPress Mega Menu extensions, it becomes possible to build advanced menus visually, without touching a line of code.
Stratum Mega Menu for Elementor key features include:
- Drag-and-drop builder for easy menu creation.
- Customizable content like images, icons, and widgets.
- Responsive design for mobile and desktop views.
- Advanced styling options with colors, fonts, and hover effects.
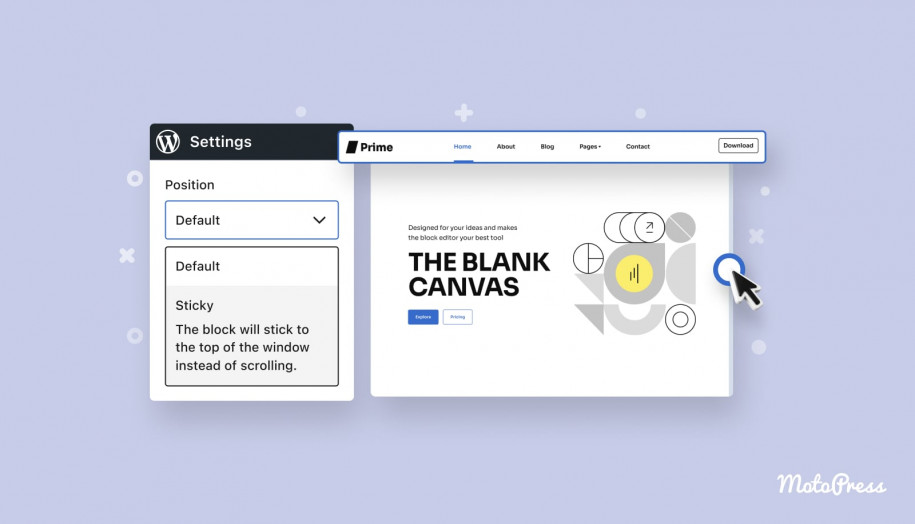
- Smooth animations and sticky menu WordPress options.
- Multiple menu styles and SEO-friendly structure.
- Submenu support and custom triggers (hover, click).
The WordPress Mega Menu Block offers key features like:
- Gutenberg Compatibility: Seamlessly integrates with the WordPress block editor.
- Customizable Layouts: Choose horizontal or vertical menus.
- Responsive Design: Adapts for mobile and desktop views.
- Hamburger Mobile Menu WordPress: Space-saving, mobile-friendly option.
- Multi-Level Submenus: Support for up to 3 levels.
- Styling Options: Customize colors, fonts, and more.
- Block-Based Content: Use various Gutenberg blocks like images and buttons.
Customizer
Alternatively, you can edit your WordPress custom menu using the theme customizer interface. For this, go to Appearance → Customize. By clicking on Menus, you will see that a menu has been created for you by default and the menus you’ve created by yourself (if you have any). Here you can edit them. If you don’t see any menus or want a new menu, click the Create New Menu button.

Heads up: Please ensure you have selected at least one menu location, or the menu will not be visible.

– Click the + Add Items button. Under Pages, you will see a list of your site’s published pages. Click on any page title to add it to your menu. Note that private pages and draft pages will not appear in the list. You may also add posts, categories, and more.
– If you wish to rearrange the items or make dropdown menus, click Reorder. To move a menu item up or down in the menu, click the ˆ up or ˇ down arrows.
– The Customizer also lets you create a drop-down menu. Click the right and left arrows to nest or un-nest pages under other pages.
– Click Done when you’re satisfied with the result. Finally, click Publish to apply the changes to the site.
– The Theme Customizer lets you see a live preview of your changes as you go, which is super handy. But honestly, both methods offer pretty much the same options, so just go with whichever feels more comfortable for you.
Helpful tips for menu optimization
- Check how your menu looks on mobile
Most themes automatically create responsive menus. However, it’s wise to preview them yourself. A long menu or one with too many levels may become confusing on smaller screens.
- Add menus to other areas of your site
You can showcase menus in sidebars or footers using widgets; you’re not limited to the header area only. Widgets are handy if you want to highlight quick links, categories, or even display a simplified menu for blog readers or customers.
- Keep your menu fresh
Your site might grow or change, so it’s important to check if your menu stays up to date. Regularly remove old links, rename items if needed, and add new ones. A clean menu will always help visitors find what they need. An uncluttered, relevant menu may also improve SEO.
Conclusion
All in all, menus are an important part of your website. They are the ones who provide users with an intuitive path to explore your content.
With all the steps we’ve covered today, you’re equipped to proficiently create, manage, and customize your site’s menus when using a traditional theme. Consequently, a well-organized menu can make navigation much easier. Moreover, menus contribute to better SEO, so don’t forget to regularly review and update your menu for it to remain aligned with your site’s changes.
Thank you for reading! If you have any tips or experiences connected with WordPress menus, please feel free to share them with us in the comments.
FAQs
What is a WordPress menu, and why do I need it?
How do I know which menu editor I’m using, Traditional or Block?
If you see Menus, you’re using the Traditional Menu Editor.
If you see Editor, you’re working with a Block Theme and have access to the Site Editor.
Can I add custom links or external pages to my menu?
How do I create submenus or dropdowns?
Can I edit menus from the WordPress Customizer instead of the Menu Editor?
How do I change the location where my menu appears?
In the Menu Settings section of the Menu Editor, check the Display Location boxes.
Or, go to Manage Locations, where you can assign any created menu to a theme location using dropdowns.
What happens if I forget to assign a display location to my menu?