How to Add the Event Calendar WordPress Block? Gutenberg Tutorial
Table of Contents
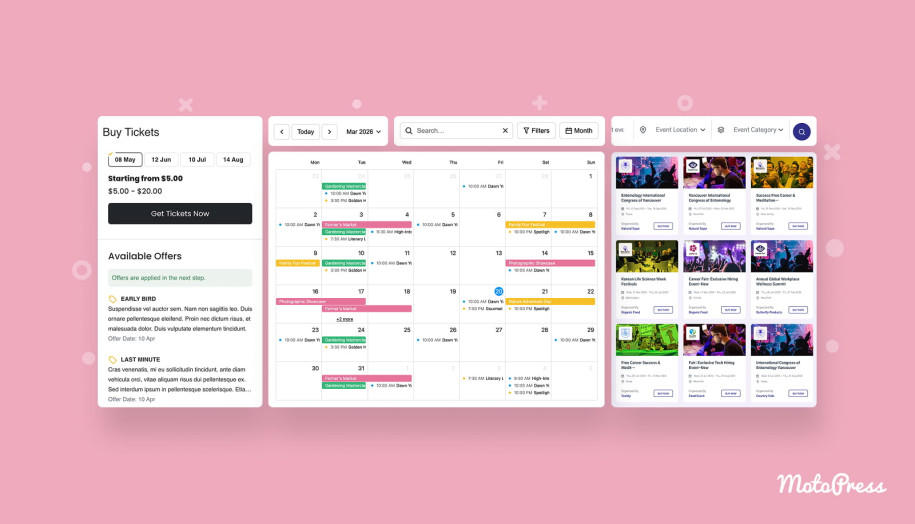
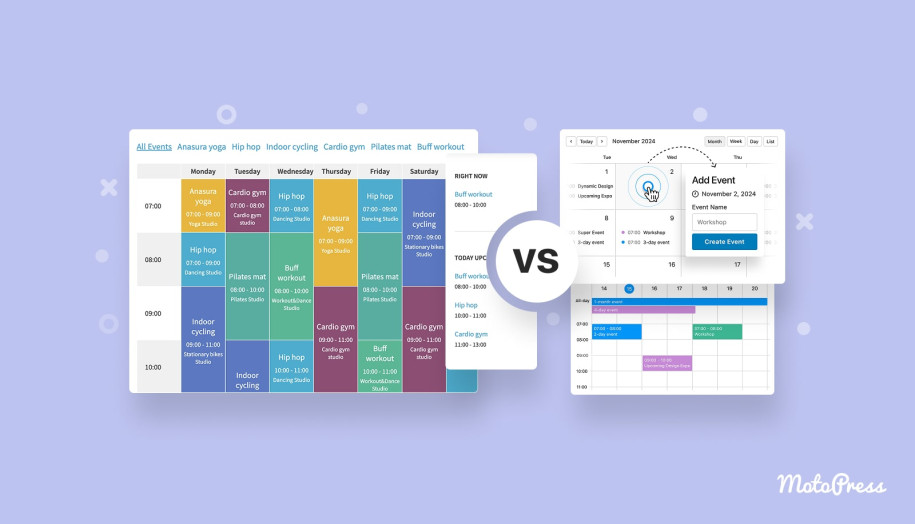
Adding events that feels just like using Google Calendar – but on WordPress? We’ve got great news for you – this is possible! This tutorial explains how to do exactly this with probably the best WordPress calendar schedule plugin. Why am I so sure?
The plugin I’m going to use is made to give you a fully visual interface to add and edit events, with the logic that adheres to popular calendar apps like Google Calendar.
Unlike WordPress calendar alternatives, it lets you build unlimited schedules with different events. And most importantly, it’s made for the Gutenberg era, offering a powerful dedicated event calendar block for the block editor.
A short tutorial on adding and customizing the events calendar WordPress block follows, but first up, let’s see what the plugin has to offer:
- Modern calendar layout.
- Repeating events.
- Display hourly, all-day, or multi-day events.
- Choose the way to customize the calendar layout – a WordPress block or shortcode.
- Event import and export via iCal.
- Schedule multiple events for the same time slot.
- Adding and editing events like in Google Calendar (of course).
WordPress Calendar Plugin Register Free Account
Before you add events and schedules to the needed WordPress pages, let’s see what options you have for building a schedule. For this, we’re working with the demo page calendar. Feel free to create your own version here at no cost – just to explore!
Step 1 – Adding Calendars & Events
Events can work only inside the WordPress calendar, so your first step is to add a calendar.
Hit the + icon to add and name the calendar. This will be visible to you only.
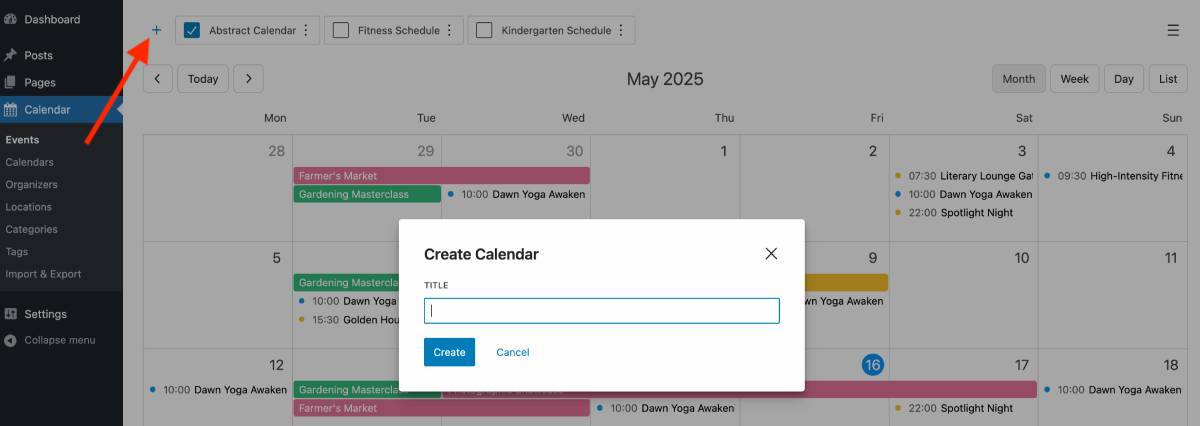
Add as many calendars as you need for your business!
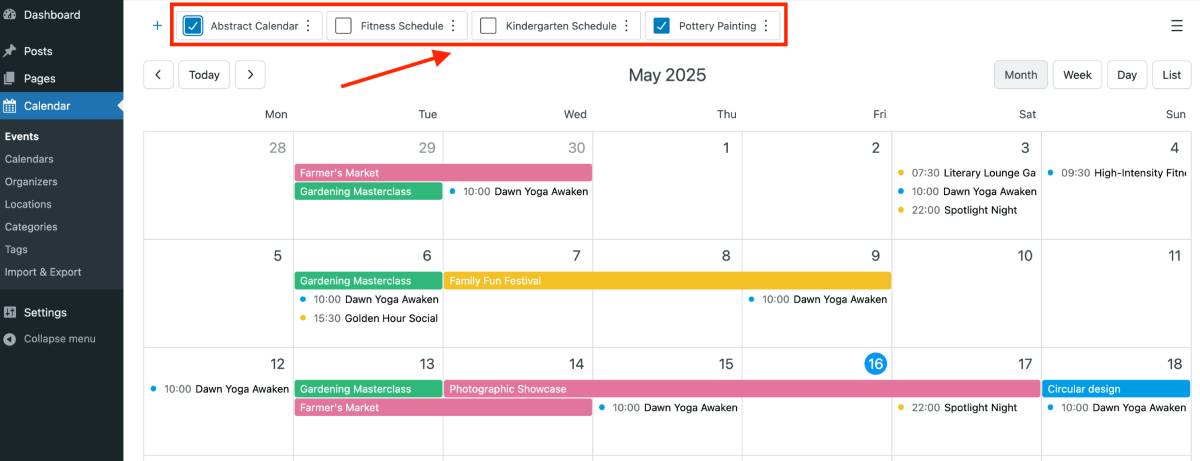
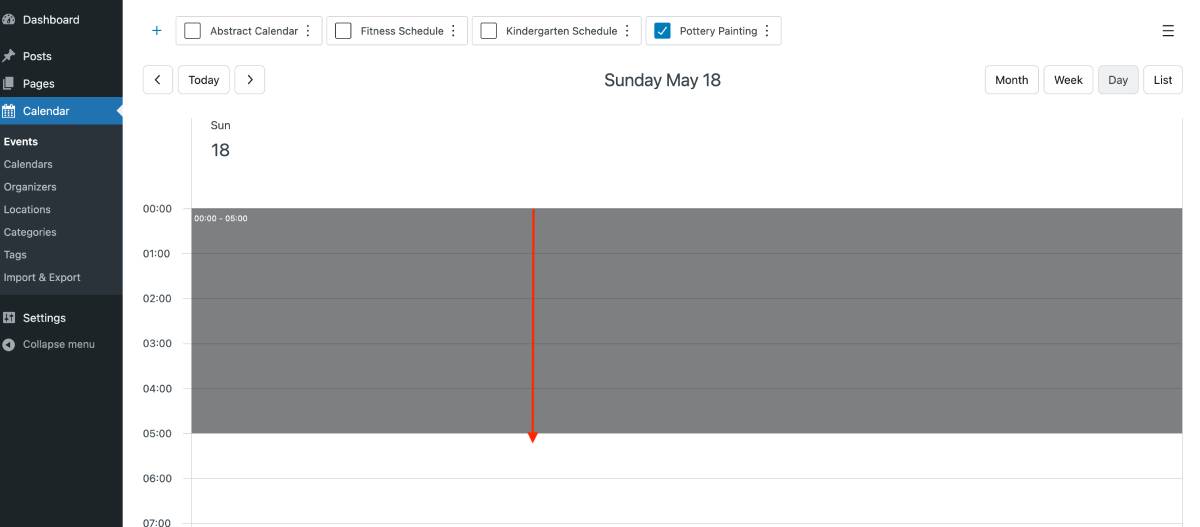
When you have multiple calendars, simply tick the box next to the ones you need – they’ll appear in the calendar view. Tick them all to see events from every calendar at once!
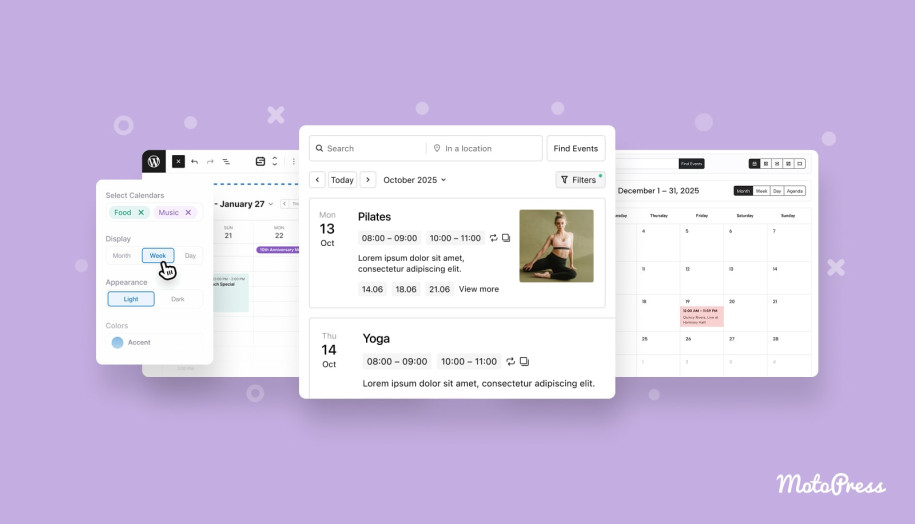
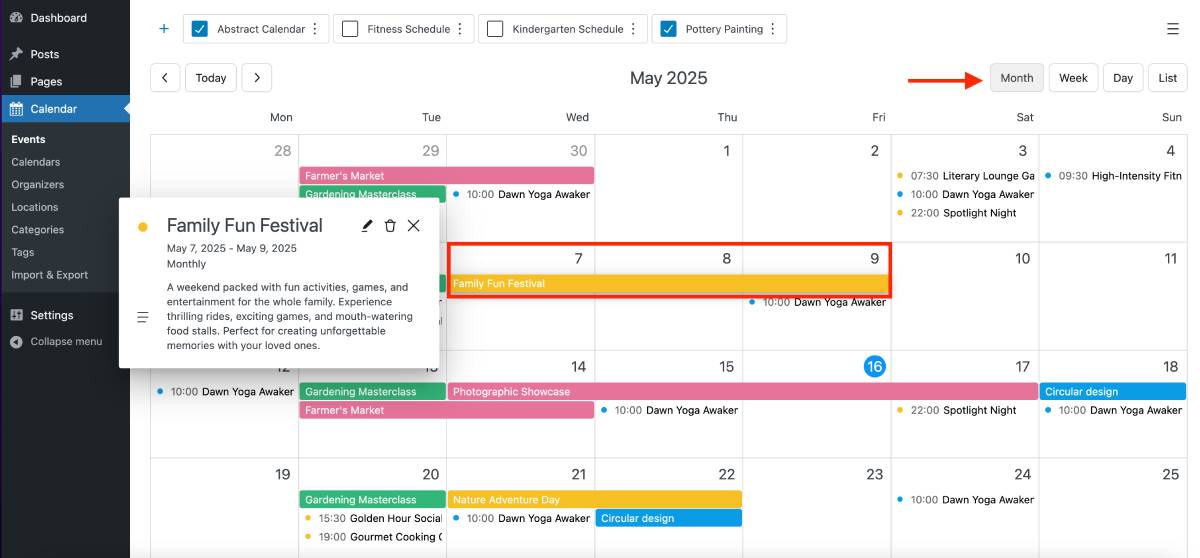
In a fresh events calendar, start by choosing your preferred view – month, week, day, or list. For example, if you’re adding multi-day events like festivals, the month or week view will give you a clearer overview.
If you’re creating a weekly school schedule, the day view is ideal for adding lessons to specific time slots.
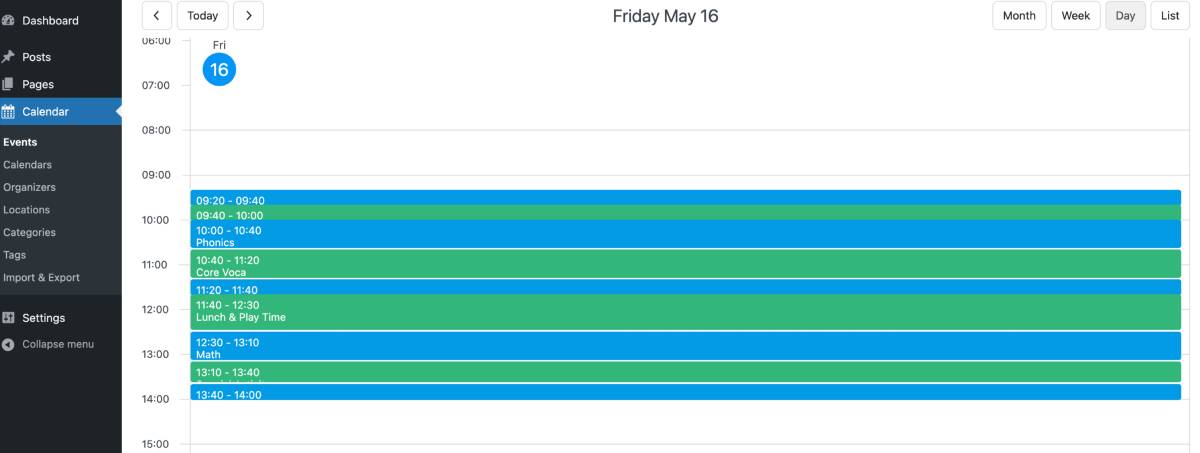
Adding the time for an event can be done with simple drag and drop in the needed calendar view.
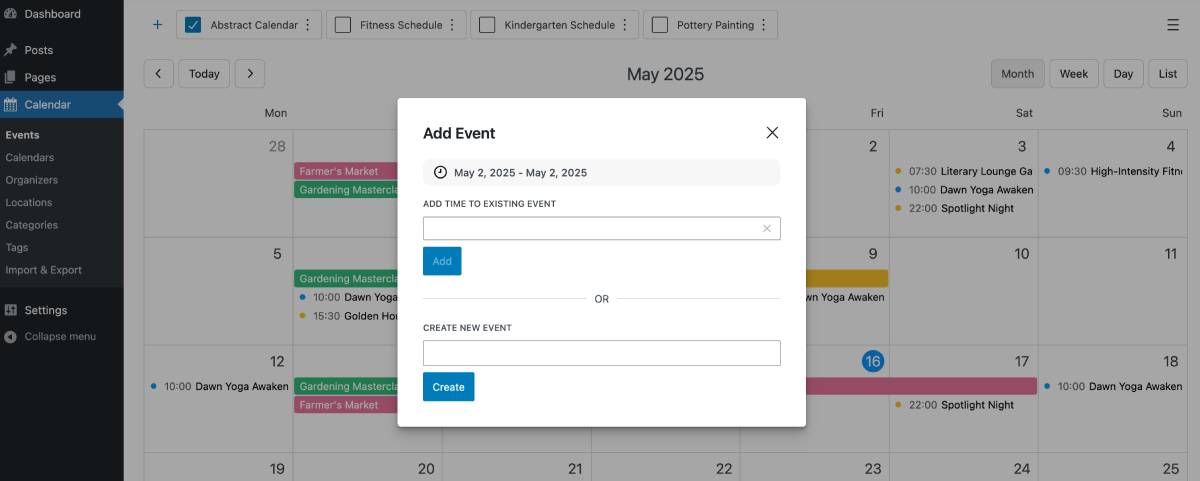
After you drag and drop to select a time slot, a pop-up will appear. Just enter the event name for one or add an additional time for a repeating event (like geography on Mondays and Thursdays).
There are many options to present an event:
- Choose a color to make a difference in the calendar.
- Customize time if needed. For example, mark it as a repeated event.
- Add detailed event descriptions with links, bold text, or other formatting to make the info stand out.
- Add WP taxonomies related to the events business: tags, categories, location, and organizer.
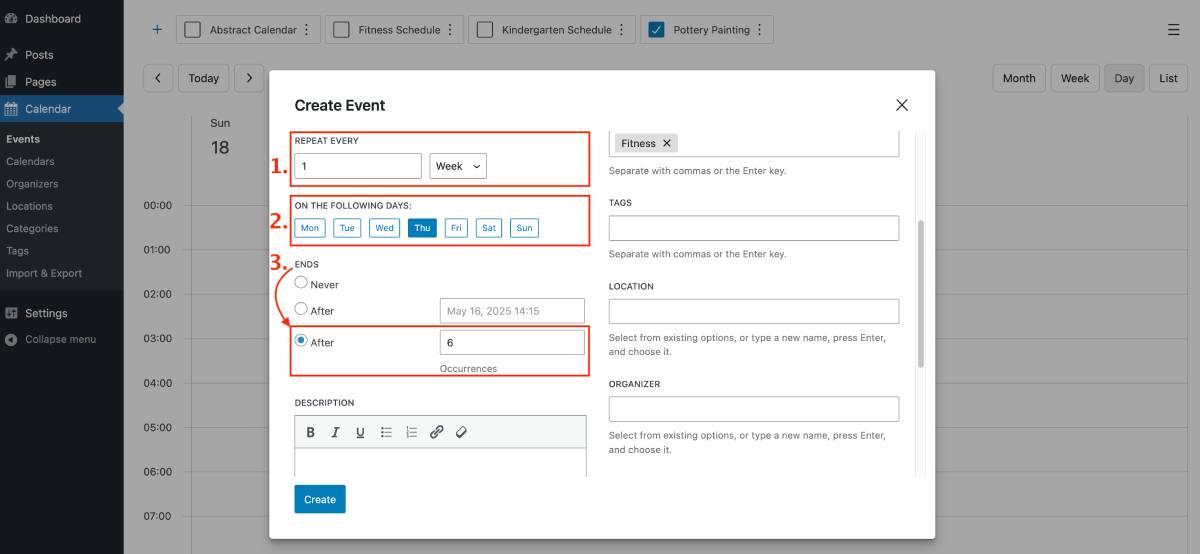
Repeating events: here you can achieve any scenario – daily repetitions, on specific days of the week, every month/year or even apply rules to end the repetition at the exact time.
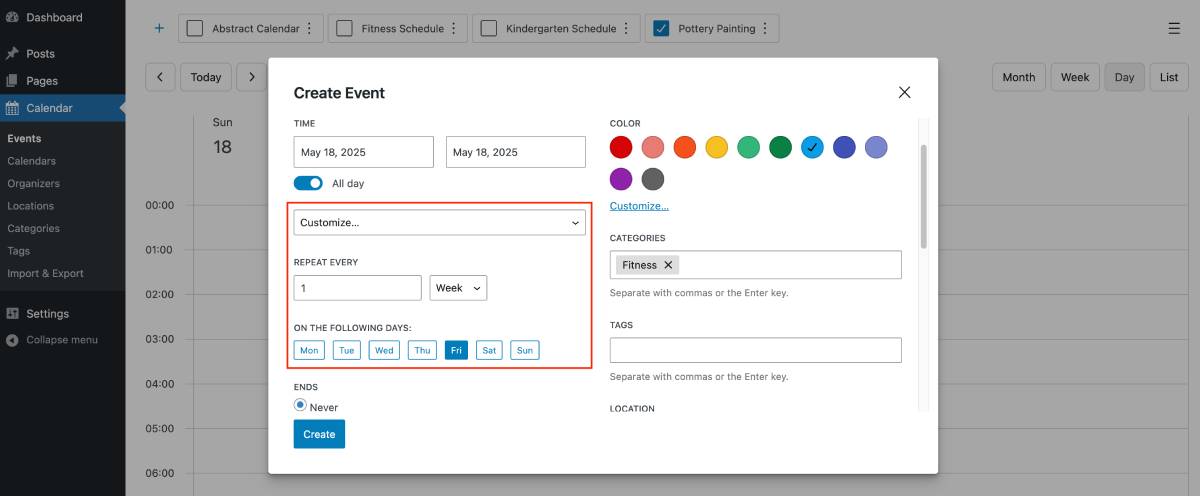
For example, I want to feature a 6-week photography course, with a lesson every Tuesday in my events calendar, and then remove it automatically after 6 weeks. A few settings like below and – bingo!
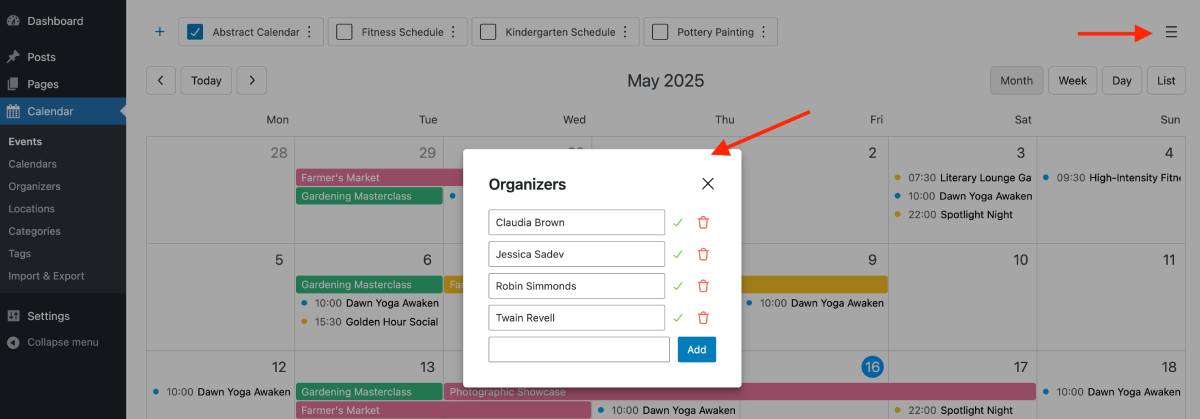
Taxonomies like organizers and categories can be easily deleted and edited via the dedicated menu or in the quick menu right in the calendar > click on the Hamburger icon.
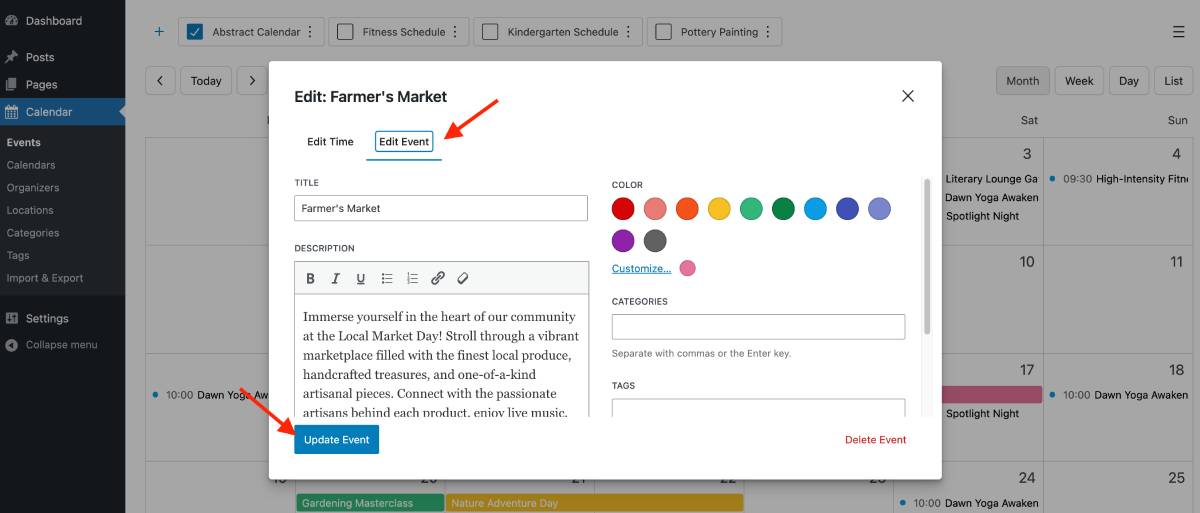
Made a mistake? Events can be updated at any moment using this event calendar WordPress plugin – whether a specific one or all at once (the same applies for deleting events – you get a lot of flexibility here!).
Can you believe that you’ve built an entire schedule from one screen? That was exactly so – totally visual event scheduling for WordPress is here.
Import or export events
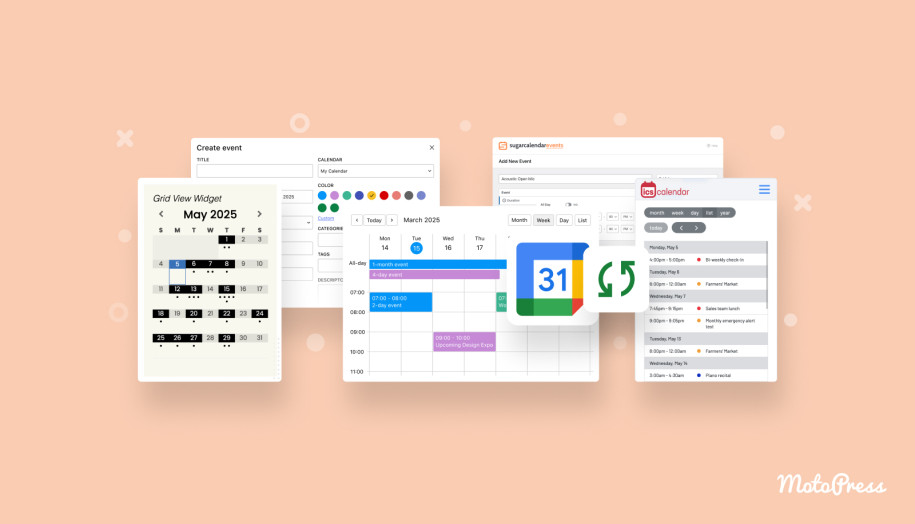
Don’t want to create all the events from scratch because you have them somewhere in the Google Calendar or other WordPress events calendar plugins?
Not a problem, use the dedicated Import & Export features in the Events Calendar plugin. You can specify the calendar, category and tags to add your imported events to.
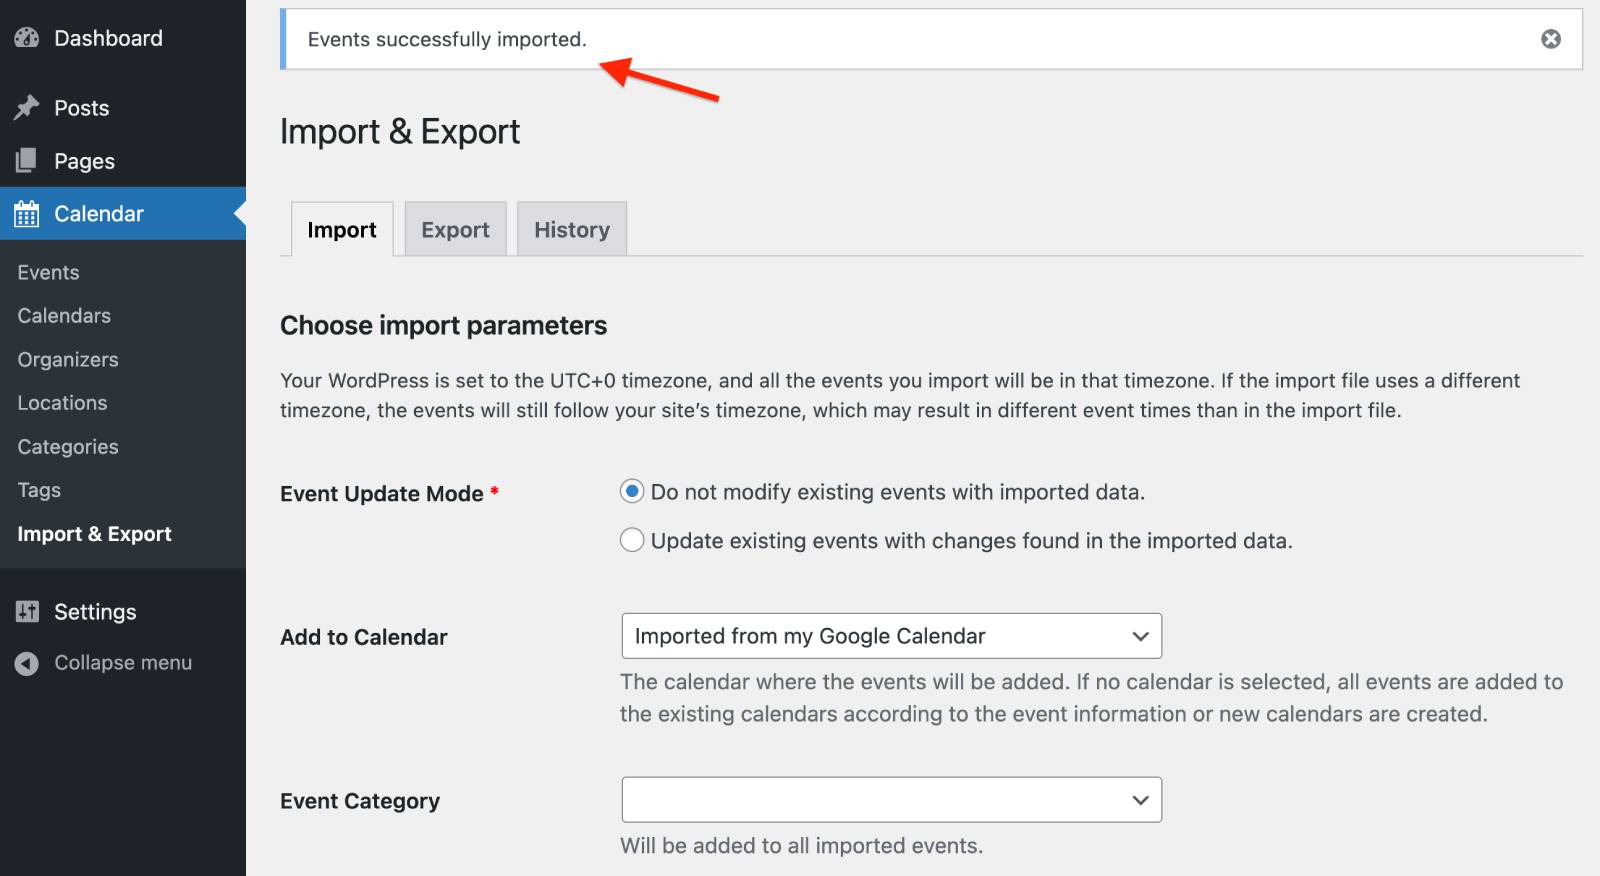
To avoid any issues, you can choose whether to leave existing events as they are or update them with any changes from the imported data.
In the same way, if you’ve built your calendar with the MotoPress Events Calendar plugin, you can easily transport your events to external calendars using the Export menu.
Editing calendars and events on WordPress is working with drafts. The calendar becomes public (visible on the site) only when the page containing its specific shortcode or block is published. So, how to add that block or shortcode?
To answer this question, let’s jump to the next step.
Step 2 – Adding a Schedule to WordPress
Now, the most interesting part! How to make the event schedule you’ve created visible on your site?
1. In the block editor (Gutenberg)
Since this is a Gutenberg tutorial for the WordPress Event Calendar WordPress plugin, let’s start by adding a calendar to the page in Gutenberg.
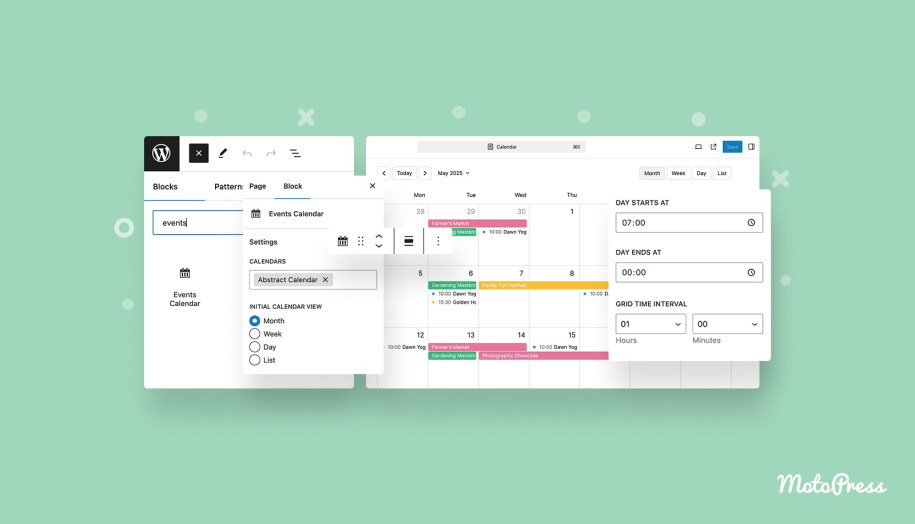
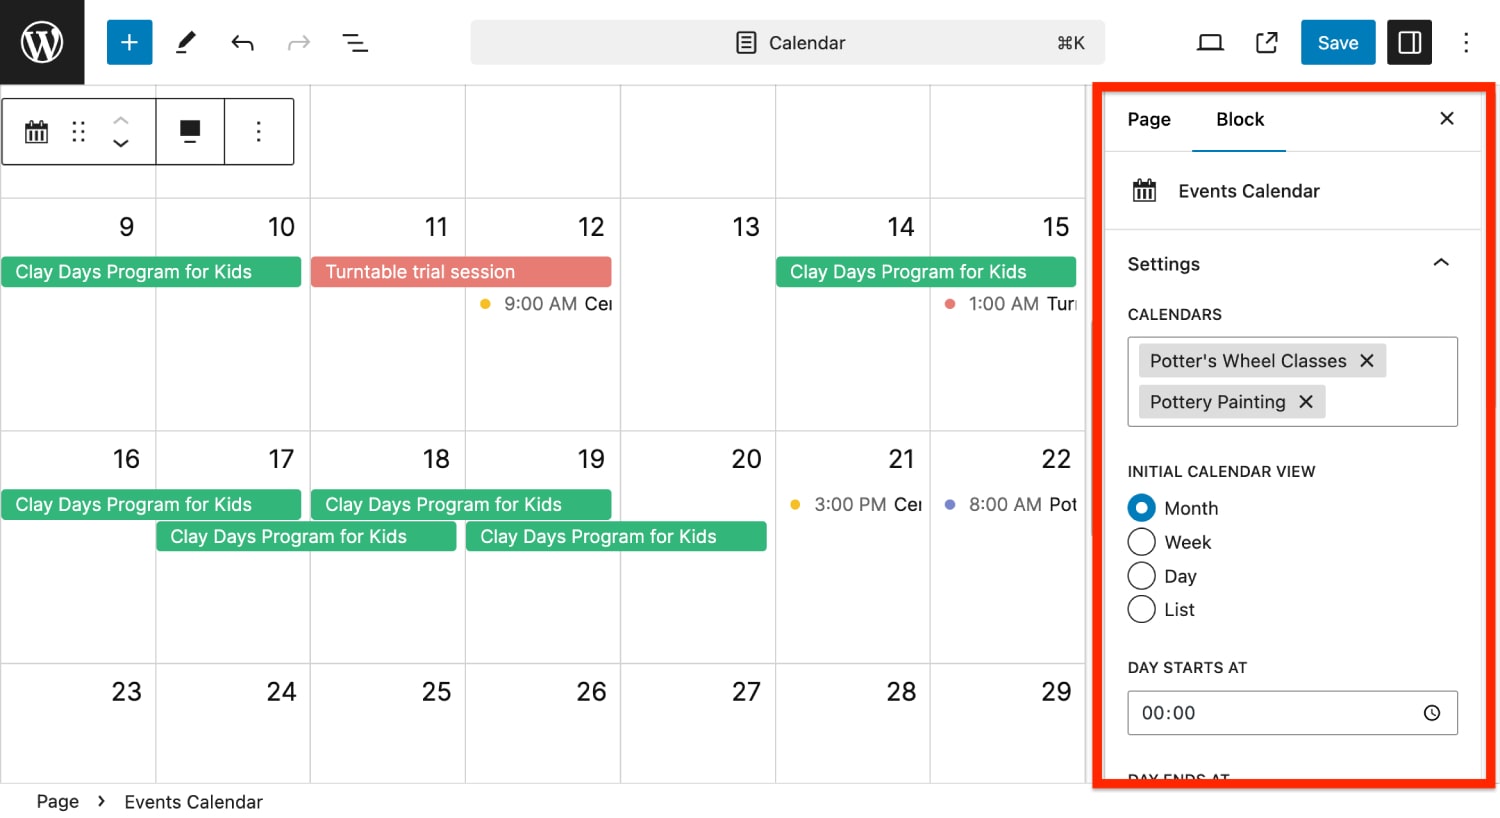
First of all, drag and drop the Events Calendar block to the page.

Then open its block settings to customize the layout. Here are a few key things:
- Select calendars to display events from.
- Select the default view (month, week, day, list). Website visitors will be able to switch them on the frontend side of your site.
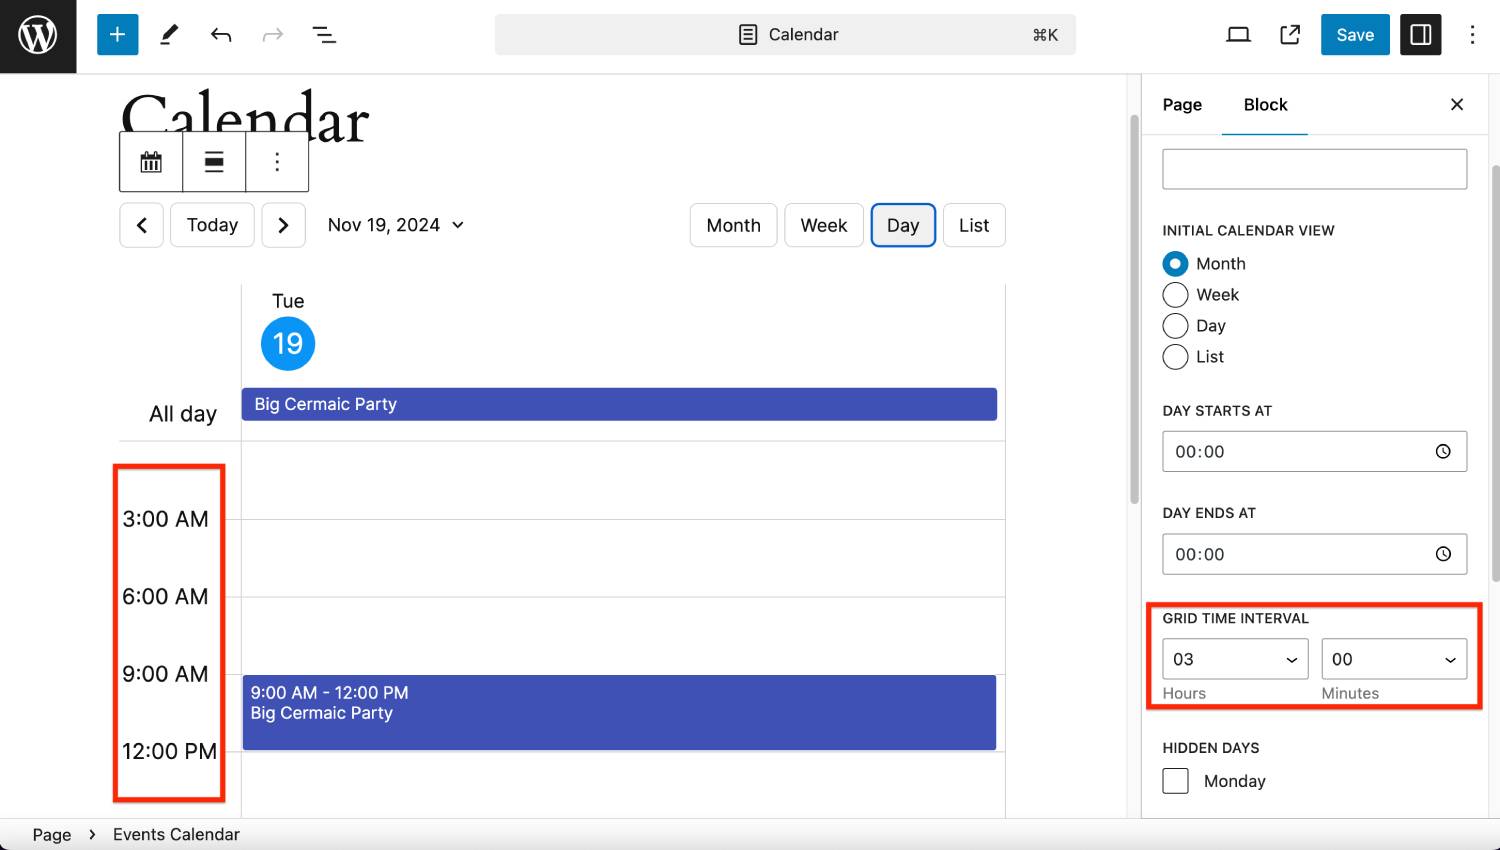
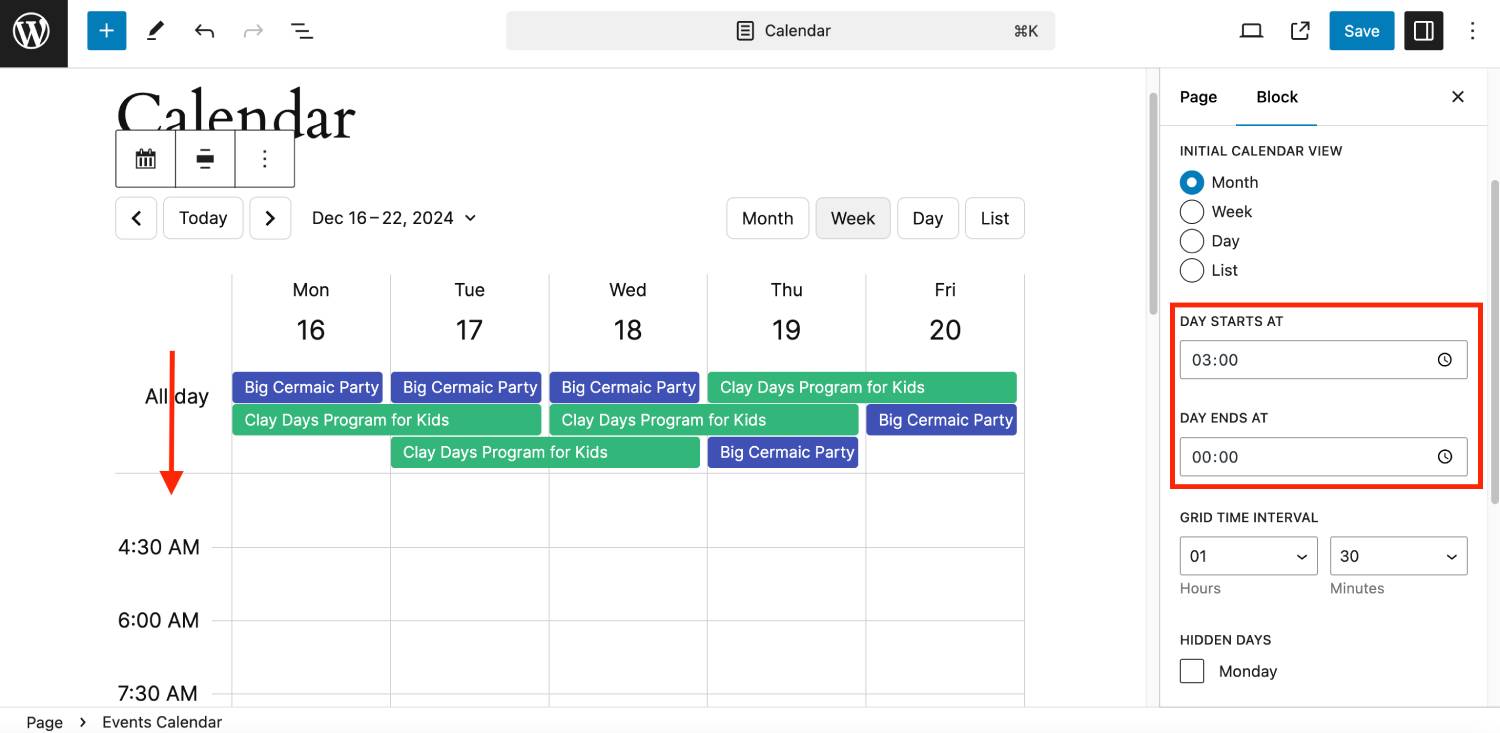
- Choose how long the timetable must be displayed by selecting a timeframe (‘grid time interval’).
- Only show the days you operate – hide the rest.
- Select when the day starts and ends.
- Add custom CSS if required that will be applied specifically to the calendar.

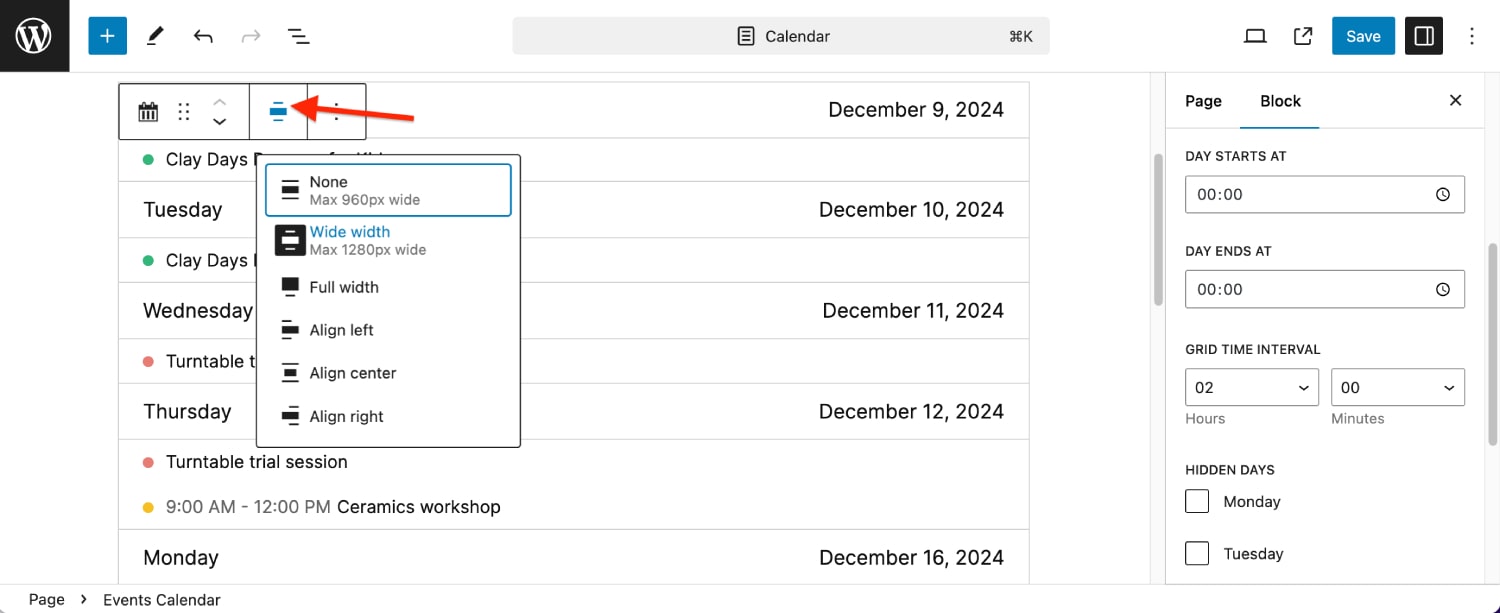
Moreover, I can click on the block and customize the width of the calendar container using the container settings:
And since there are many cool pre-made block patterns available in the block editor, you can easily choose a more stylish background and layout for your schedule.
Discover WordPress block themes we love.
2. With a shortcode
For those of WP traditionalists, events calendar shortcodes are present, no worries.
To make it even more user-friendly, the Events Calendar plugin comes with a built-in shortcode builder.
Find it in the Events menu > click on the hamburger menu icon > find ‘Shortcode’ and click on it.
You’ll get an easy-to-use menu to build your shortcode, where you need to choose the calendar, time range, grid interval, and days to display.
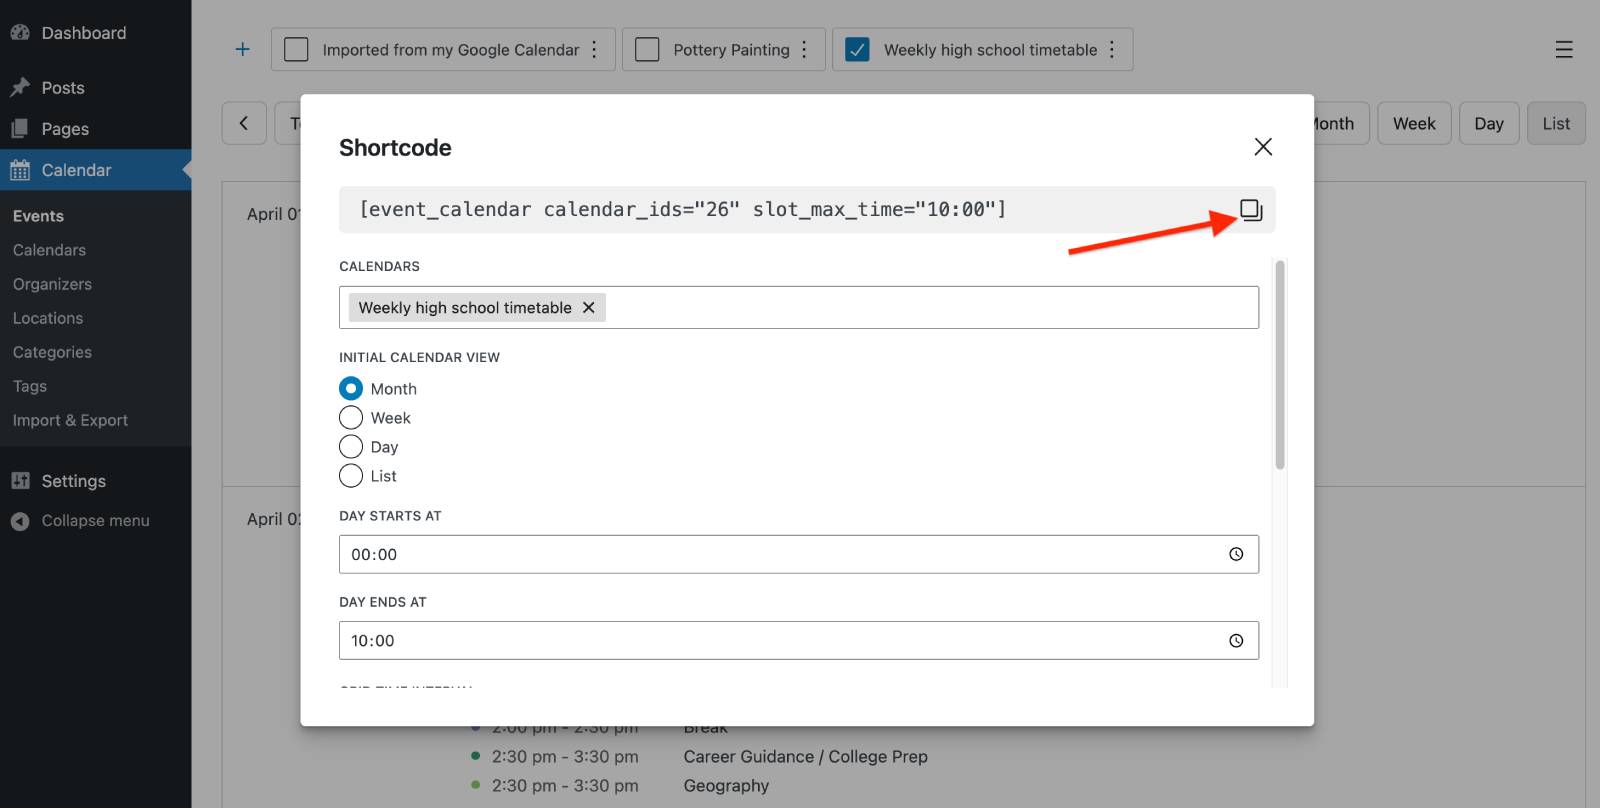
Actually, all those same settings you’ve seen for the block I’ve described above!
Once you’re ready, copy the shortcode and paste it into the page where you want the calendar to appear.
In the Classic Editor, paste it directly. In the block editor, add a Shortcode block first, then paste it in.
Don’t forget to preview and save your changes in your event calendar WordPress block!
The Easiest Way to Use the Event Calendar WordPress Plugin
If you need a simple yet powerful events calendar plugin for WordPress that works perfectly in Gutenberg as a block and shortcode (with a shortcode builder!), you have the Events Calendar WordPress plugin from MotoPress.
What’s the main benefit? It gives you all the tools to stay productive, happy, and build a flexible schedule that works for your business.