How to Use a WordPress Calendar Plugin with Recurring Events?
Table of Contents
Would you like to easily manage regular meetings or classes on your site using a WordPress calendar plugin with recurring events? Thus, you can focus on growing your operations while the calendar takes care of the details. And this guide will walk you through the creation of repeating events with the right plugin!
It might come in handy for various niches:
- Event planners;
- Gyms and fitness sessions;
- Fundraising events and support meetings;
- Tutoring centers;
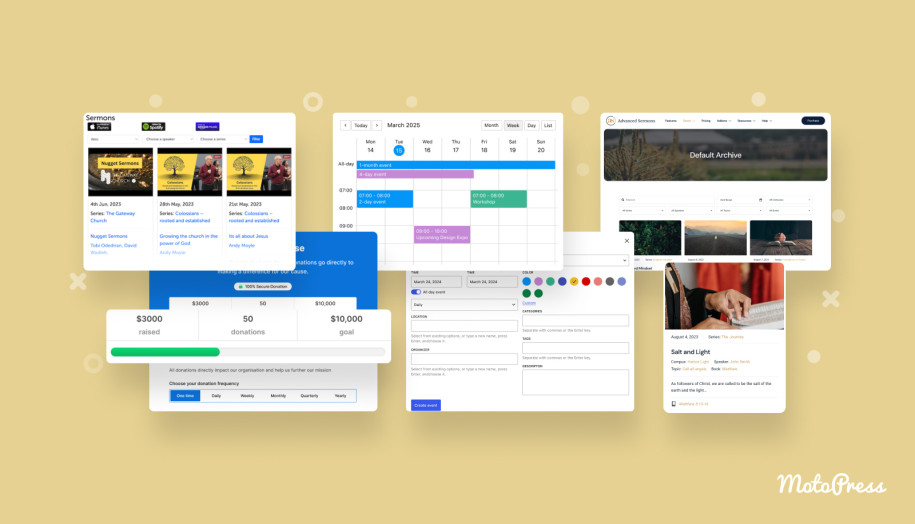
- Churches and religious organizations;
- Catering and hospitality businesses.
Ready to dive in? Keep reading to get started with a top WordPress calendar plugin!
Why Add Recurring Events?
Adding recurring events to your calendar is a game-changer for staying on top of your schedule. While they help you automate repetitive tasks, you can:
- Increase efficiency: Once you create a recurring event, you don’t need to reinvent the wheel.
- Keep things on track: Regular events help you maintain a predictable schedule.
- Enable timely reminders: Automation for recurring events ensures notifications are sent consistently.
- Boost attendance: When people know an event happens regularly, they will likely show up.
What Is The Best WordPress Calendar Plugin with Recurring Events?
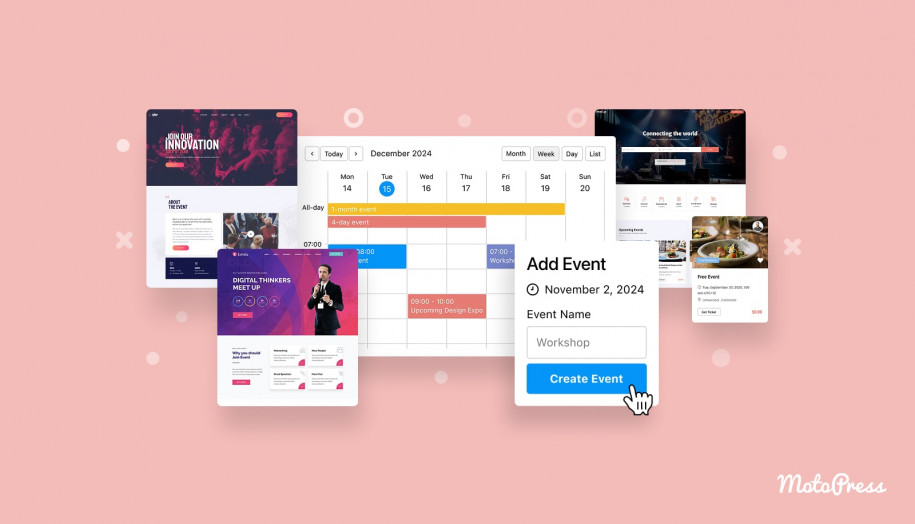
MotoPress Events Calendar is a one-stop solution for adding a responsive calendar to your WordPress website! This plugin supports creating unlimited color-coded events while providing repeating event options.
You can add event details, customize its appearance, and choose a preferred calendar view. With MotoPress Events Calendar, it takes a few clicks to add a calendar with events to any post or page with the dedicated WordPress block.
| Name | Price | Free Trial |
|---|---|---|
| MotoPress Events Calendar | 1 Site – $49 Up to 25 Sites – $199 | Yes, 7 days |
How to Create WordPress Recurring Events: a Step-by-Step Guide
How to set up the WordPress calendar plugin with recurring events by MotoPress? Let’s take a closer look at an in-depth tutorial!
Step 1
Firstly, you should install and activate the plugin:
1. Head to your WordPress dashboard and navigate to Plugins > Add New.
2. Once you upload the plugin’s file, click on Install Now.
3. After installation, hit Activate to get the plugin up and running.
4. Once the plugin is active, go to Calendar > Events to start managing your events.

Step 2
Click on the ‘+’ icon to Create Calendar and get started with the WordPress calendar plugin with recurring events.
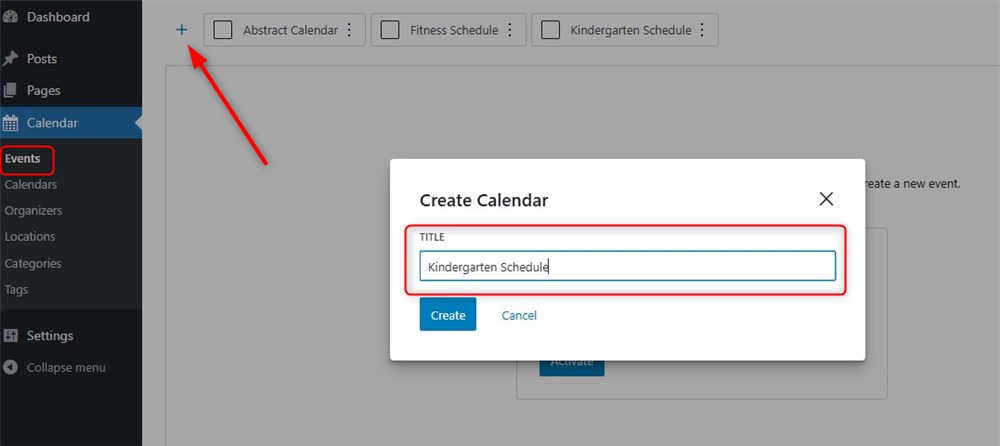
Now, give your calendar a clear title to keep everything organized.
Step 3
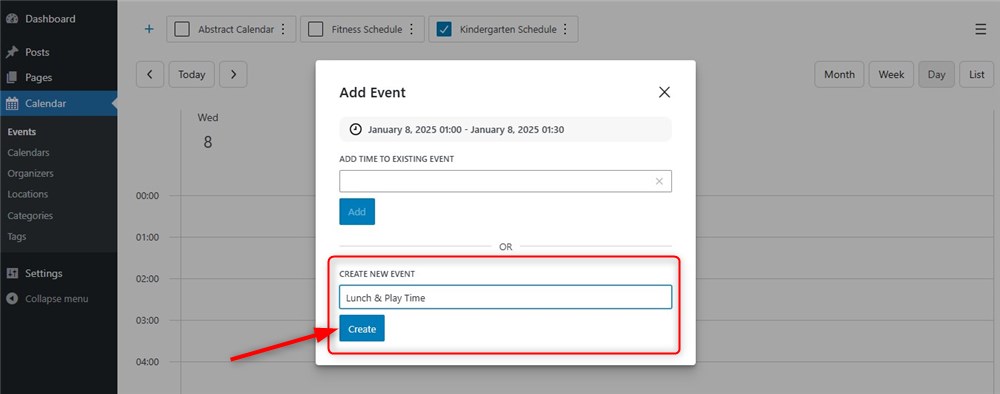
The next step is to add a new event to your calendar:
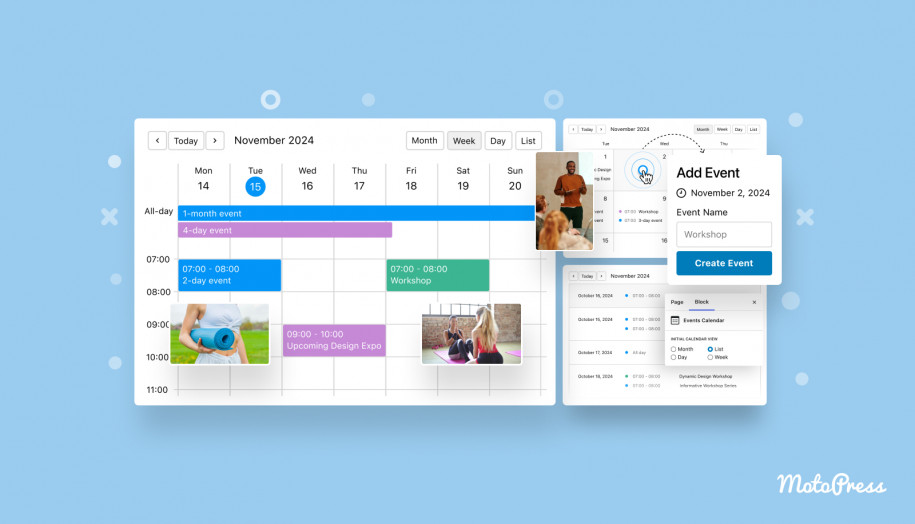
1. Pick your preferred view: Month, Week, or Day.
2. Add an event by:
- Clicking on a date in the Month View or dragging to select multiple days.
- Dragging vertically in the Week/Day View to select a time slot.
Then, you should fill in the Event Title and click Create.
Step 4
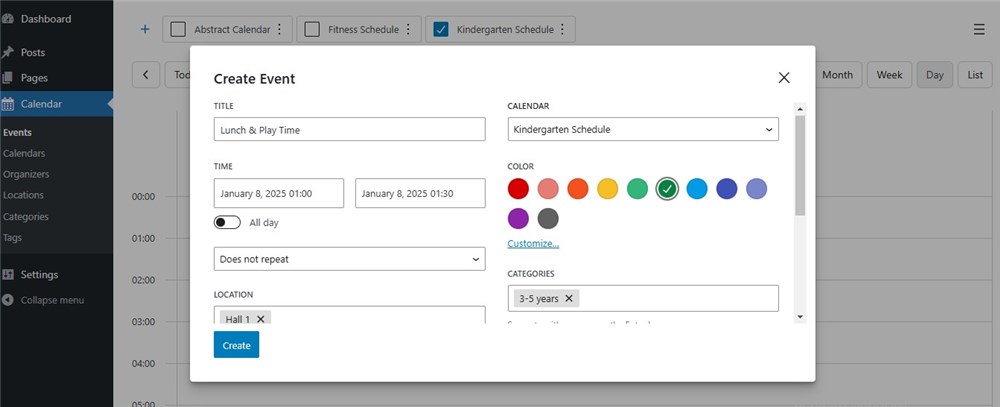
It’s time to define event details:
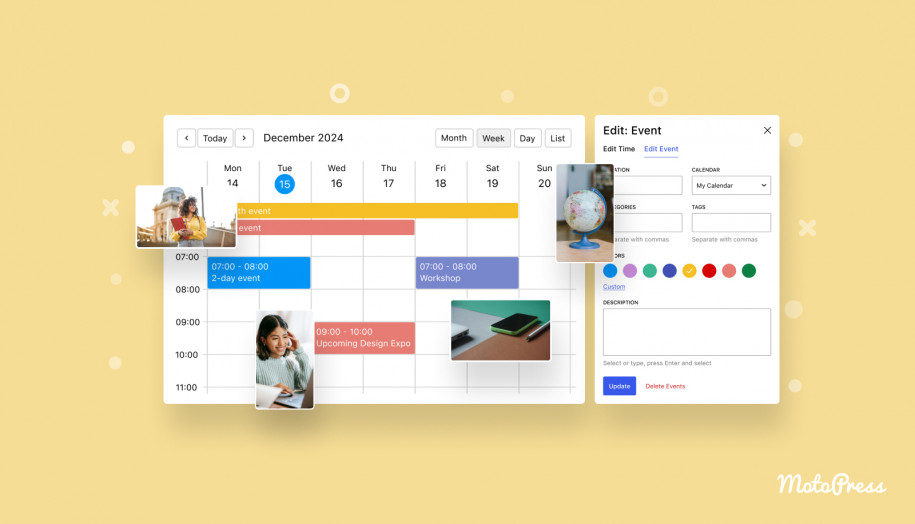
- Set the event Time and pick a unique Event Color to make it stand out.
- Add a text description.
- Choose Location, Organizer, Tag, and Category.
- Toggle the All Day option if the event spans the entire day.
Step 5
This is where the magic happens! You can create WordPress recurring events by setting recurrence for the events in the Time settings. This option works whether you:
- add a new event;
- edit an existing one;
- add to an existing event.
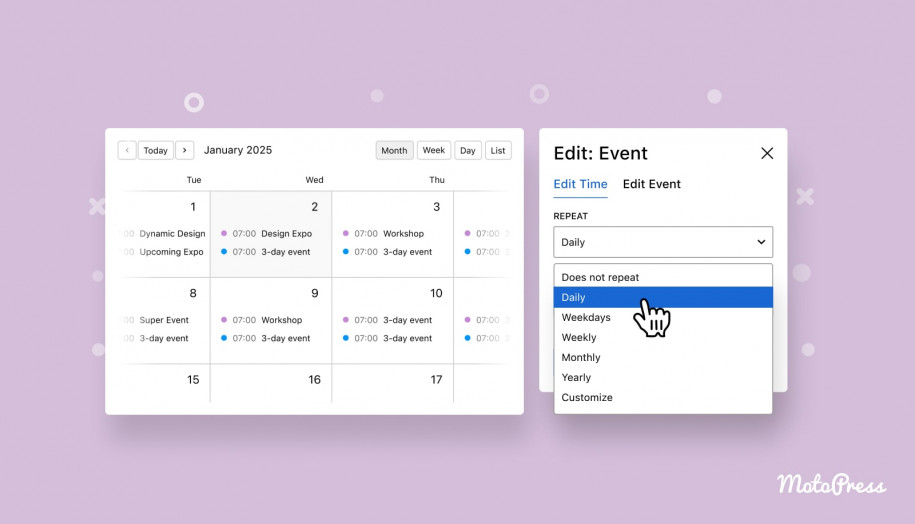
The plugin supports different recurrence patterns:
- Daily
- Weekdays
- Weekly
- Monthly
- Yearly
- Custom
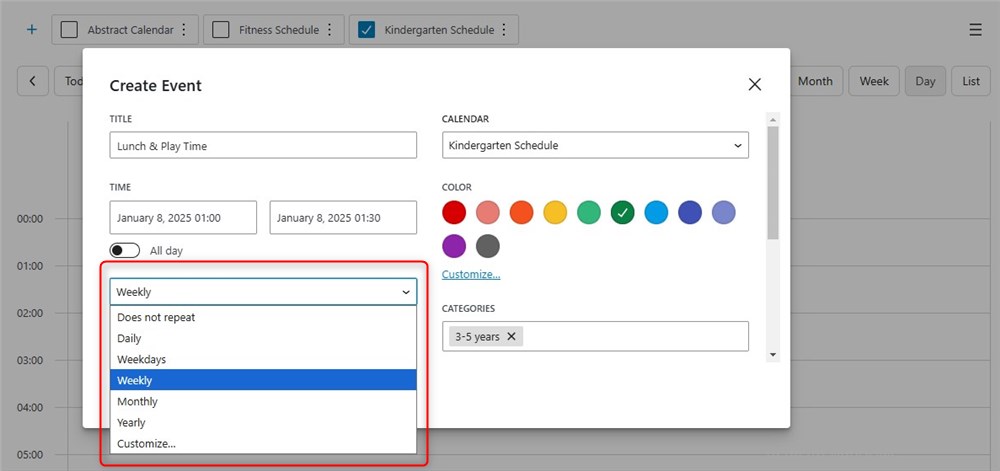
If you choose the custom frequency, use the Customize menu to:
- Set different repetition rules for daily, weekly, monthly, and yearly repetitions.
- Fine-tune the recurrence settings, like ending after a specific date or number of events.
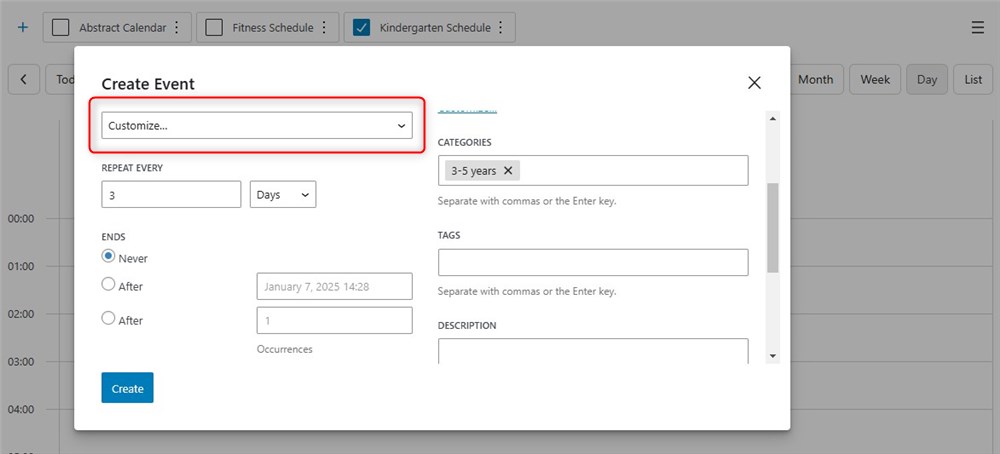
Once everything is set, click Save to finalize the event.
When you update a recurring event, you can choose from the following options:
- This event: Modify only the specific event you selected without affecting others in the series.
- This and following: Apply changes to the selected event and all future events at the same time.
- All events: Update all events with the same name and time across the calendar.
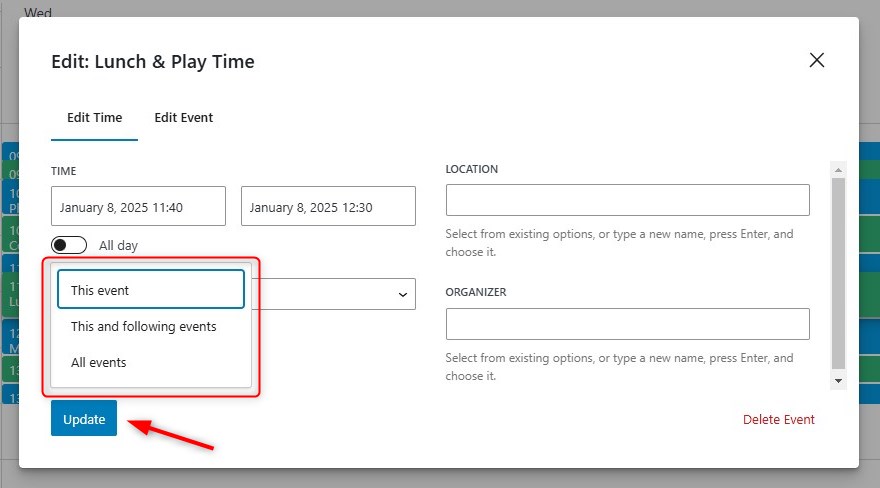
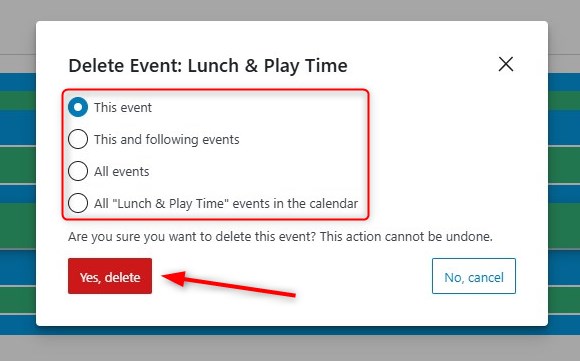
If you decide to delete recurring events, you can select one of these options:
- This event: Remove only the specific event.
- This and following: Delete the selected event and all future events in the series.
- All events: Delete all events with the same name and time across the calendar.
- All “event name” events in the calendar: Delete every event with the same name across all time slots in the calendar.
Step 6
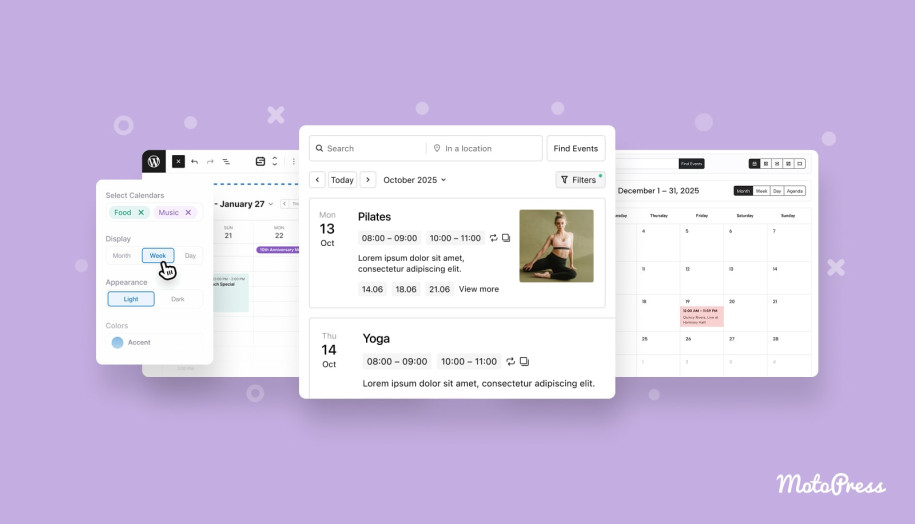
Now, you are all set to publish the calendar. Use the Events Calendar Block in the WordPress block editor to display your calendar and events on your website.
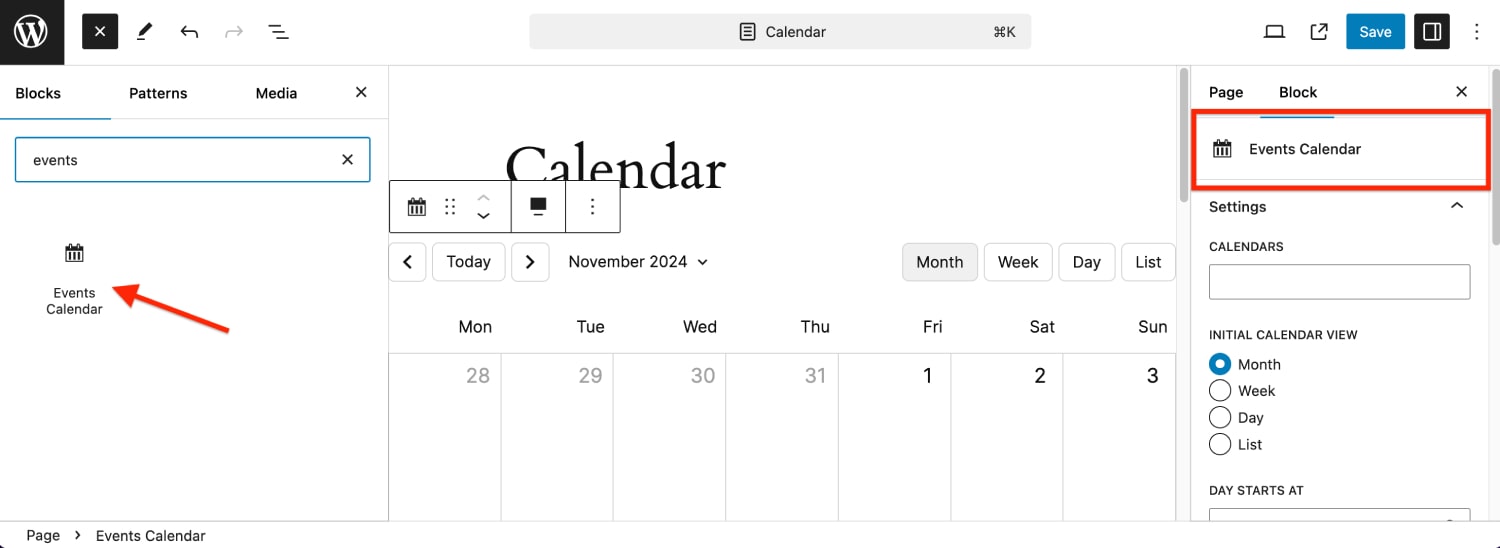
You’ll be able to configure:
- Calendar(-s) to be displayed;
- Initial Calendar view;
- Start and End Times for events;
- Grid time interval;
- Hidden days (optional);
- Calendar or list width.
Then, save or update the page/post.
Wrapping Up
By following these steps, you’ll set up your repeating events in no time and keep your schedule running like clockwork. The WordPress events manager recurring events plugin by MotoPress ensures smooth visualization of your schedule. Start your calendar and share your feedback!
FAQ
What is recurring events management?
Who needs a recurring events manager?
